Before you even think about hitting the record button, let's talk about what really sets a great audio edit apart from a mediocre one: preparation. I’ve learned over the years that the secret to a smooth, efficient editing process has almost nothing to do with fancy plugins and everything to do with what you do before you start cutting.
Think of it like building a house. You wouldn't start putting up walls without a solid foundation. In audio, that foundation is a clean recording and a meticulously organized project.
Building Your Foundation for Clean Audio
Great audio editing starts with the best possible source material. No amount of post-production wizardry can truly fix a terrible recording. But beyond that, a little bit of digital housekeeping will save you hours of headaches down the line.
Seriously, a messy project folder is your worst enemy. Before importing anything, create a main folder for your project. Inside that, make subfolders for your raw recordings, processed files, any music or sound effects, and of course, your final exports. It’s a simple, two-minute task that prevents the absolute chaos of hunting for lost files later.
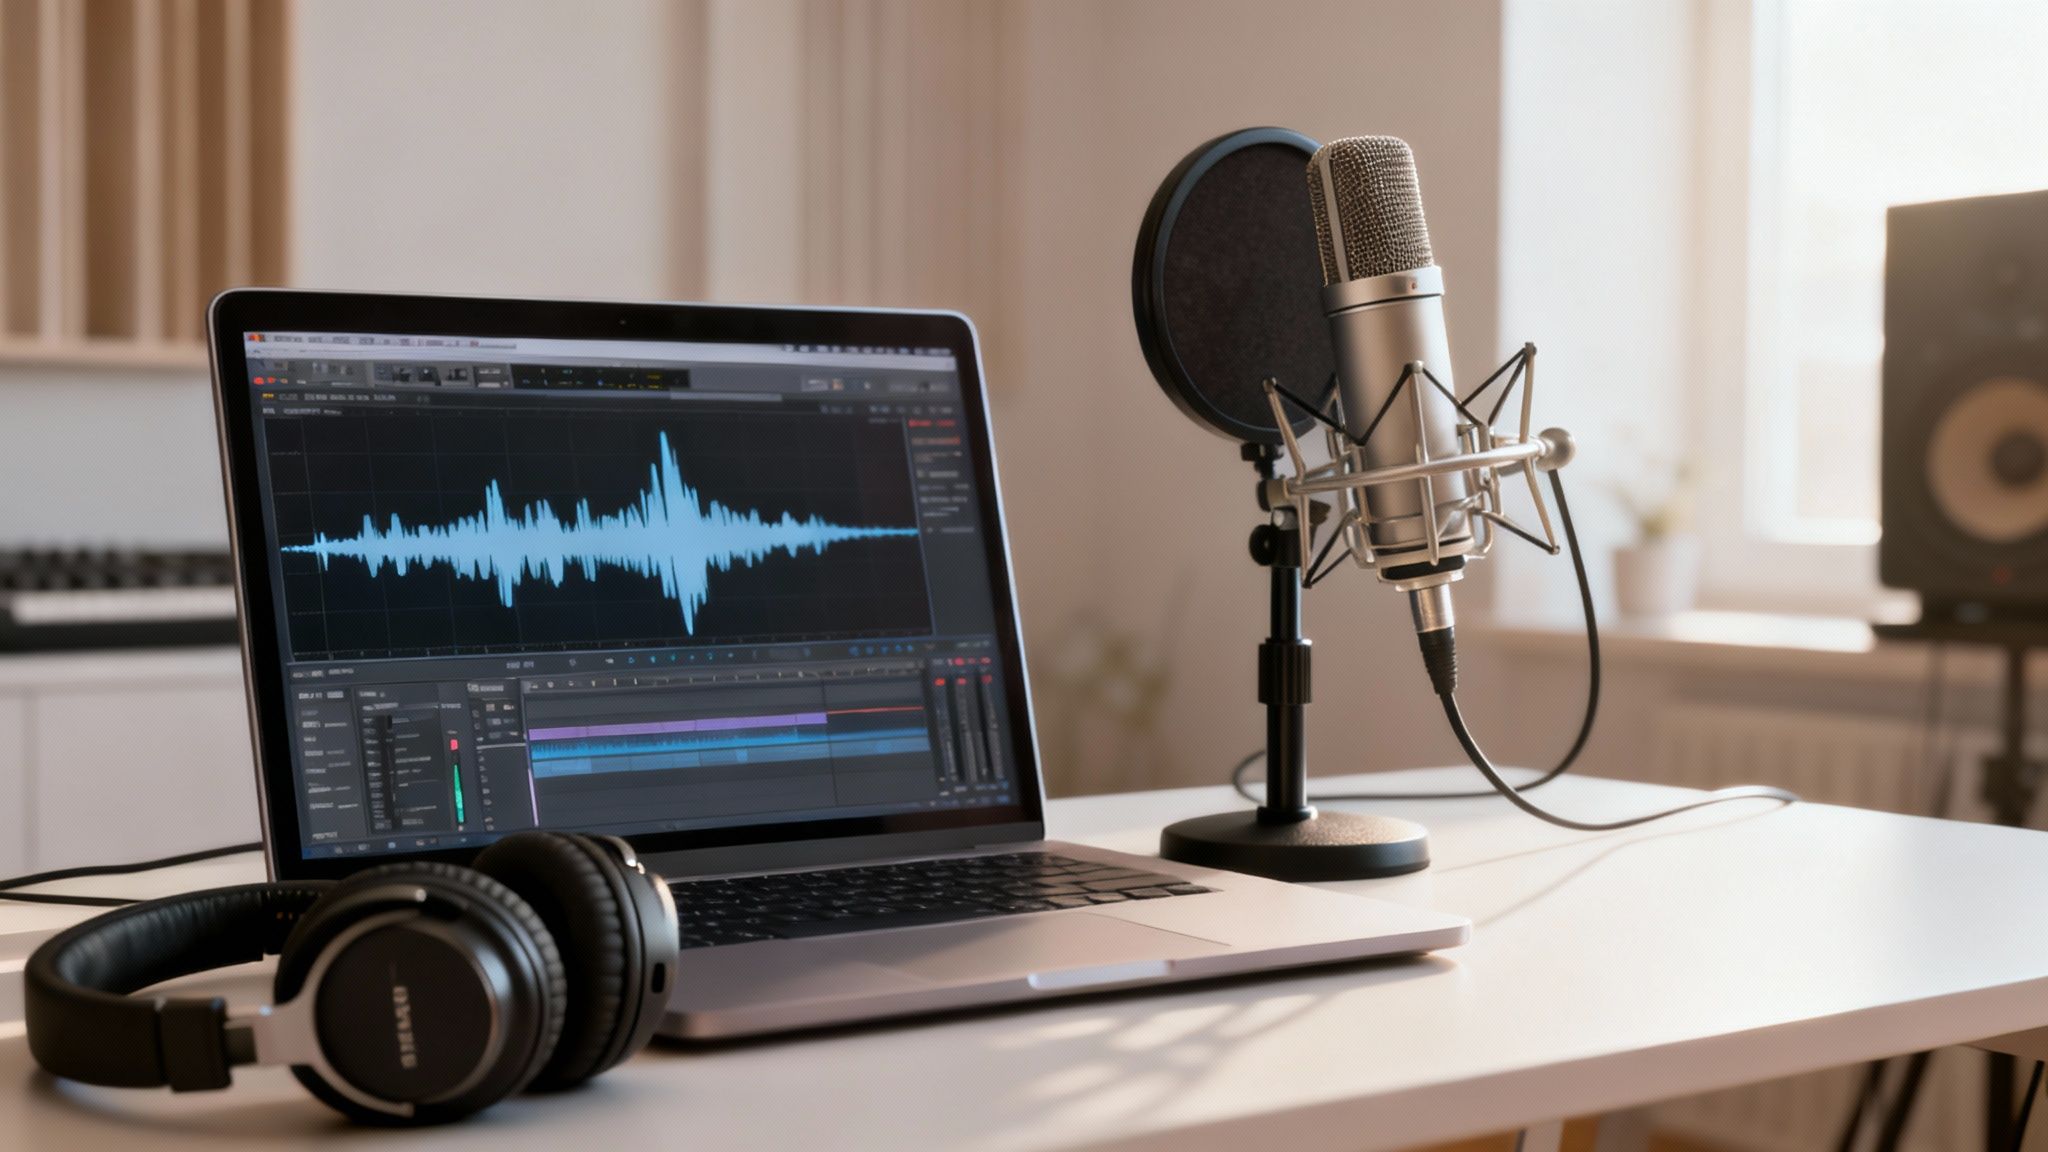
Once your files are neatly organized, you can pull them into your Digital Audio Workstation (DAW)—your software command center for editing.
Setting Up Your Digital Workspace
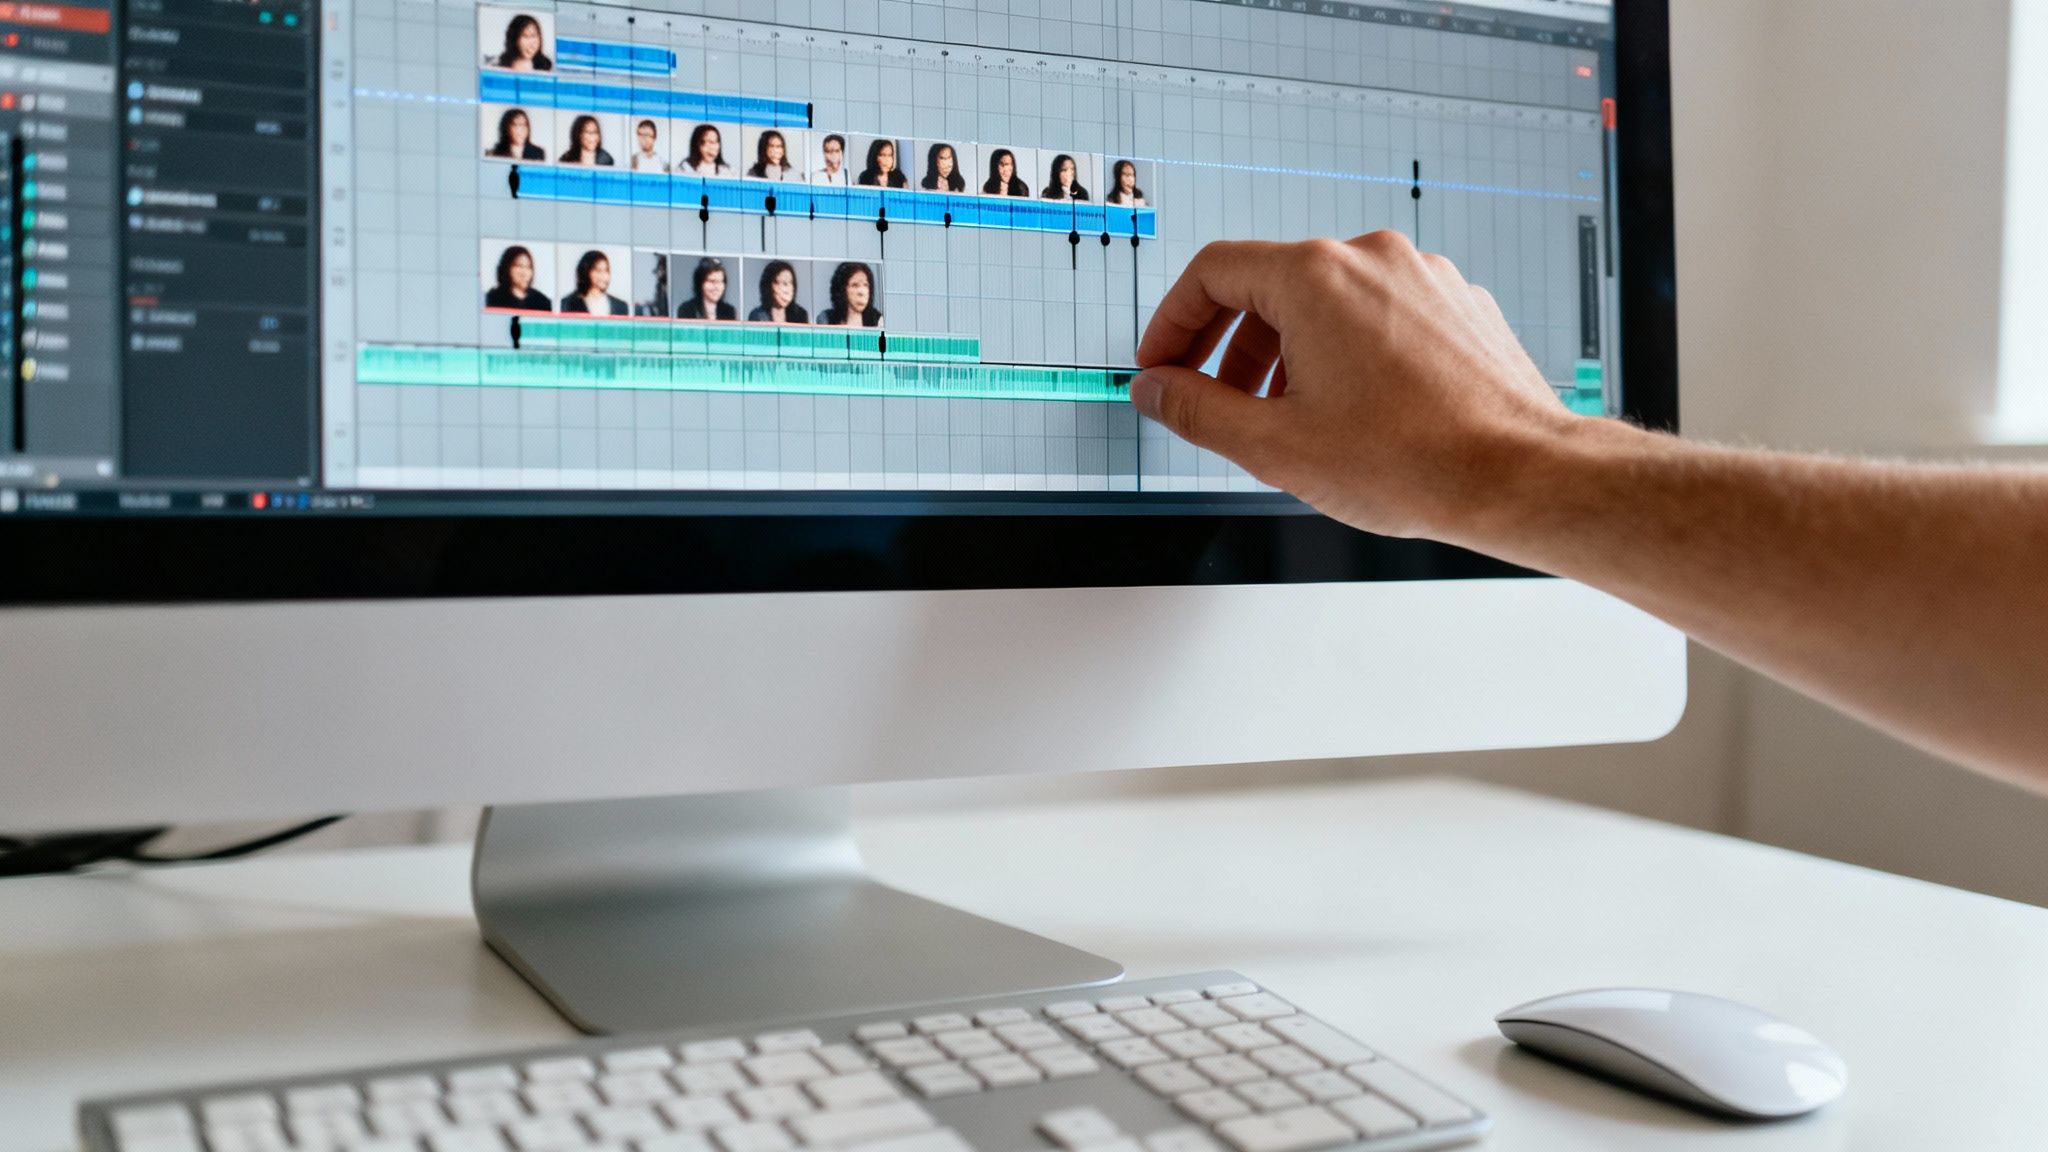
Your DAW’s timeline is your canvas. Don't just dump everything onto one track. Instead, arrange your clips logically on separate tracks. For example:
- Track 1: Your main narration or host audio
- Track 2: Interview guest's audio
- Track 3: Background music or intro/outro theme
- Track 4: Sound effects
This separation is crucial. It gives you granular control over each individual element, making it infinitely easier to adjust levels, apply effects, and mix everything together seamlessly. A tidy workspace isn't just for looks; it's the key to an efficient workflow.
This simple, three-part approach—organize, import, and arrange—is the bedrock of any successful audio project.
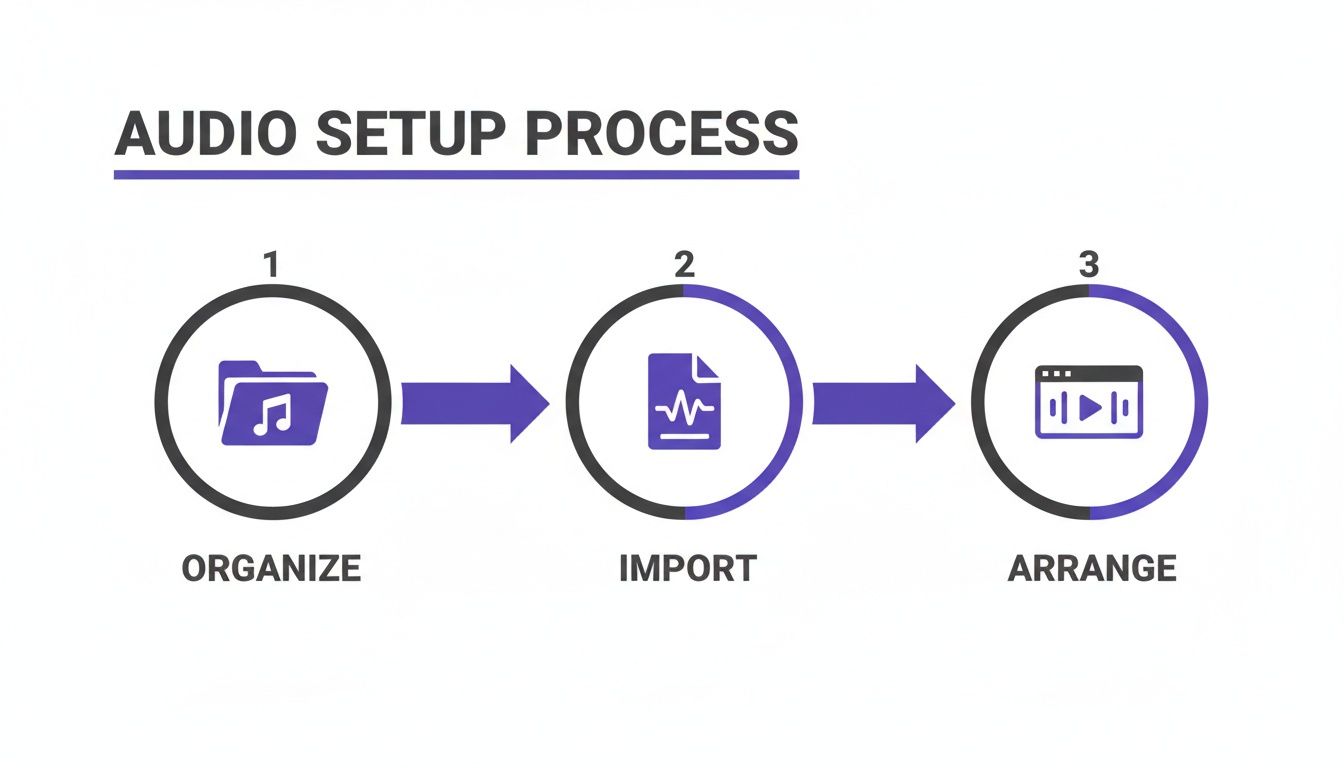
Get this part right, and the rest of the editing process becomes a creative exercise instead of a technical struggle.
Choosing the Right Tools for the Job
The gear and software you choose absolutely make a difference. While a quality recording is non-negotiable—and if you need help there, check out our guide on the best microphone for podcasting—your choice of software is just as important.
The demand for polished, professional-sounding audio has never been higher, and the market for editing tools has exploded to meet it.
The global audio editing and mastering systems market is projected to soar to $29.43 billion by 2033. This incredible growth is a direct result of the booming creator economy, where clean, crisp audio is a must-have for podcasts, videos, and more.
What does this mean for you? More options than ever before. Whether you're starting with a free powerhouse like Audacity or jumping into a professional suite like Adobe Audition, there's a perfect tool out there for your budget and skill level. You can see just how massive this space has become in the full research on the audio editing market.
The goal isn't to find the "best" DAW, but the one that feels most intuitive to you and helps you transform your raw recordings into something truly compelling.
To give you a bird's-eye view, here's a breakdown of the key stages you'll work through.
Essential Audio Editing Workflow Stages
This table provides a quick overview of the key stages in a typical audio editing workflow, from initial cleanup to final export, helping you understand the entire process at a glance.
| Stage | Primary Goal | Common Tools Used |
|---|---|---|
| Preparation & Organization | Set up a logical project structure for an efficient workflow. | File Explorer/Finder, DAW Media Bins |
| Rough Cut & Arrangement | Assemble the core narrative by trimming dead air and arranging clips. | DAW timeline, trim/razor tools, ripple delete |
| Noise Reduction & Cleanup | Remove unwanted background noise, clicks, and hums. | Noise reduction plugins, spectral editors, de-clickers |
| EQ & Dynamics Processing | Shape tonal balance and control volume consistency. | Equalizers (EQ), compressors, limiters |
| De-Essing & Final Polish | Tame harsh "s" sounds and add finishing touches. | De-essers, mastering plugins |
| Leveling & Mastering | Set the final loudness to industry standards (e.g., LUFS). | Loudness meters, limiters, normalization tools |
| Export & Quality Check | Create the final audio file and listen for any errors. | DAW export functions, headphones, multiple speaker systems |
Having this roadmap in mind helps keep the process from feeling overwhelming. Each stage builds on the last, guiding you toward a polished, professional final product.
Mastering Noise Reduction and Audio Cleanup
Let's be honest: raw audio is almost never perfect. Even in what you think is a quiet room, your microphone will pick up the subtle hum from a refrigerator, the whir of a computer fan, or the faint, boxy echo of an untreated space. This is where the magic really begins—the critical first pass of cleaning up your audio.
The goal here is to get rid of all the distracting background junk without making the voice sound weird. It’s a delicate dance. If you get too aggressive with noise reduction, you can strip the life out of the performance, leaving it sounding thin, robotic, and unnatural. This is one of the most common mistakes I see people make when they're just starting out.
What Kind of Noise Are You Dealing With?
Before you touch any plugins, you have to listen—really listen—and figure out what you're up against. Are you hearing a constant, low drone, or are there sudden, sharp clicks? Different problems call for different tools.
- Steady Background Noise: This is your classic air conditioner hiss, fan noise, or that annoying 60-cycle electrical hum. These are perfect candidates for dedicated noise reduction plugins.
- Transient Noises: These are the short, sharp sounds—a mouth click, a keyboard tap, a door slamming in another room. You’ll usually have to hunt these down and fix them by hand using spectral editing tools.
- Reverb and Echo: This is the sound of the room itself bouncing back into the microphone. A de-reverb plugin is purpose-built to tackle this and make the audio sound less " roomy."
The need for clean audio is huge. The global market for audio editing software hit USD 4.72 billion in 2024 and is on track to reach USD 10.29 billion by 2032. That growth is fueled by millions of podcasters, YouTubers, and other creators who all have to fix noisy recordings. You can dig into the numbers and trends in this detailed industry report.
The Old School vs. The New School: Manual vs. AI
For years, cleaning up noise was a slow, painstaking process inside a Digital Audio Workstation (DAW). We used tools like a noise gate (which just mutes the audio when it drops below a certain volume) or did spectral editing (which is like Photoshop for audio, letting you visually see and erase a specific sound like a cough). These techniques give you incredible control, but they take time and a skilled hand.
Thankfully, modern technology has completely changed the game.
The biggest shift in audio cleanup has been the rise of AI. These new tools can analyze an audio file, intelligently figure out what’s a voice and what’s noise, and then strip out the bad stuff in seconds. A job that once took me hours can now be done in the time it takes to grab a coffee.
You can see how simple the interface for an AI-powered audio cleaner is.
There’s not much to it—usually just an upload button and a progress bar. All the complex algorithms are hidden behind the scenes. For anyone doing podcasts, voiceovers, or interviews, giving AI audio noise reduction a try can be a massive workflow improvement.
A Real-World Example: Salvaging a Café Interview
Picture this: you just recorded a fantastic interview, but you did it in a busy café. The conversation is gold, but it's buried under clattering dishes, background chatter, and the hiss of an espresso machine. Here’s how you’d rescue it.
Your first move should be a broad-strokes pass with an AI tool. Run the entire track through it. This will instantly knock down the general ambient noise and chatter, pushing the voices to the front.
Next, listen through the cleaned-up track with headphones. You'll likely still hear a few isolated sounds, like a loud laugh from the next table or a plate dropping. This is where you jump into your DAW’s spectral editor to pinpoint and surgically remove those specific, distracting moments.
Finally, tackle the room sound. The café’s hard surfaces probably created a ton of echo. A light touch with a de-reverb plugin will help dry up the sound, reduce that "cavernous" feel, and make the voices feel much closer and more intimate.
By layering the speed of AI with the precision of manual editing, you can rescue even a challenging recording. This cleanup stage isn't optional; it's the essential foundation for any professional-sounding audio project.
Arranging and Structuring Your Narrative
Okay, with the noise and distractions gone, we can get to the fun part. This is where the real artistry of audio editing comes into play—the structural edit. We're moving beyond technical fixes and into the craft of storytelling, shaping the raw recording into something that truly connects with the listener.
Think of it like being a sculptor. You've got this big block of clean audio, and now you need to chip away everything that isn't the final masterpiece. That means methodically cutting out all the filler words, awkward stumbles, and those long, rambling pauses that kill the momentum.
The trick is to make your edits completely invisible. The listener should never hear a jarring jump or an unnatural silence. They should just experience a smooth, engaging conversation that sounds effortless, even though you’ve spent hours meticulously piecing it together. A great starting point for spoken audio is to get it transcribed first; it’s so much easier to chop up and rearrange text. You can find some of the best free transcription software to speed this process up dramatically.
Crafting a Seamless Flow
The first pass of your structural edit is all about tightening up the performance. This is your chance to hunt down and eliminate all the verbal clutter that gets in the way of the core message.
I always start by targeting the most common offenders:
- Filler Words: You know the ones—the "ums," "ahs," "likes," and "you knows." Slicing these out is the fastest way to make a speaker sound more confident and articulate.
- Long Pauses: Silence can be powerful, but too much dead air between thoughts makes a recording drag. Your job is to trim these down so the conversation flows naturally.
- Repeated Phrases: It happens to everyone. Speakers often restart a sentence to get it right. Your task is to find the best version and snip out the rest to keep things moving.
Here’s a little pro tip I’ve used for years: if you make a mistake while recording, do a quick double tongue click or clap your hands once. It creates a massive, sharp spike in the waveform that’s super easy to find later, basically creating a bookmark for your edit.
One of the most tedious parts of audio editing, especially when you're starting out, is cutting every single breath and mouth click. Some podcasters leave them in for a more "authentic" feel, but honestly, removing them creates a much cleaner, more professional sound—especially for anyone listening on good headphones.
Using Pacing and Silence Deliberately
Once you've cleared out all the junk, you can start thinking about pacing. The rhythm of your audio is absolutely critical for keeping your audience hooked. If it’s just a relentless wall of sound with no breaks, people get exhausted. But if it’s too slow, they’ll just get bored and tune out.
This is where you can get really creative. Think about how you can play with timing to add emphasis. A slightly longer pause right before a big reveal can build anticipation and make the point land with way more impact. On the flip side, tightening the gaps between sentences can inject a shot of energy and excitement. Don't just delete silence—wield it. This is how you go from just cleaning up audio to actually designing a listening experience.
Polishing Your Voice with EQ and Compression
Now that the audio is clean and the edit is tight, we can move from fixing problems to actually making things sound good. This is where the magic happens, where you add that professional sheen and character. For this stage, we’ll rely on two of the most powerful tools in any audio editor's toolkit: the Equalizer (EQ) and the Compressor.
Think of EQ as your sonic chisel. It lets you carve away muddy frequencies and enhance the ones that give a voice clarity and presence. A compressor, on the other hand, is like a super-fast, automatic volume fader, evening out the performance so every word is heard clearly. Together, they turn a good recording into a great one.
Shaping the Tone with an Equalizer
My first rule of EQ is always "cut before you boost." Before you start cranking up frequencies to add sparkle or warmth, look for what you can take away. The most common issue, especially in home studio recordings, is a build-up of low-end mud that makes the voice feel boomy and indistinct.
A high-pass filter is your absolute best friend for this. By setting it to gently roll off everything below 80-100 Hz, you eliminate all that useless low-frequency rumble—traffic noise, mic stand vibrations, electrical hum—without touching the essential character of the voice. It's a simple move that instantly makes your audio sound cleaner.
Once that's done, you can start making more targeted adjustments:
- Taming Nasality: Hear a "honky" or nasal quality? Try a narrow cut somewhere between 800 Hz and 1.5 kHz. Sweep around in that area until the annoying tone softens.
- Adding Warmth and Body: If a voice sounds a bit thin, a gentle boost in the 150-250 Hz range can add some welcome richness and weight.
- Boosting Clarity and Presence: To make the voice pop and improve intelligibility, a slight boost between 3 kHz and 6 kHz is perfect. This is where the consonants live, and accentuating them helps the voice cut through.
Evening Out the Volume with a Compressor
With the tone shaped, it's time to manage the dynamics. People don't speak at a perfectly consistent volume; some words are whispered while others are emphasized. A compressor's job is to reduce the gap between the loudest and quietest parts.
It works by automatically turning down any audio that crosses a certain volume level, which we call the threshold. This process smooths out the performance, making it much easier for your audience to listen without constantly reaching for their volume knob.
The secret to good compression on spoken word is for it to be invisible. The listener should never hear the compressor working. They should just experience the final result: a clear, steady voice that's easy to follow. Go too far, and you'll squash all the natural life out of the performance.
Here are some solid starting settings for vocal compression:
- Threshold: Adjust this so the compressor only kicks in on the loudest syllables and peaks. You want it to react, but not be working all the time.
- Ratio: Start with a low ratio, maybe 2:1 or 3:1. This is gentle and sounds very natural. It means for every 3 decibels the signal goes over the threshold, the output will only be 1 decibel louder.
- Attack and Release: A fast attack helps tame sharp peaks, while a slower release lets the compression fade out smoothly, avoiding any weird "pumping" sounds.
When you get the balance right between EQ and compression, you'll elevate your audio from a simple recording to a polished, professional production that truly captivates your listeners.
Applying the Final Polish for Export
Alright, we're on the home stretch. Your audio is clean, edited, and all the pieces are in the right place. Now it’s time for the final polish—the steps that take your audio from "good" to "great" and ready for the world to hear. This last phase is all about taming any lingering harshness and setting the perfect loudness for a pro-level listening experience.
One of the sneakiest culprits of listener fatigue is sibilance. I’m talking about those sharp, piercing "s," "sh," and "t" sounds. While they're a natural part of speech, they can really drill into your ears, especially when listening on headphones. This is where a trusty de-esser becomes your best friend.
Think of a de-esser as a highly specialized compressor. It zeroes in on the exact frequency range where sibilance lives—usually somewhere between 5 kHz and 8 kHz—and gently turns down the volume of only those harsh sounds. The goal here is finesse. You're not trying to get rid of the "s" sound completely (which can make someone sound like they have a lisp), but just to soften the sharp edges.
Setting Your Final Loudness Level
With those harsh frequencies tamed, it's time to tackle the most critical step in this final stage: setting your overall loudness. Ever wonder why professionally produced podcasts, music, and videos all seem to play at a consistent volume? It's not magic. It's mastering to a specific loudness standard.
Years ago, everyone was caught up in the "loudness war," pushing levels to the absolute max, which often resulted in distorted, crushed-sounding audio. Thankfully, things have changed. Today, the industry standard is a metric called LUFS (Loudness Units Full Scale). LUFS is a much smarter way to measure volume because it reflects perceived loudness—how our ears actually interpret sound—rather than just looking at the digital peaks.
Mastering your audio to the correct LUFS target is non-negotiable for professional distribution. It ensures your podcast or video sounds consistent across platforms like Spotify, Apple Podcasts, and YouTube, preventing listeners from having to constantly adjust their volume.
So, what's the magic number? For most streaming platforms, you'll want to aim for around -14 LUFS for stereo files or -16 LUFS for mono. To get there, you'll use a tool called a limiter. A limiter is essentially an ultra-powerful compressor that sets a hard ceiling on your audio's peaks. This allows you to raise the overall gain to hit your LUFS target without ever letting the signal clip or distort. It’s your final safety net.
This demand for polished audio isn't just a trend; it's a booming market. The global audio editing services market hit US$1,118 million in 2025 and is projected to reach US$1,563 million by 2032. That growth shows just how crucial high-quality sound has become for creators trying to stand out.
Choosing Your Export Format
Once everything sounds perfect, you’re ready to export. The file format you choose really depends on where the audio is going.
- For archival masters: Always, always export an uncompressed WAV file. This is your high-resolution master copy. Think of it as the original negative of a photograph—you can always create other versions from it later.
- For streaming (podcasts, YouTube): An MP3 file at a high bitrate (like 320 kbps) or an AAC file is the way to go. These formats provide an excellent balance of sound quality and manageable file size, which is perfect for online distribution.
Getting a handle on these formats is essential. If you want to dive deeper, we have a whole guide on the differences between MP3 and WAV files.
And now that your audio is pristine and ready to go, don't just stop there. It's the perfect time to think about content repurposing strategies to get the most mileage out of all your hard work.
A Few Common Audio Editing Questions
As you get comfortable with the workflow, you're going to have questions. Audio is a deep, technical field, and a lot of the terms and techniques can seem to overlap at first. Let's clear up some of the most common things that trip people up.
What’s the Difference Between Audio Editing and Mixing?
I like to think of it this way: editing is construction, and mixing is interior design.
Audio editing is all the structural work. It's the nitty-gritty of cutting clips, arranging takes, cleaning up background noise, and getting rid of mistakes. You’re building the skeleton of your project, making sure the timing is right and the narrative flows perfectly.
Audio mixing, on the other hand, is about how all those different pieces sound together. It’s the art of balancing the volume of your voice against the background music or sound effects. Mixing also involves using panning to position sounds in the stereo field (left or right) and adding effects to create a polished, cohesive soundscape.
Simply put, editing perfects the individual parts. Mixing makes sure all those parts play together nicely as a final, unified whole. One is about structure, the other is about balance.
Which Audio File Format Should I Use?
The file format you use really depends on what you're doing, and getting this right is crucial for preserving audio quality.
When you're recording and editing, you should always work with a lossless, uncompressed format. Your main options here are:
- WAV (Waveform Audio File Format): The go-to standard for Windows, but it's universally supported.
- AIFF (Audio Interchange File Format): The Apple equivalent, also widely used.
Both of these formats keep 100% of the original audio data. This gives you the highest possible quality to work with. Trying to edit a compressed file like an MP3 is like editing a photocopy of a photocopy—you’ve already thrown away a ton of detail.
Once you’re ready to share your work online, a compressed format like a high-bitrate MP3 (320 kbps) or an AAC is ideal. They strike a great balance between solid quality and a file size that's easy to stream. Just don't forget to save your final, edited project as a high-quality WAV master file before you export any compressed versions for distribution.
Do I Really Need a Computer to Edit Audio?
You can get away with basic trims and simple cuts on a smartphone or tablet, but for any serious, detailed work, you really need a proper computer. A laptop or desktop has the processing power to handle professional software and plugins without constantly crashing.
Even more importantly, a larger screen is a game-changer. It lets you zoom in and see the audio waveform in detail, which is essential for making the kind of precise, surgical edits needed to snip out a tiny click or perfectly tighten up the timing between words. Web-based tools are fantastic for a quick, one-off noise removal job on any device, but for the comprehensive editing we've covered in this guide, a computer is non-negotiable.
What Is the Biggest Mistake Beginners Make?
Without a doubt, it’s over-processing. It's so easy to get excited by all the powerful tools at your fingertips and just go overboard. New editors often crank the noise reduction way too high, which creates weird, robotic-sounding artifacts and completely sucks the life out of a voice.
I see the same thing with EQ and compression—people get too aggressive, and the audio ends up sounding harsh, thin, and just plain fatiguing to listen to. The key to professional-sounding audio is subtlety. Your goal is to gently enhance the original recording, not completely reinvent it. Always make small, deliberate changes and constantly A/B test your edits against the original to make sure you're actually improving things.
Tired of fighting background noise in your recordings? SimpleClean uses AI to remove hums, clicks, and chatter from any audio or video file with just one click. Get studio-quality sound in seconds, no complex software needed. Try SimpleClean for free at https://simpleclean.app.