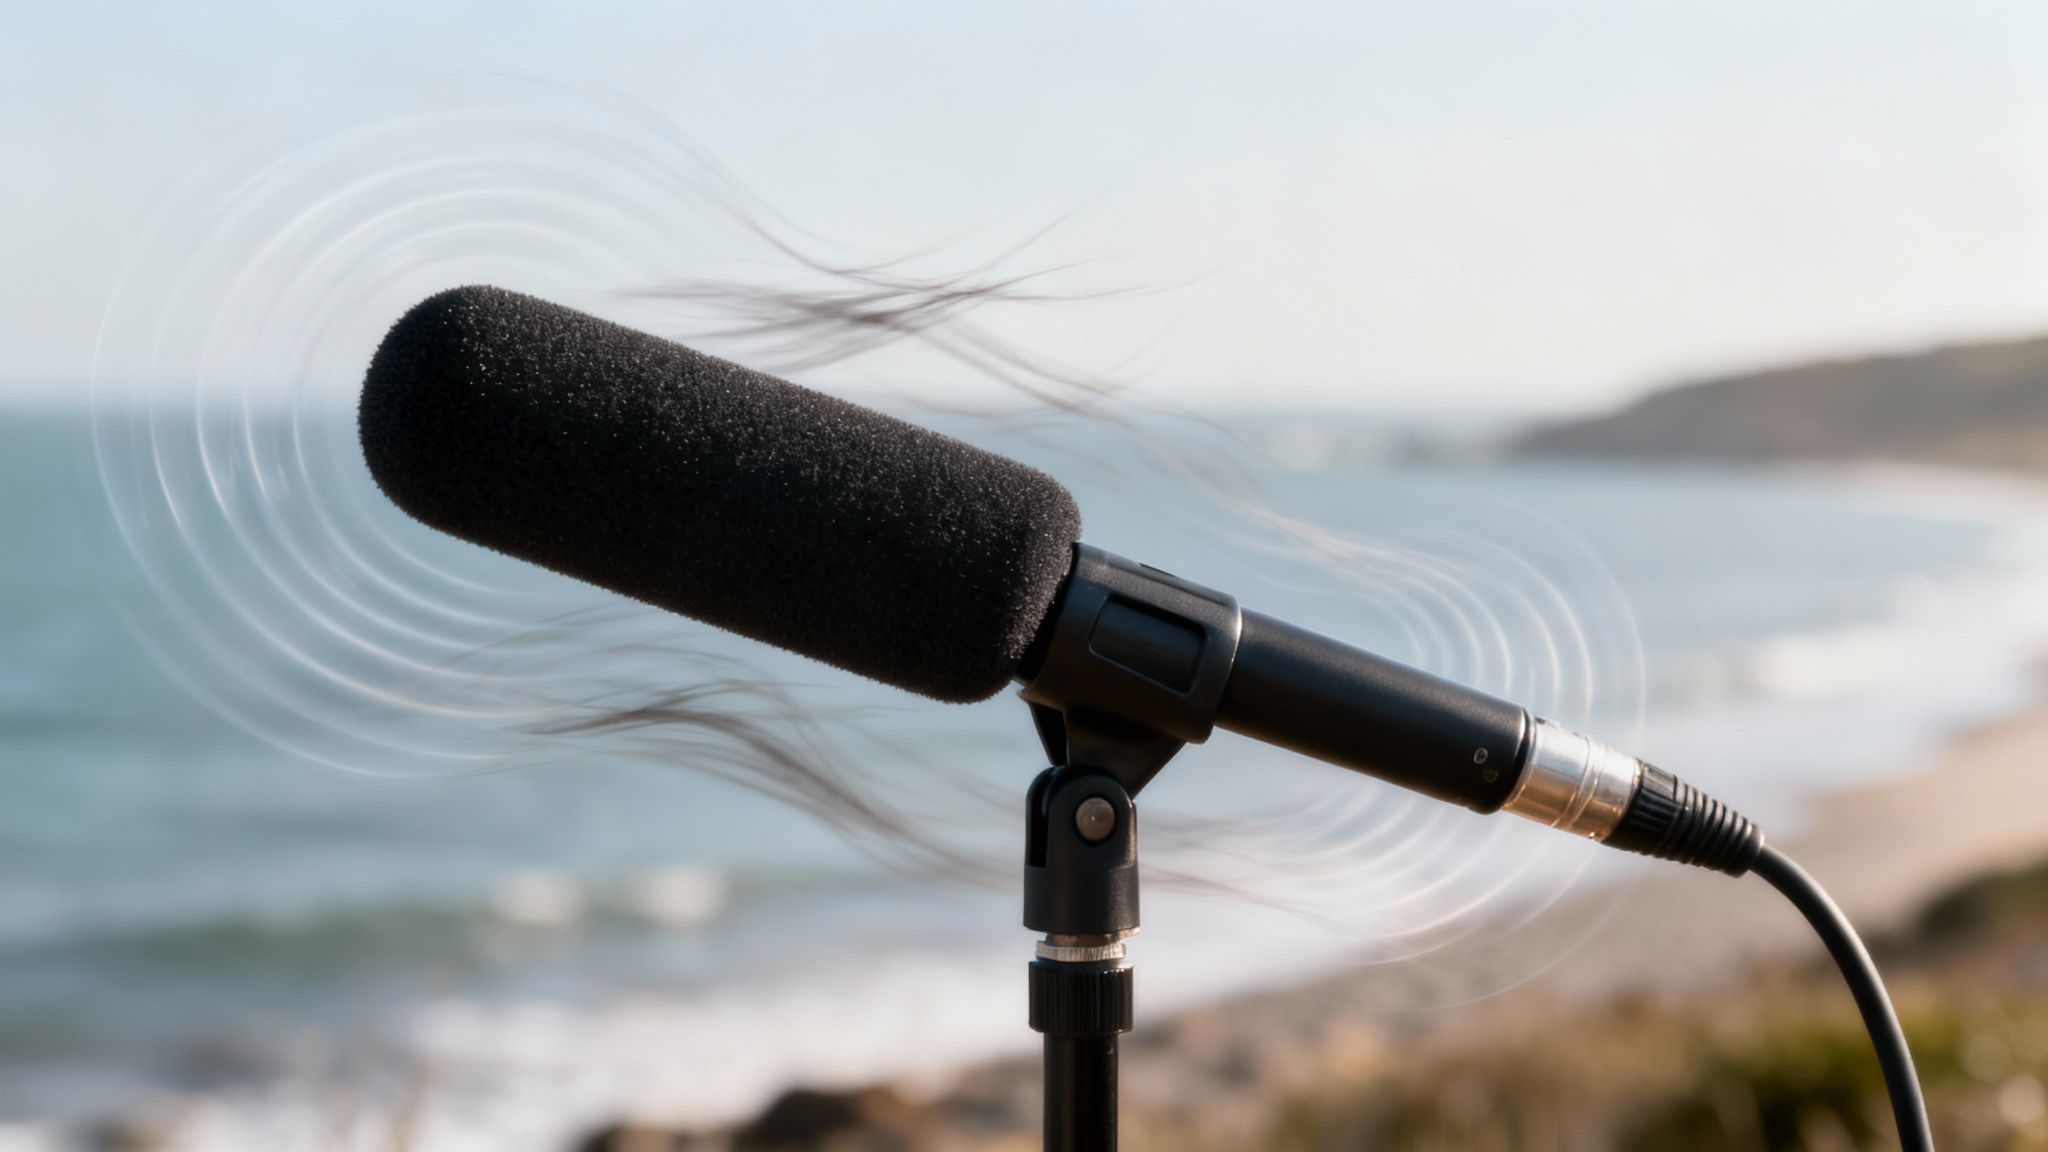
When it comes to outdoor recording, nothing wrecks audio faster than wind. It’s not like a steady background hum you can easily notch out; wind is chaotic. It slams into the microphone's diaphragm, creating a distorted, low-frequency rumble that completely swallows the sound you're trying to capture. This isn't just noise—it's a destructive force that corrupts the recording at its source.
The real headache is where wind noise lives on the frequency spectrum. It’s most powerful in the low-end, typically between 20 Hz and 250 Hz. Unfortunately, that’s right where the fundamental frequencies of the human voice sit. This makes it incredibly tricky to surgically remove the wind without making the speaker sound thin and unnatural.
Tackling One of Audio's Toughest Problems
So, what makes wind so notoriously difficult to fix in post-production? The problem really boils down to two things: the nature of the sound itself and the permanent damage it can cause.
Why Wind Is So Hard to Fix
- Low-Frequency Overload: That intense, rumbling energy from a gust of wind can easily push your recording levels into the red, causing digital clipping. Once that harsh distortion is baked into the audio, it's often impossible to fully repair.
- Broadband Nature: While the rumble is the most obvious part, wind also creates hissing and rushing sounds across the mid and high frequencies. A simple low-cut filter might tame the rumble but will leave the rest of the mess behind.
- Unpredictable Patterns: A constant air conditioner hum is a piece of cake for most noise reduction tools. Wind, on the other hand, is completely random. Its unpredictable gusts make it a nightmare for traditional algorithms to target without also damaging the dialogue.
To help you choose the right tool for the job, here's a quick decision tree. It maps out a workflow based on how severe the wind noise is.

As you can see, the path to clean audio always starts with a diagnosis. Light wind might only need a simple EQ tweak, but heavy gusts will force you to bring out the heavy hitters like spectral repair or AI-powered tools. Understanding this from the get-go saves a ton of time and frustration. Always start with the simplest fix first before moving on to more complex techniques.
To give you a clearer picture, here’s a quick breakdown of the common methods you'll be choosing from.
Wind Noise Removal Methods At a Glance
| Method | Best For | Difficulty | Software Required |
|---|---|---|---|
| High-Pass Filter | Light, consistent low-frequency rumble. | Easy | Any DAW or audio editor (e.g., Audacity, Pro Tools) |
| Gating/Expansion | Wind noise that occurs between spoken words. | Easy | Any DAW with a standard noise gate plugin. |
| Parametric EQ | Targeting specific, resonant wind frequencies. | Intermediate | Any DAW with a parametric equalizer. |
| Spectral Repair | Visually removing severe, intermittent wind gusts. | Advanced | iZotope RX, Adobe Audition, SpectraLayers. |
| AI Noise Reduction | Complex, variable wind mixed with dialogue. | Easy to Use | Dedicated tools like CrumplePop SimpleClean or iZotope RX. |
Each of these tools has its place, and often, the best results come from combining a couple of them. The key is knowing which one to reach for and when.
Quick Fixes Using Your Existing Audio Software
Before you reach for your wallet to buy a fancy new plugin, take a look at the tools you already have. Your Digital Audio Workstation (DAW) or even a video editor like Adobe Premiere Pro is packed with powerful features that can make a huge difference.
For those frustrating but not-quite-disastrous cases of wind noise, these built-in tools are your first line of defense. You can often get surprisingly clean results and remove wind noise from audio without ever leaving your project. Let's start with the heavy lifter.
Taming the Rumble with a High-Pass Filter
The most common signature of wind is that deep, low-frequency rumble that just takes over everything. Your best weapon against this is the High-Pass Filter (HPF), which you might also see called a low-cut filter. It does exactly what the name implies: it aggressively cuts out all the low frequencies below a certain point and lets the higher frequencies "pass" through untouched.
The trick is to find that sweet spot for the cutoff frequency. You need to slice away the wind's low-end energy without gutting the speaker's voice and making it sound thin and brittle.
I always start by setting the HPF to 80 Hz. This is a great, conservative place to begin that targets the worst of the rumble while preserving the natural body of most voices. If you can still hear that low-end buffeting, nudge the frequency up slowly, maybe toward 150 Hz. Just be careful—go too high, and you'll start to strip the warmth right out of the dialogue.
Pro Tip: Don't just set it and forget it. Put the audio on a loop and listen closely as you adjust the filter. Push the frequency up until the wind noise is gone, then pull it back just a hair. You're looking for maximum cleanup with minimal collateral damage to the voice.
Surgical Cleanup with a Parametric Equalizer
Sometimes the high-pass filter doesn't quite get the job done. Wind can be sneaky, creating weird tonal whistles or "whooshing" sounds higher up in the frequency spectrum. This is where you bring in the scalpel: a parametric equalizer (EQ).
A parametric EQ is far more precise than an HPF. It lets you find and surgically remove very specific, narrow frequency bands. While you're listening back, hunt for that one annoying tone that keeps popping up. Your EQ can zap it without messing up the sound around it.
Here’s my go-to workflow for this:
- Find the problem: First, make the Q setting (the filter's width) really narrow and crank the gain way up. Now, "sweep" that boosted peak across the frequencies. When the annoying wind tone suddenly screams at you, you've found your target.
- Make the cut: Once you’ve locked onto the frequency, just pull the gain way down. You're essentially creating a "notch" that carves out that specific noise, leaving the surrounding audio intact.
Using a Noise Gate to Clean Up Pauses
Finally, let's add a layer of polish with a Noise Gate or an Expander. This tool is brilliant for situations where the wind is most obvious in the quiet moments between words or sentences.
Think of a noise gate as a smart volume knob. It automatically mutes the audio whenever the signal falls below a level you define.
You’ll want to set the threshold just above the hum of the wind but safely below the volume of the person speaking. When they talk, the gate opens and lets the audio through. The second they pause, the gate slams shut, giving you instant, perfect silence in the gaps. It’s a simple move that makes the entire recording feel much cleaner and more professional.
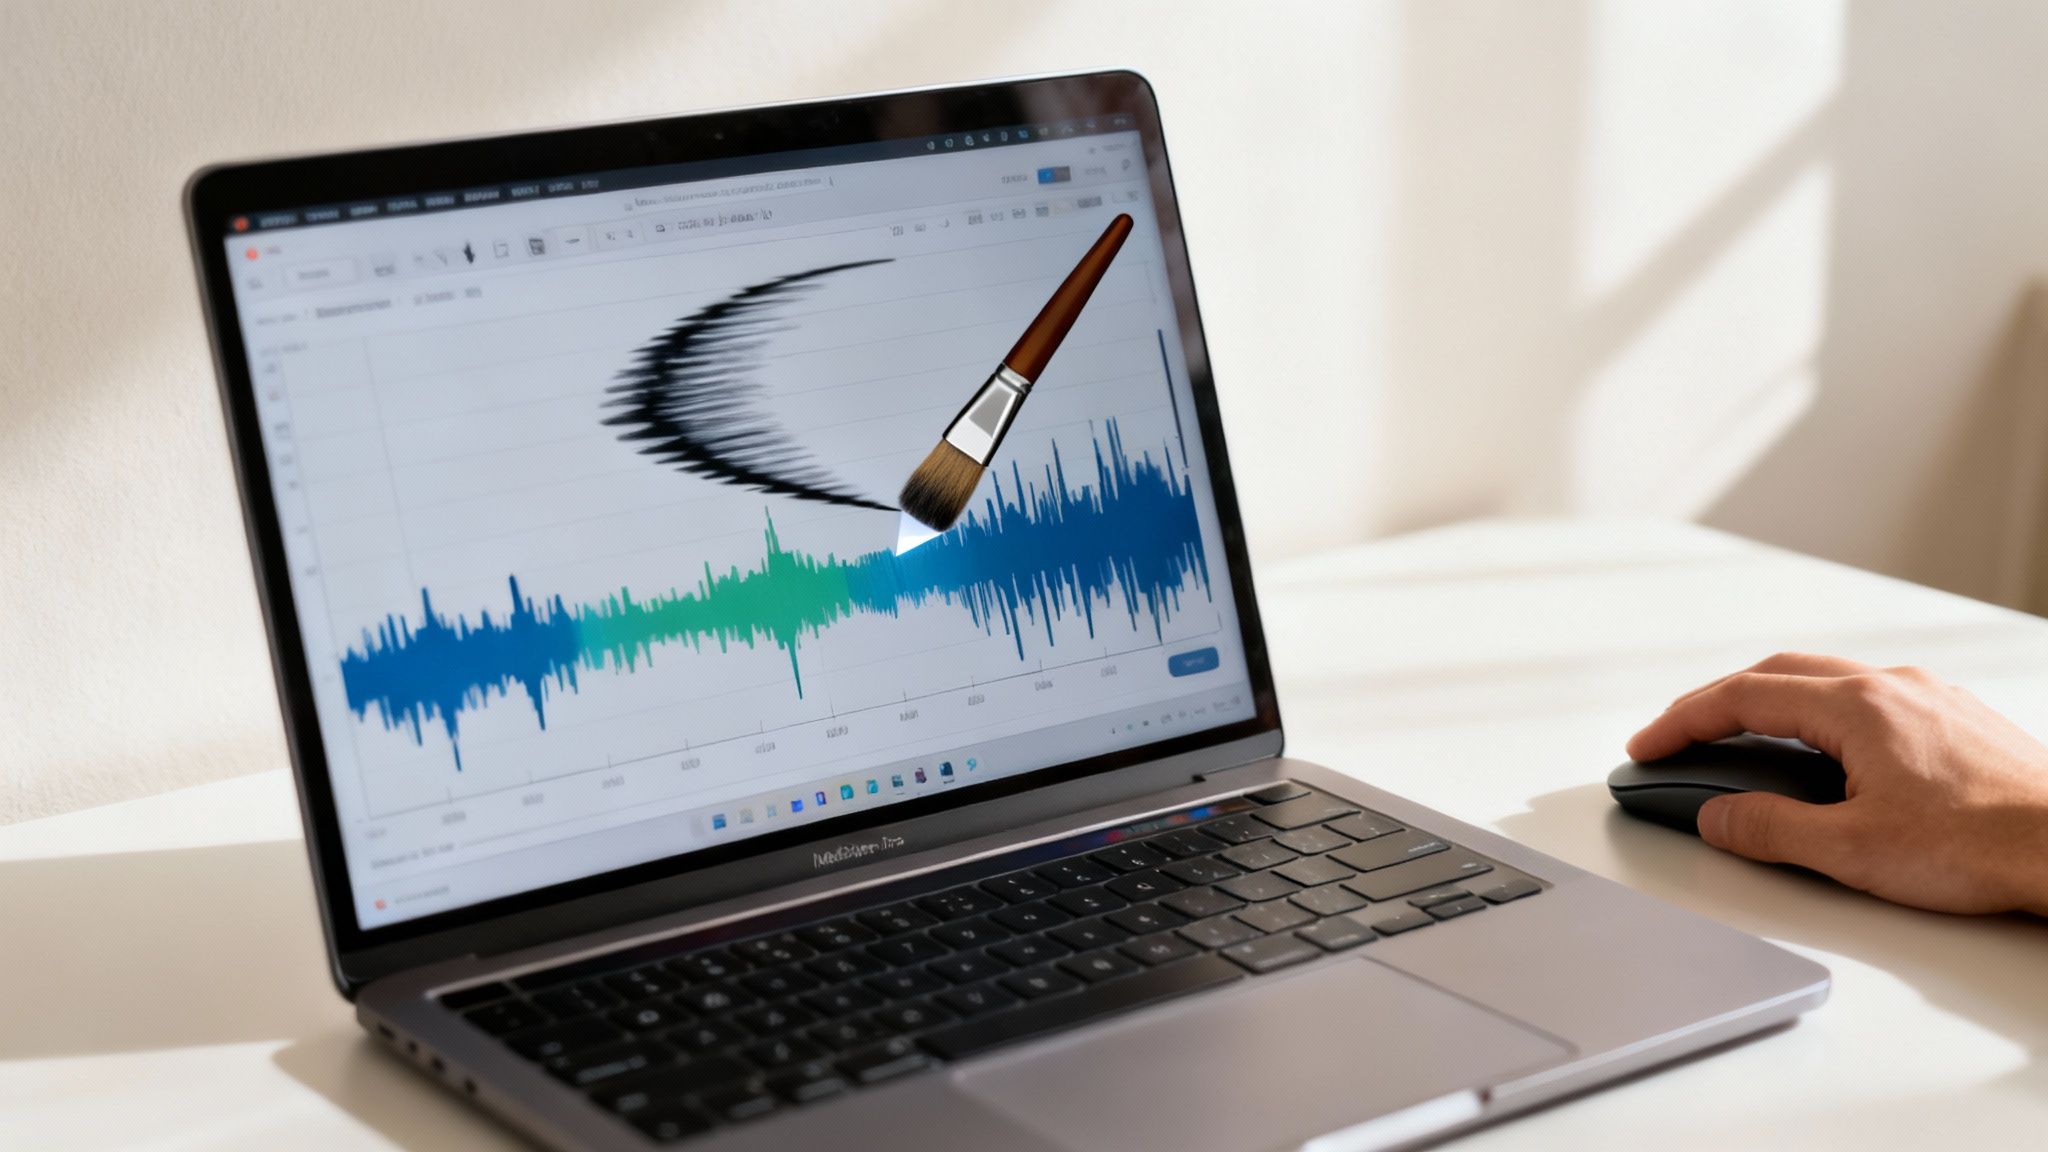
Taking on Severe Wind Damage with Spectral Repair
When the quick fixes just don't cut it, you're probably dealing with some serious wind damage. We're talking about audio where the wind isn't just a background annoyance; it's a destructive force that has distorted the waveform, caused clipping, and completely buried the dialogue. This is where we need to roll up our sleeves and move beyond EQs and gates into the world of spectral repair.
The best way to think about spectral repair is like using Photoshop for your audio. Instead of just looking at a simple waveform, you’re working with a spectrogram, which gives you a visual map of all the frequencies in your recording over time. This lets you surgically remove specific noises—like a nasty gust of wind—without wrecking the good stuff around it.
Learning to See the Sound
To do this kind of precision work, you'll need a tool with a spectrogram view, like the one in iZotope RX or Adobe Audition's "Spectral Frequency Display." On a spectrogram, the vertical axis shows frequency, the horizontal axis is time, and the brightness of any given spot tells you how loud that frequency is at that moment.
Wind noise has a tell-tale signature. It usually looks like a chaotic, bright smear down in the low-frequency range (typically below 500 Hz). You'll often see vertical streaks shooting up the display when a really strong gust hits. Dialogue, on the other hand, looks much more organized, with defined shapes and clear harmonic bands.
Your job is to visually erase the wind's signature while leaving the dialogue's pattern as intact as you can. For a deeper dive into this, it's worth exploring the best audio restoration software out there, as many are built around these powerful visual editing tools.
The Tools of the Trade
Once you’ve spotted the wind on the spectrogram, you have a few different "paintbrushes" to work with. The names might change slightly depending on the software, but they all get the same job done.
- Attenuate: This is your go-to. You simply select the messy wind region on the spectrogram and turn its volume down. Often, just pushing the wind into the background is enough, and it avoids creating weird, unnatural silences.
- Healing Brush / Spot Heal: Just like its counterpart in Photoshop, this tool is incredibly smart. It looks at the audio right next to your selection and uses that information to replace the noise with a similar, clean texture. It's a lifesaver for those short, sharp wind gusts that pop out of nowhere.
- Lasso / Selection Tools: These are for the tricky, irregular noise shapes. They let you draw a free-form selection right around the contour of a gust, so you can apply your fix with pinpoint accuracy.
This kind of visual editing is a game-changer. Back in the Electrical Era of recording (1925–1945), engineers were thrilled just to have microphones that improved the signal-to-noise ratio. They could only dream of having the ability to go back and surgically remove a sound after it was recorded.
My personal workflow is all about gentle, layered passes. I never try to fix it all in one go. I’ll start by attenuating the main low-frequency rumble by a few decibels, then go back in with the healing brush to zap the individual gusts. This approach always sounds far more natural in the end.
It's a meticulous process, no doubt, and it can take some time. But the feeling of rescuing a piece of audio that you thought was completely unusable is amazing. Learning to read and edit a spectrogram gives you a level of control that standard plugins just can't match. It’s the closest thing we have to reaching into a recording and pulling the wind out by hand.
Let an AI Do the Heavy Lifting for You
When you're staring down the barrel of a tight deadline and spectral repair feels like it’ll take all day, it’s time to turn to AI. Modern plugins powered by artificial intelligence can be lifesavers. They’re designed to intelligently separate that pesky wind noise from the dialogue or music you actually want to keep, often doing in a few seconds what would take me an hour to fix by hand.
Unlike old-school tools that just chop out frequencies, these plugins use machine learning models. They’ve been trained on thousands of hours of audio, learning to recognize the chaotic, unpredictable signature of wind versus the structured patterns of a human voice. The result? A much cleaner repair that doesn't leave behind the hollow, metallic artifacts you get from aggressive EQ or noise gates.
So, How Does It Actually Work?
At its heart, it’s all about advanced pattern recognition. An AI plugin doesn't just hear a low-frequency rumble and cut it. It analyzes the entire frequency spectrum, identifies the specific, complex characteristics of wind noise, and surgically removes it while leaving the delicate harmonics of the voice intact.
You’ll find fantastic tools for this from companies like iZotope, Waves, and CrumplePop. While their algorithms differ, the controls are usually refreshingly simple.
- Sensitivity or Reduction Amount: This is your big knob. It tells the algorithm how aggressively to hunt down and remove the wind.
- Target Frequencies: Some plugins give you the option to focus the AI on low, mid, or high frequencies, which is great for fine-tuning.
This technology has come a long way. Digital signal processing (DSP) has been around since the 1980s, but today's AI-driven approach is a whole different beast. It’s now used in a huge amount of online content, and some tests have shown modern AI tools can remove noise with 92% accuracy.
Putting AI Into Practice
Getting a great result from an AI tool is all about subtlety. It’s tempting to crank that reduction slider all the way to 100%, but that’s a rookie mistake. Pushing it too hard often introduces weird side effects, making the dialogue sound thin, robotic, or "watery." The real goal is transparency—you want the wind to disappear without anyone ever knowing a tool was used.
My personal workflow is to set the reduction to around 50% and listen to a short, looped section of the audio. I’ll slowly nudge the control up until the wind is gone, then stop. I almost never max it out. This gentle touch is what delivers the most natural-sounding fix.
These intelligent tools are game-changers, especially for video creators and podcasters who need to remove wind noise from audio without spending hours learning the ins and outs of audio engineering.
For an even faster solution, web-based platforms like SimpleClean take this a step further. You just upload your file, and the platform handles all the complex analysis for you. If your main goal is to get from a noisy recording to a polished final product as quickly as possible, it’s definitely worth looking into dedicated software noise cancellation tools. They’re the fastest route to clean audio.
How to Prevent Wind Noise at the Source
Look, while we can work miracles in post-production, the absolute best way to deal with wind noise is to make sure it never gets recorded in the first place. An ounce of prevention in the field is truly worth a pound of cure back at the computer.
Thinking ahead is all about physically stopping that gust of wind before it slams into your microphone's diaphragm and creates that awful, low-frequency rumble. It’s a mix of having the right gear and using it smartly.
Choosing the Right Microphone Protection
Your first line of defense is always a physical barrier. What you need really depends on where you’re recording, since each tool offers a different level of protection.
Foam Windscreens: These are the basic foam sleeves you often get right in the box with a new mic. They’re great for indoor use to stop plosives (those harsh 'p' and 'b' sounds), but they offer almost no real protection against anything more than a gentle indoor draft. Don't rely on them outside.
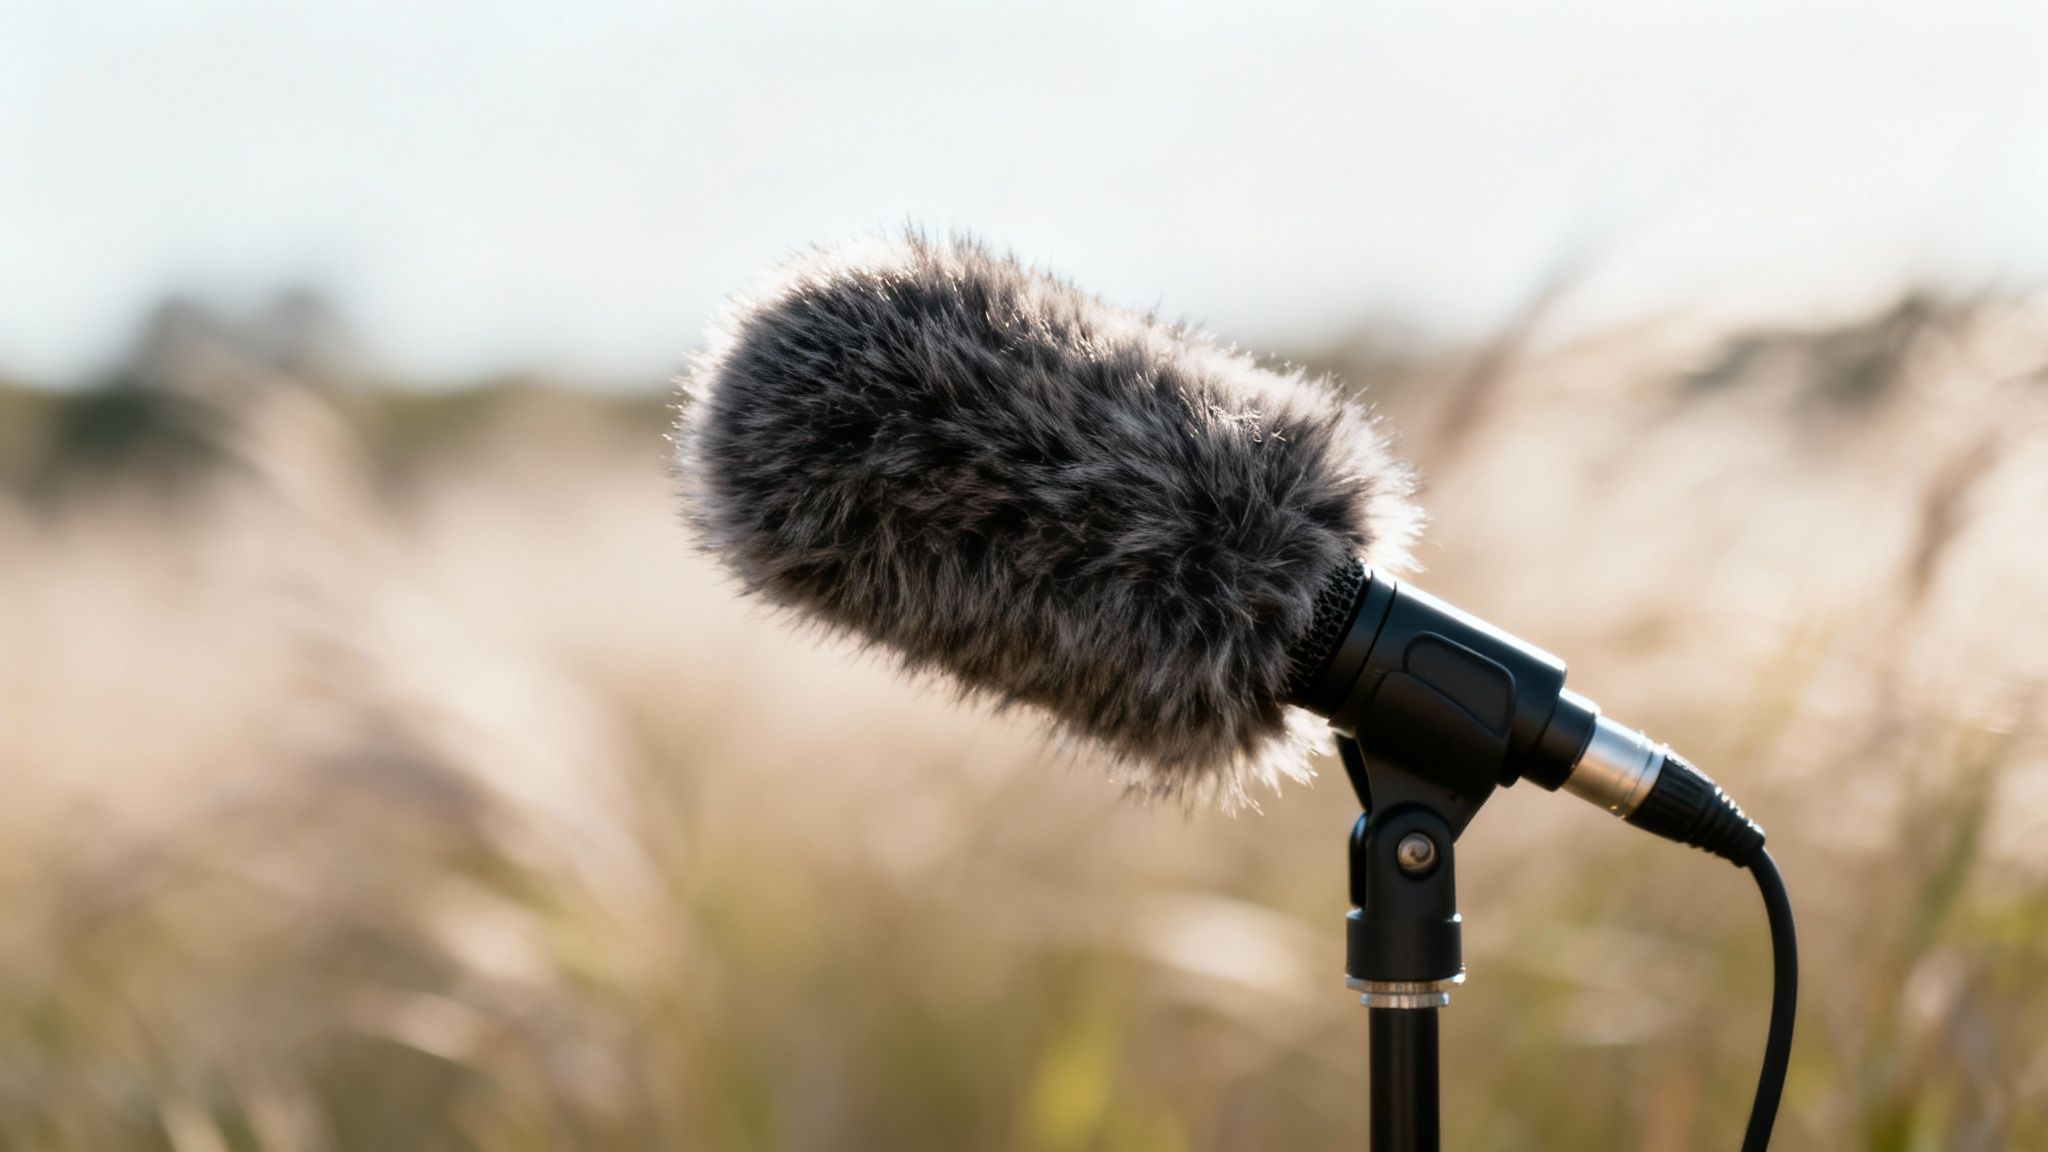
Furry Windscreens ("Deadcats"): Now we're talking. A "deadcat" is that fuzzy cover that slips over a foam screen or right onto the mic itself. Its long hairs are designed to break up and slow down the wind before it can create noise, making it an essential piece of kit for shooting in light to moderate wind.
Blimp or Zeppelin Systems: When you're facing serious wind, a blimp is the only way to go. This is a hollow, cage-like system that completely encloses your microphone, creating a pocket of dead, still air around it. Usually, you’ll also put a furry cover over the blimp, giving you the absolute best wind protection you can get.
Fighting unwanted noise is a tale as old as recording itself. During the Magnetic Era of recording (1945–1975), engineers battled constant tape hiss. Innovations like Dolby Type A noise reduction were game-changers, cutting hiss by 10-20 dB. You can read more about how early studio pioneers tackled noise problems over on vintageking.com.
Smart Field Recording Techniques
Having the right gear is one thing, but knowing how to use your environment can make just as big of a difference—and it’s often free.
Use your surroundings as a natural windbreak. Simply positioning yourself so a building, a car, or even your own body blocks the wind from hitting the mic can be surprisingly effective.
Your choice of microphone matters, too. A cardioid microphone is directional, meaning it mostly picks up sound from whatever it's pointing at and rejects sound from the sides and back. This is fantastic for isolating a person's voice and minimizing wind that might be hitting the mic from other angles.
On the other hand, an omnidirectional mic picks up sound equally from every direction. While it can be great for capturing a sense of space or ambient sound, it's a magnet for wind noise because it has no "off" direction to reject the wind from.
Mastering these on-location strategies is key to capturing clean audio from the get-go. For a deeper dive, check out our complete guide on how to reduce background noise in a microphone.
Common Questions About Wind Noise Removal
As you get deeper into audio repair, you're bound to hit a few roadblocks. When you're trying to remove wind noise from audio, some unique challenges and questions always seem to pop up. Here are some straightforward answers to the things I get asked most often.
Can I Completely Remove Severe Wind Noise From My Audio?
To be blunt, it's almost impossible. When a strong gust of wind hits your mic, it doesn't just add a layer of noise—it physically overloads the microphone's diaphragm, causing it to clip and distort. That physical overload isn't just a sound; it's a complete corruption of the original audio signal.
While you can work some serious magic with modern spectral repair tools, trying to fix extreme wind often leaves you with a hollow, watery sound full of strange artifacts. The realistic goal isn't pristine restoration. It's about reducing the noise enough to make the important stuff, like dialogue, understandable. This is exactly why getting it right at the source is so important.
What's the Best Way to Reduce Wind Noise on a Smartphone Video?
When you’re shooting with a phone, you need to tackle this from two angles. First, and most importantly, is physical protection. Go online and find a small, clip-on "deadcat" windscreen designed for smartphones. They are cheap, easy to use, and shockingly effective. This one little accessory will solve 90% of your problem before you even hit record.
For any remaining noise, you'll turn to software. Most mobile video editing apps offer some basic noise reduction filters. For a cleaner result, I'd recommend exporting the audio, running it through a dedicated desktop tool like Audacity or an AI-powered cleaner, and then re-syncing that clean audio track with your video.
Are There Any Free Tools That Can Remove Wind Noise?
Yes, there are! Your best bet in the free world is Audacity. Its "Graphic EQ" or "Filter Curve EQ" effect lets you create a high-pass filter, which is perfect for slicing away the low-frequency rumble that makes up the bulk of wind noise. It's a simple fix, but it can be surprisingly powerful.
Audacity also has a "Noise Reduction" effect. You can give it a sample of pure wind noise from your track, and it will try to subtract that sound signature from your entire recording. It's not as sophisticated as paid AI tools, but for mild to moderate wind, you can get some very usable results with a bit of tweaking.
A quick but important note: A pop filter is not a windscreen. A pop filter is built to stop plosives—the bursts of air from 'p' and 'b' sounds—in a quiet studio. It offers almost no protection against the sustained, low-frequency force of wind outdoors.
If you're recording outside, a basic foam windscreen is the bare minimum. For anything more than a gentle breeze, a furry deadcat is absolutely essential to get a clean recording.
Tired of wrestling with EQs and noise profiles? SimpleClean uses advanced AI to strip out wind, traffic, and other background noise from your audio and video files in a single click. Just upload your file, and our cloud-based tool gives you back clear, professional-sounding audio in minutes.