Have you ever abandoned a video because you just couldn't stand the audio? If so, you're not alone. A distracting hum, a persistent hiss, or just general background chaos is often a bigger turn-off for viewers than a slightly blurry picture.
Great audio is what keeps people locked in.
Why Clean Audio Is the Unsung Hero of Professional Video
Imagine trying to follow a critical business presentation recorded on Zoom, but all you can hear is the drone of an air conditioner. Or think of a creator's in-depth tutorial being completely washed out by the sound of passing traffic.
These aren't just minor annoyances. They actively undermine your message, damage your credibility, and ultimately cause people to click away. This is exactly why knowing how to remove background noise from video has become a fundamental skill for anyone serious about creating content that people will actually watch, trust, and share.
The numbers back this up. The market for background sound removal tools was valued at a massive USD 1,228 million in 2023 and is expected to climb to USD 1,655 million by 2030. It's a direct response to what creators have learned: a whopping 83% of live streaming professionals see audio quality as the single most important part of the viewer experience.
Your message is only as strong as its weakest link. If your audio is muffled, inconsistent, or noisy, your audience won't just struggle to hear—they'll struggle to connect with you.
Beyond Engagement: The Practical Payoffs of Clean Audio
Getting your audio right does more than just make your videos sound better. It also opens up a ton of new ways to use your content, like making it easy to transcribe video to text online.
When your audio is crisp and free from distractions, you create a solid foundation for:
- Better Accessibility: Clean transcripts and captions make your content available to everyone, including people with hearing impairments or those who watch videos with the sound off.
- Smarter Content Repurposing: A polished audio track can be easily turned into a podcast, used as the basis for a blog post, or chopped up into shareable social media clips. You get more mileage out of every single recording.
- A More Professional Image: At the end of the day, pristine sound screams quality and attention to detail. It instantly boosts your authority and shows your audience you care about their experience.
Alright, let's ditch the theory and get our hands dirty. Seeing how a tool actually works is where you'll really understand its power. I'm going to walk you through the exact process I use with an AI tool like SimpleClean to remove background noise from video. The whole point of this workflow is to be incredibly straightforward, so you can skip the nightmare learning curve that comes with traditional audio software.
The name of the game here is speed and simplicity. Forget about wrestling with audio tracks, isolating them, or messing around with confusing plugins. You'll work directly with your video file and let the AI do all the heavy lifting. It's a lifesaver for creators who just want professional-sounding audio without becoming audio engineers overnight.
Ultimately, this whole process is about one thing: winning back your audience's attention. I've seen it a thousand times—bad audio is the fastest way to get someone to click away, and it can really hurt your brand's credibility.
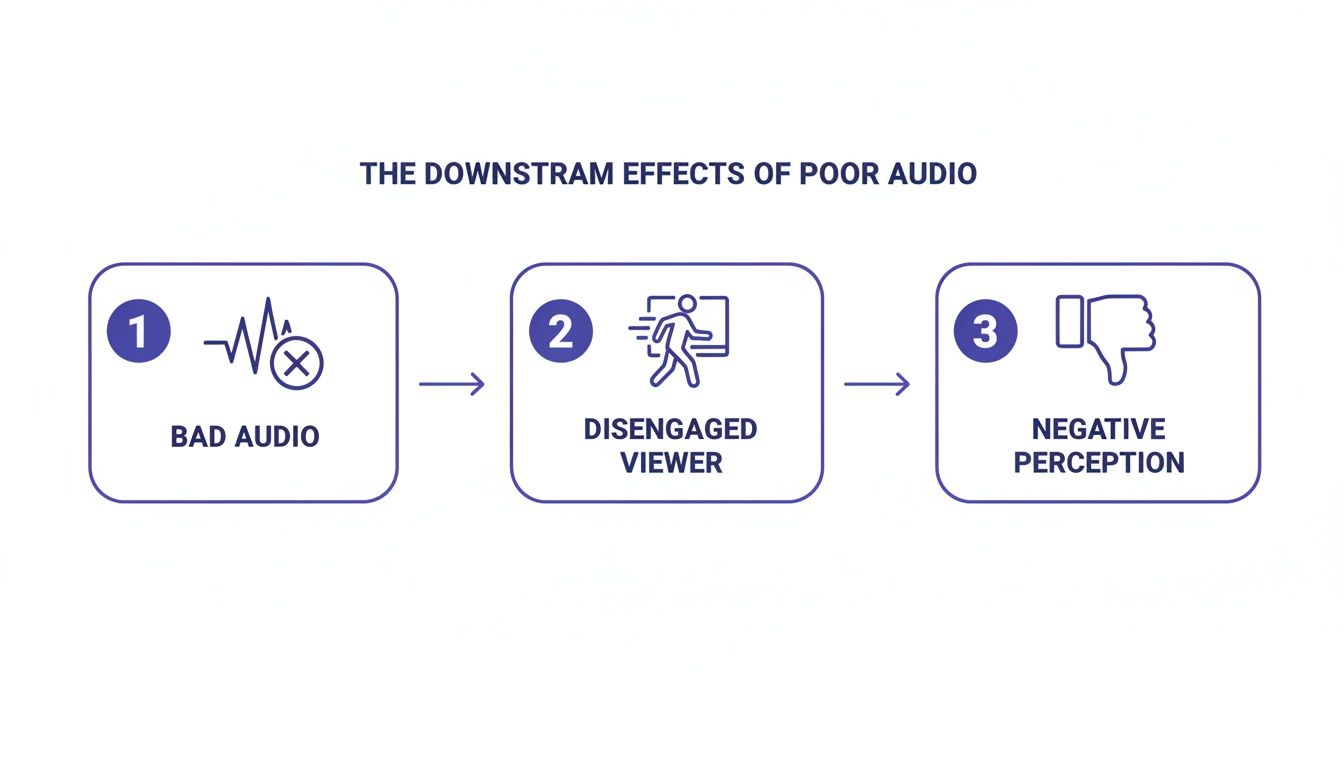
This flowchart nails it. Bad audio is the first domino to fall. It leads straight to viewers tuning out and developing a poor opinion of your content.
Getting Your Video File Uploaded
First things first, you need to get your video into the system. SimpleClean is built around a super simple drag-and-drop interface. Just grab your video file—whether it's an MP4, MOV, or AVI—and drop it right in. You don't have to waste time converting anything or trying to rip the audio out first.
Once you’ve dropped your file in, the AI immediately starts its work. The clean, no-fuss design is all about getting you from A to B with zero friction.
My Pro Tip: Always, always start with the highest quality source file you have. While AI can do amazing things with a compressed video from your phone, giving it the original, data-rich file from your camera will almost always give you a cleaner, more natural-sounding final product.
The AI Gets to Work on Noise Removal
This is where the real magic happens, all behind the scenes. The AI listens to the entire audio track from your video and intelligently figures out what’s your voice and what’s unwanted noise. This isn't just some blunt, generic filter; it’s a sophisticated process that identifies and targets specific, disruptive sounds.
I’ve found this approach to be incredibly effective against all the usual suspects:
- Constant Drones: That annoying hum from an air conditioner, a whirring computer fan, or a refrigerator kicking on.
- Random Sounds: Things like distant traffic, sudden wind gusts, or even the click-clack of your keyboard.
- Room Echo and Reverb: That hollow, empty sound you get when recording in a room with bare walls and hard floors.
The AI surgically removes these distractions while being careful to leave the natural tone and rhythm of the speaker's voice intact. This is a huge deal because it avoids that "robotic" or "underwater" sound that older noise-gate tools were infamous for creating. If you're curious about the nitty-gritty of how this works, we've covered the tech behind software noise cancellation in another article.
Preview the Difference and Download Your Clean Video
Once the processing finishes, you get to hear the results for yourself. The tool lets you play the original and the cleaned versions side-by-side. This instant A/B test is perfect for confirming that the background noise is gone without making the dialogue sound weird or unnatural.
For instance, let's say you recorded an interview in a loud coffee shop. You can toggle back and forth between the original—full of clattering dishes and background chatter—and the cleaned version, where the speakers' voices are front and center. It's also worth seeing what's out there; exploring advanced AI audio cleaning tools like Descript can show you different approaches to tackling the same problem.
When you’re happy with how it sounds, you just hit download. The final video will be in the same format you uploaded (like MP4), but now with the brand-new, cleaned-up audio track perfectly synced. Your video is officially ready to publish, share, or take into your video editor for the final touches.
Picking the Right Audio Cleanup Workflow for Your Video
When you need to remove background noise from video, you're faced with two main paths. You can take the fast lane by uploading the entire video file and letting an AI tool do the heavy lifting, or you can take the scenic route by separating the audio for a more hands-on, precise clean-up.
So, which one is right for you? It really boils down to what you're working on. Are you after a quick fix for a social media clip, or are you meticulously crafting a short film where every sound matters? Let's get into the specifics of each method so you can choose with confidence.
The All-in-One Video Upload
The most direct approach is to upload your entire video file—your MP4 or MOV—straight into a tool like SimpleClean. This workflow is built for pure efficiency. The AI gets to work on the audio track inside your video, strips out the noise, and then hands you back a brand new video file with the clean audio already perfectly synced.
This method is an absolute lifesaver for:
- Quick Turnarounds: Perfect when you need to get content out fast for social media, internal company updates, or online course modules.
- Simple Projects: If you’re not planning a complex edit and just need better sound, this approach cuts out all the unnecessary steps.
- Beginners: It’s a fantastic starting point because it doesn't require any prior knowledge of video editing software or audio extraction.
The only real trade-off here is a bit of control. You're putting your trust in the AI to handle the final mix and deliver a polished result in one shot.
For most creators I talk to, the direct upload method is the default choice. It reliably fixes 90% of common audio issues—like air conditioner hums, computer fan noise, and distant traffic—without complicating the editing process.
Separate Audio Processing for Precision Control
For projects that require a finer touch, separating your audio gives you the ultimate control. This workflow involves a few more steps: first, you’ll use a video editor like DaVinci Resolve or Final Cut Pro to export just the audio track as a high-quality WAV or MP3 file.
You then upload that isolated audio file for cleaning. Once it's processed, you bring the clean track back into your video editor and simply replace the original noisy one. It's a more deliberate process, for sure.
This hands-on approach is the way to go for:
- Professional Productions: Essential for documentaries, indie films, or high-stakes commercial work where pristine audio is non-negotiable.
- Complex Audio Editing: If your project involves mixing dialogue with music, sound effects, and other audio layers, starting with a clean dialogue track is critical.
- Advanced Control: This method gives you the freedom to make further tweaks to the cleaned audio, like applying EQ or compression, before locking in your final video.
To make the decision even clearer, I’ve put together a quick comparison table below. And if you want to explore more tools for the job, you can check out our detailed guide on the best audio noise reduction software on the market right now.
Direct Video Upload vs Separate Audio Processing
This table breaks down the two main methods for cleaning video audio, helping you decide which workflow is best for your project's needs.
| Feature | Direct Video Upload (with SimpleClean) | Separate Audio Processing |
|---|---|---|
| Speed | Very Fast (minutes) | Slower (requires multiple steps) |
| Simplicity | Extremely Simple | Requires basic video editing skills |
| Control | Less granular control | Maximum control over the final mix |
| Best For | Social media, vlogs, quick content | Professional video, complex projects |
Ultimately, there’s no single "best" way—just the best way for your specific project. Start with the direct upload for speed, and move to the separate audio workflow when your creative vision demands that extra layer of polish and control.
Proactive Tips for Recording Cleaner Audio from the Start
While AI tools like SimpleClean can work miracles on noisy audio, the absolute best way to get clean sound is to capture it that way in the first place. I always think of it like this: AI is the cure, but a solid recording technique is the prevention.
Putting in a little effort before you even hit the record button will always give you a more professional, natural-sounding result. This not only saves you a headache in post-production but also gives noise reduction software a much better file to work with. A cleaner source file means the AI has less heavy lifting to do, which translates to a more pristine final product. It’s the difference between a minor touch-up and major audio surgery.
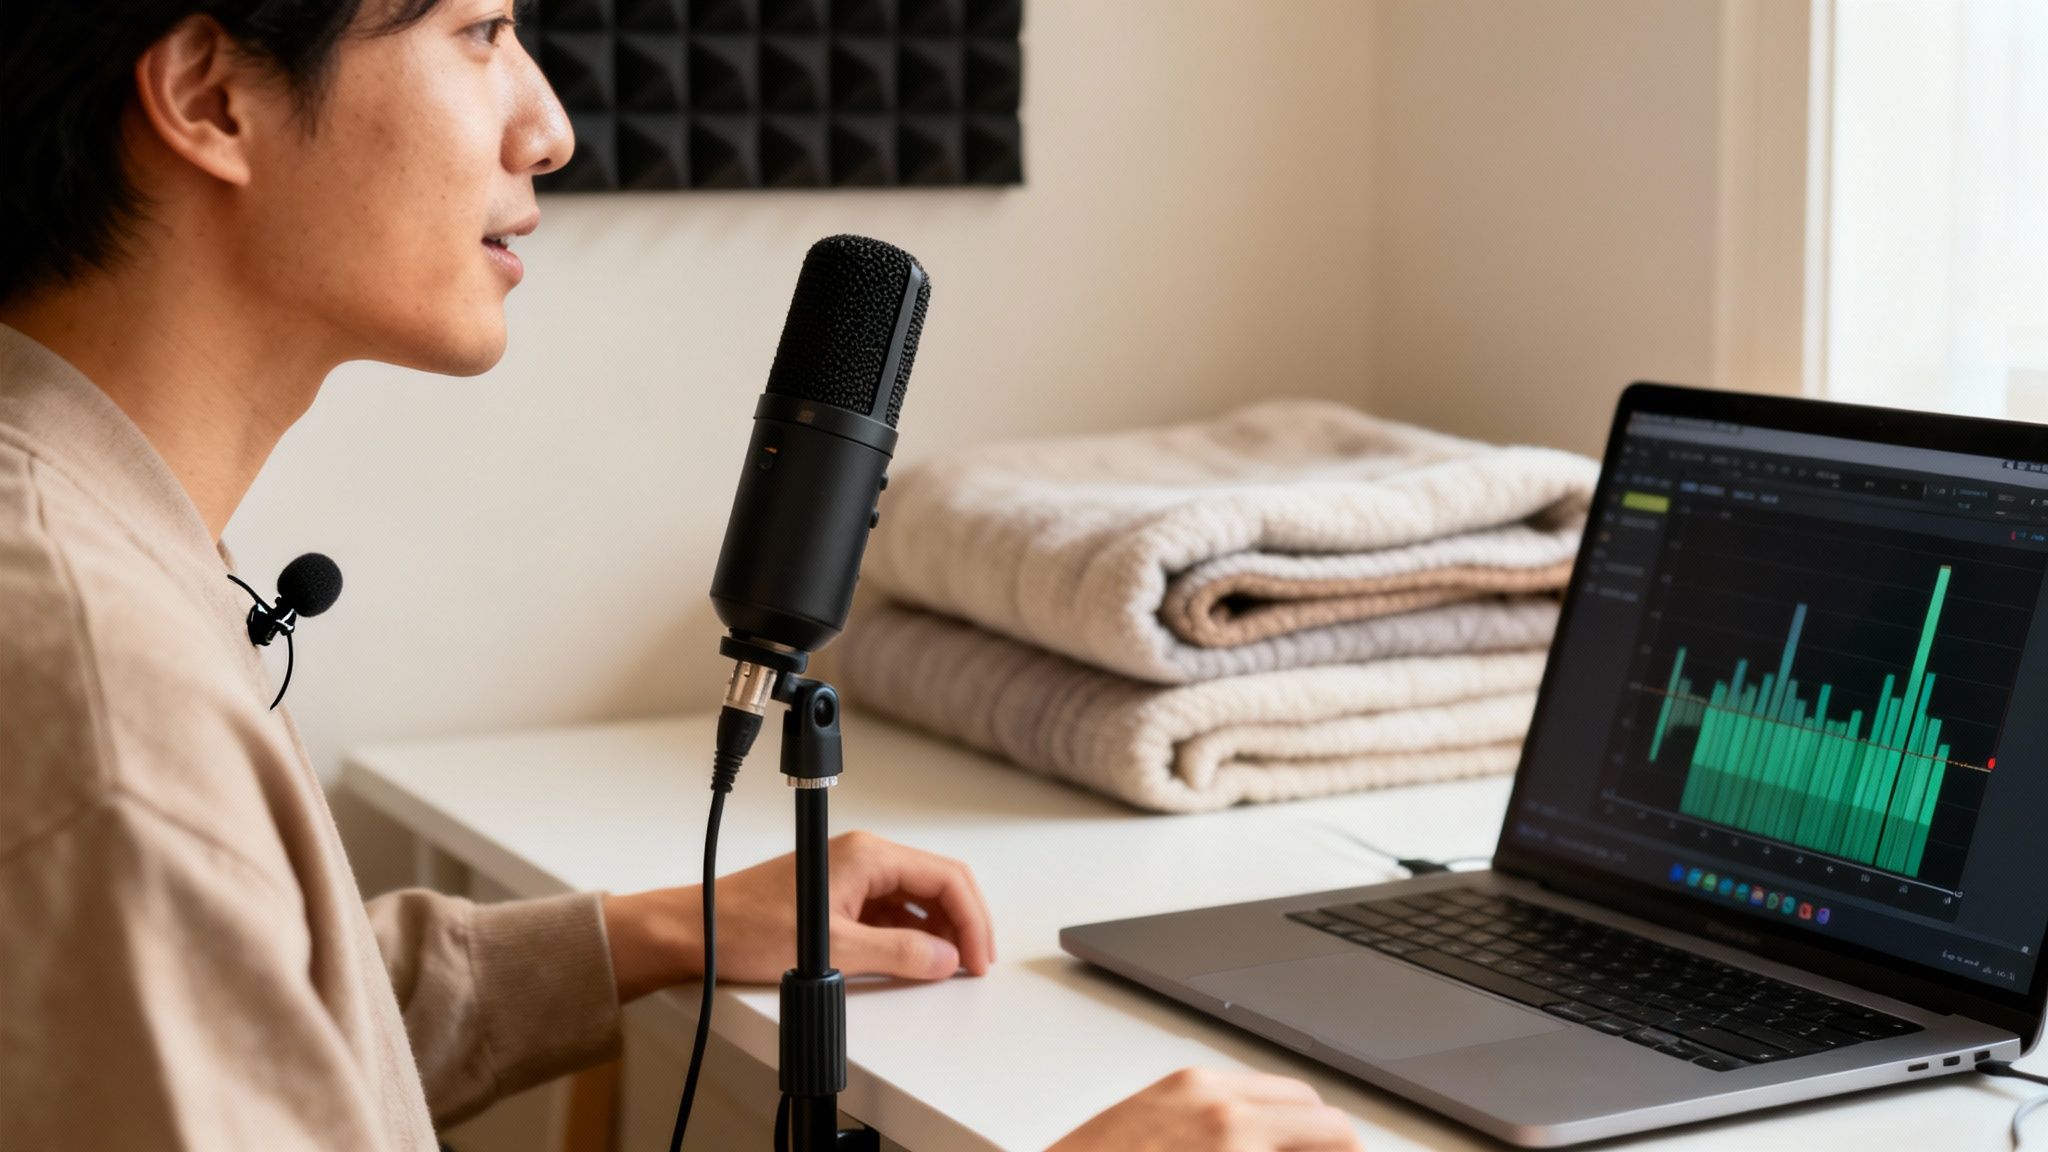
Choose Your Recording Space Wisely
Your environment can be your biggest enemy or your greatest ally. Recording in a room full of hard, flat surfaces—think kitchens with tile floors or empty offices with bare walls—is just asking for echo and reverb. Those sound waves bounce all over the place, creating a hollow, unprofessional sound that’s a real pain to fix later.
Instead, hunt for spaces with plenty of soft surfaces that absorb sound. A bedroom with carpet, curtains, and a bed often works surprisingly well as a makeshift studio. I’ve even seen people get fantastic results in a walk-in closet packed with clothes; it's a perfect sound-dampening environment.
Here are a few simple ways to treat your room on a budget:
- Use blankets: Hanging heavy blankets or duvets on the walls around your recording spot is a classic, low-cost trick to kill echoes.
- Add soft furniture: If the room is sparse, bring in pillows, cushions, or even a sofa to break up those flat surfaces and stop sound from bouncing.
- Listen for the hum: Before you record, just stand still for a minute and listen. Do you hear the low hum of the refrigerator, the whir of a computer fan, or the buzz from fluorescent lights? Turn them off if you can.
Master Your Microphone Technique
Using the right microphone—and putting it in the right place—is completely non-negotiable for clean audio. Your smartphone's built-in mic might be convenient, but it's designed to pick up sound from every direction, which means it will grab every distracting noise in the room.
Investing in a decent external microphone is one of the single best upgrades you can make to your setup. A lavalier (or lapel) mic is fantastic for interviews because it stays close to the speaker's mouth. For voiceovers at a desk, a quality USB condenser mic is a great choice. If you want to dive deeper, you can learn more about how to reduce background noise in a microphone with specific techniques.
The golden rule of mic placement is to get it as close to the sound source (your mouth) as you can without causing "plosives"—those harsh pops on "p" and "b" sounds. A distance of about 6-10 inches is a solid starting point for most mics.
This focus on clean audio has become absolutely critical. Since 2020, the need for noise-free video communication has exploded, with daily Zoom participants jumping from 10 million to over 300 million. Today's AI tools can eliminate up to 90% of background noise, which has been shown to boost viewer satisfaction by as much as 50%.
Ultimately, combining a thoughtful recording setup with the power of AI is the definitive way to remove background noise from video and achieve that polished, studio-quality sound every single time.
Power Through Your Editing with Bulk Audio Processing
If you're creating content regularly, you know that efficiency is king. For podcasters sitting on a backlog of episodes, course creators prepping a dozen video lessons, or marketers trying to polish a whole ad campaign, cleaning up audio file-by-file is a serious bottleneck. That kind of manual work just doesn't scale.
Going through each file one at a time doesn't just eat up your day; it adds a layer of friction that can derail your entire production schedule. When you need to remove background noise from video across an entire series, you need a smarter way to work—one that doesn't force you to choose between speed and quality.
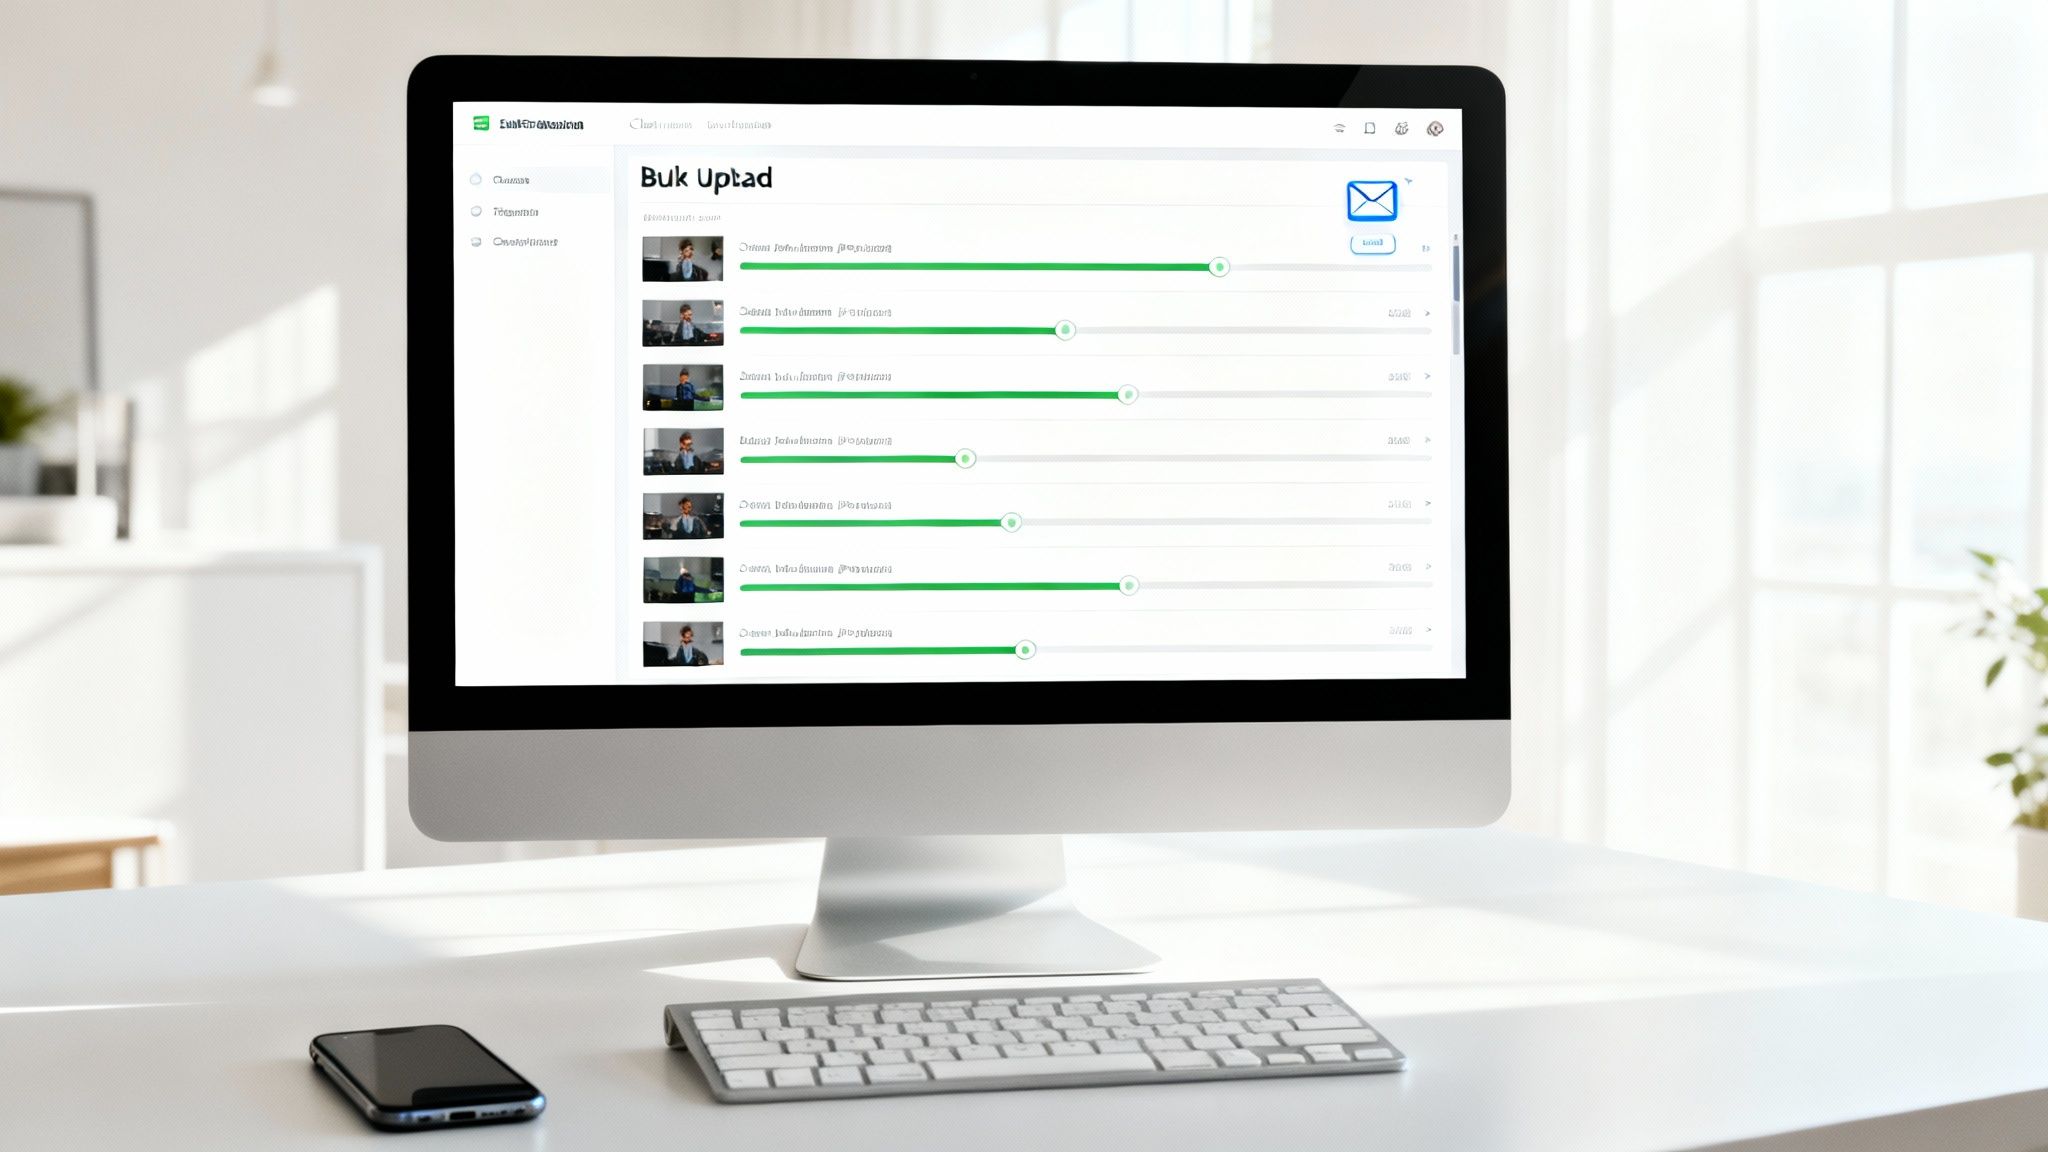
This is exactly where SimpleClean comes in with its bulk processing feature, built specifically for creators who handle a lot of content. Forget the tedious one-by-one method. Here, you can upload a whole batch of audio or video files in one go.
How Batching Files Changes Everything
Let's say you just wrapped up five separate interviews for your YouTube channel. Instead of going through the upload-and-wait cycle five different times, you can just drag and drop all five video files at once. The AI queues them up and gets to work on each one automatically, turning a repetitive chore into a single action.
This approach is a total game-changer for a few key reasons:
- You get your time back. Kicking off an entire batch takes seconds, freeing you up to work on something else.
- The quality stays consistent. The same cleaning algorithm runs on every file, so you get a uniform, professional sound across your entire project.
- It keeps your project organized. Managing large projects becomes much simpler when you can process content in logical batches instead of juggling a dozen individual files.
This kind of efficient workflow is becoming a necessity. The market for noise reduction tools is expected to jump from USD 2.31 billion in 2025 to a massive USD 45.02 billion by 2034. That growth is fueled by creators like you who need powerful tools that fit into a fast-paced workflow. You can discover more insights about this growing market trend to see how cloud-based tools are stepping up to meet this demand.
The "Set It and Forget It" Method
One of the best parts about bulk uploading is the email notification system. Once you've uploaded your files and they're processing, you're free. There's no need to babysit a browser tab or keep checking on the progress.
Just start the upload, close your laptop, and get back to your day. SimpleClean shoots you an email the second your cleaned files are ready to download. It’s a true "set it and forget it" process that lets you focus on being creative, not watching progress bars.
Got Questions? We’ve Got Answers.
When you're trying to clean up your audio for the first time, it's natural to have a bunch of questions. Getting the right answers can be the difference between a frustrating afternoon and creating something that sounds truly professional.
Let's walk through some of the most common things people ask about removing background noise, from what the AI can actually handle to whether it'll mess with the sound of your voice.
What Kinds of Noise Can AI Actually Remove?
Modern AI is surprisingly good at pinpointing and getting rid of a huge variety of unwanted sounds. It's especially effective at dealing with those persistent, steady background hums that can ruin an otherwise perfect take.
You know the ones I'm talking about:
- The low drone of an air conditioner or a refrigerator kicking on.
- That constant whir from a computer fan you didn't even notice while recording.
- Annoying electrical hiss or buzz coming from your gear.
But it's not just the constant stuff. The AI is also a beast at tackling those random, unpredictable noises that pop up out of nowhere. Think sudden wind gusts on an outdoor shoot, the rumble of distant traffic, the clicking of a keyboard, or even distracting mouth noises like lip smacks. The tech is smart enough to separate those sounds from the human voice, so you can keep the good stuff and toss the rest.
Is This Going to Make My Voice Sound Weird or Robotic?
That's a valid concern. Anyone who's tinkered with older audio tools has probably experienced that awful, choppy, "underwater" sound. That’s because old-school noise gates were pretty clumsy—they just cut out anything below a certain volume threshold, often taking bits of your voice with them.
Thankfully, we've come a long way since then.
Today's AI tools are much more sophisticated. Instead of just cutting out quiet parts, they analyze your entire audio file to learn the specific characteristics of your voice. This means the AI can perform a much cleaner, more surgical removal of background noise without stripping away the natural warmth and tone of your speech. The goal is to make it sound like the noise was never there, not to make you sound artificial.
The final result is audio that sounds clear and present, not heavily processed. Your voice just sounds like... you.
What’s the Best File Format to Use for Cleaning?
For the best possible outcome, you always want to start with the highest quality file you have. The more data the AI has to work with, the better and more accurate the final result will be.
Here’s a quick rundown of what works best:
- For Video Files: Your standard MP4 and MOV files are perfect. These are what most cameras and smartphones spit out anyway, and they work flawlessly with tools like SimpleClean.
- For Audio-Only: If you're working with a separate audio track, WAV is the gold standard. It’s a lossless format, meaning it contains all the original, uncompressed audio data—which is exactly what you want for detailed cleanup work.
- What About Compressed Audio? You can absolutely use formats like MP3. They are fully supported. Just keep in mind that since they're compressed, some audio information has already been discarded, which might slightly limit the final quality compared to what you could get from a WAV file.
How Long Does This Whole Process Take?
The processing time really just depends on the length of your file, but cloud-based AI tools are built for speed. A short clip, say a one-minute video for social media, can often be cleaned up in less than 60 seconds.
Of course, longer content like a full one-hour podcast or webinar will take a bit more time. The huge advantage here is that all the heavy lifting happens on powerful servers in the cloud, not on your own computer. This means your machine won’t grind to a halt, and you're free to get on with other work while your audio gets its polish.
Ready to hear the difference for yourself? With SimpleClean, you can instantly remove distracting background noise and give your videos the crystal-clear audio they deserve. Try SimpleClean for free and clean up your first hour of audio today.