The fastest way to remove background noise from audio is with specialized software. You can either make manual tweaks in a Digital Audio Workstation (DAW) or lean on one-click AI-powered tools. Modern AI cleaners like SimpleClean are a game-changer, automatically detecting and isolating vocals from unwanted sounds like traffic, hums, and clicks—no complex settings required.
Why Clean Audio Is Your Most Important Asset
Let's cut right to it: bad audio will sink your content, no matter how good it is. In a world overflowing with videos, podcasts, and online courses, your audience has zero patience for distracting background noise. A faint air conditioner hum, a distant dog bark, or even keyboard clicks can be the one thing that makes a viewer bounce.
This isn’t just a hunch; it’s proven by audience behavior. Messy audio signals a lack of polish and makes it tough for your message to connect. When your listeners have to work just to understand you, they get tired and lose interest fast.
The Real-World Impact of Poor Audio Quality
Imagine a podcast interview. You sound crystal clear, but your guest sounds like they're recording in a wind tunnel. The listener's brain has to work overtime to filter out the noise, which quickly becomes frustrating. Most people will just give up and find something else to listen to.
For YouTubers, this translates directly into lower watch times and poor retention rates, telling the platform's algorithm your content isn't worth promoting. The problem is so common that the global Background Noise Reduction Software Market is exploding, projected to jump from USD 2.31 billion in 2025 to a massive USD 45.02 billion by 2034.
Even more telling, noisy videos can lose 30-40% of their viewers in the critical first 10 seconds. This is why tools like SimpleClean, which can process large files entirely in the cloud, are becoming indispensable for creators. You can find more about this growing market trend.
Bad audio is the silent killer of good content. It doesn't matter how brilliant your message is if your audience has to fight through a wall of noise to hear it. Pristine sound isn't a luxury—it's the foundation of effective communication.
Before we dive into the "how," it's helpful to know what you're up against. Different types of noise require different approaches.
Common Types of Background Noise and Their Impact
Here's a quick rundown of the most common audio contaminants creators face and how they affect the final product.
| Noise Type | Common Sources | Impact on Audio Quality | Best Cleanup Method |
|---|---|---|---|
| Hiss | Preamp noise, old tape, analog gear | Creates a high-frequency "ssss" sound that can be very distracting. | AI Denoiser, EQ, De-Hisser |
| Hum/Buzz | Ground loops, power lines (60Hz/50Hz) | A low-frequency, constant tone that makes audio sound unprofessional. | Notch Filter, De-Hummer |
| Clicks & Pops | Mouth sounds, digital errors, vinyl | Short, sharp sounds that break the listener's focus. | De-Clicker, Manual Editing |
| Reverb/Echo | Hard surfaces, empty rooms | Makes the speaker sound distant and hollow, reducing clarity. | De-Reverb, AI Voice Isolation |
| Ambient Noise | HVAC, traffic, wind, crowds | A constant "wash" of sound that competes with the main vocal. | AI Denoiser, Noise Gating |
Understanding the enemy is the first step. Now, let's look at the two main strategies for defeating it.
Two Paths to Professional Sound
Getting that clean, professional sound really comes down to a two-pronged strategy. If you're serious about your content, you need to master both.
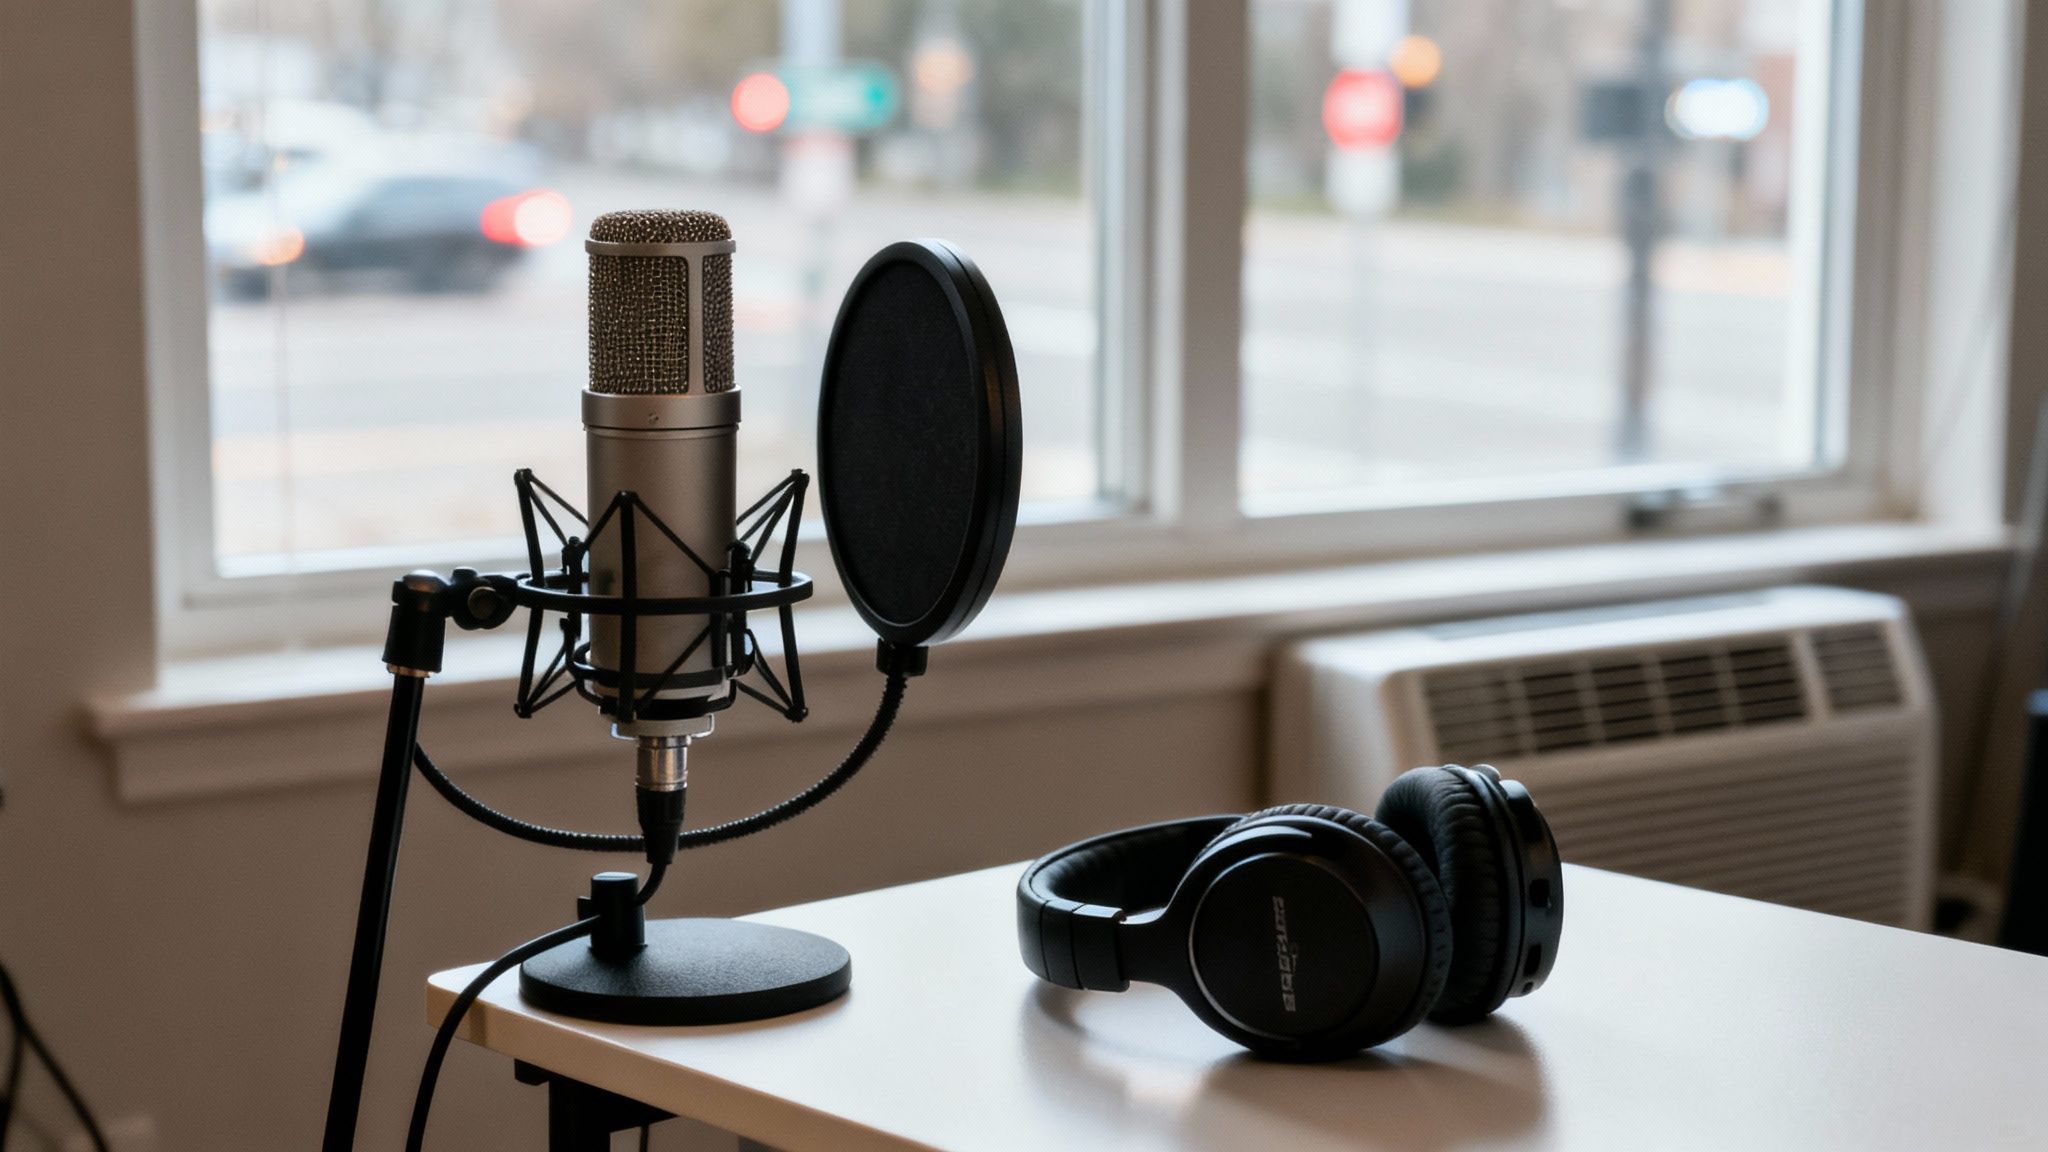
Prevention Before You Record: This is your first line of defense. It’s all about setting up your recording space to minimize ambient noise from the get-go. Simple things like choosing a carpeted room, turning off fans, and using the right mic can make a huge difference.
Cleanup in Post-Production: No matter how careful you are, some unwanted noise is almost inevitable. This is where post-production comes in. You can dive in and edit the audio manually in a DAW, or you can use modern AI tools to remove background noise from your files quickly and easily.
While prevention is key, the power of today's post-production tools is undeniable. AI audio cleaners have made it possible for just about anyone to get studio-quality results without a steep learning curve, turning what used to be a technical chore into a simple step in their workflow.
Setting Up Your Space for Clean Recordings
Let's be honest: the absolute best way to deal with background noise is to stop it from getting into your microphone in the first place. While today's AI tools are practically magic for cleaning up messy audio, nothing beats a clean source file. Think of it this way—it's far easier to tidy a slightly cluttered room than it is to renovate a disaster zone. The end result is always better when you start from a good place.
You don't need a pro studio or a mountain of expensive gear to make this happen. A few smart choices about your recording environment can make a world of difference, and you can probably do it with things you already have. Taking this proactive step will save you a ton of headaches in post-production and help you steer clear of that dreaded, "over-processed" sound that comes from heavy-handed noise reduction.
Choose Your Room Wisely
Your first move is picking the right space to record. Big, open rooms with high ceilings and hard, flat surfaces? They're your enemy. These spaces are echo-chambers, making your voice sound distant, hollow, and unprofessional.
What you're looking for is a smaller, more contained area. A walk-in closet is a classic DIY recording booth for a reason—it's tiny, and all those clothes are fantastic natural sound absorbers. If a closet isn't an option, a small bedroom or office with carpeting and plenty of soft furniture is your next best bet.
- Soft Surfaces Are Your Friend: Hardwood floors, bare walls, and big windows are like mirrors for sound waves, creating that tinny, bathroom-like echo.
- Look for Absorption: Anything soft helps. Carpet, area rugs, curtains, couches, and even a well-stocked bookshelf will break up and soak up sound, effectively deadening the room's natural reverb.
The mission here is to create a "dead" space where your voice is the star of the show, without it bouncing off every wall before it hits the mic.
Simple and Effective DIY Sound Treatment
Forget about lining your walls with expensive acoustic foam. You can get phenomenal results with some simple, low-cost tricks to tame a room with too much life.
Heavy blankets or moving quilts are a content creator's secret weapon. Drape them over doors, windows, or any other large, flat surface. You can even build a small fort around your desk with a few microphone stands and blankets to create a makeshift vocal booth. It might look a little strange, but this one trick can dramatically reduce reflections and make your audio sound incredibly tight and focused.
Remember, the goal isn't perfect soundproofing—it's sound absorption. You're just trying to stop sound waves from bouncing around, which is the main culprit behind echo and reverb in home recordings.
The growing demand for clean audio is undeniable. The market for noise control solutions is projected to hit USD 10.8 billion by 2035, a testament to how vital clear sound has become. This trend is driven by a real problem: some surveys show that as many as 70% of online videos have clarity issues because of background noise. While software provides a powerful fix, starting with good physical room treatment is always the best foundation. You can read more about the noise control system market trends to see how big this issue is.
The Right Microphone for the Room
The microphone you use plays a huge part in how much background noise you end up with. A lot of people starting out grab a sensitive condenser mic, thinking it'll capture the richest detail. In an untreated room, that's often the worst possible choice.
- Condenser Mics: These things are extremely sensitive. They'll pick up everything—the hum of your air conditioner, the dog barking next door, and every single reflection in your room. They're designed for acoustically treated, quiet studios.
- Dynamic Mics: These are much less sensitive and are built to capture sound from very close up. This makes them absolute champions for untreated rooms because they naturally reject more of that distant, ambient noise. There's a reason most professional podcasters and radio hosts swear by them.
If you're recording in a typical home office or bedroom, a dynamic microphone is your best friend for getting clean audio right from the start. You can dive deeper with our guide on how to reduce background noise in a microphone.
Master Your Microphone Placement
Finally, where you put your microphone is just as important as which one you use. Proper positioning helps you capture more of your voice and less of the room.
- Get Close and Personal: For most vocal work, get the mic about 4-6 inches from your mouth. This simple adjustment makes your voice the loudest, most dominant sound hitting the diaphragm.
- Talk Across the Mic, Not Into It: This is a great pro-tip. Avoid speaking directly into the front of the mic. Instead, position it slightly to the side and aim it toward your mouth. This helps kill those harsh 'p' and 'b' sounds (plosives) without even needing a pop filter.
- Watch Out for Reflections: Never point your microphone directly at a bare wall or a window. Try to position yourself so that any hard, reflective surfaces are behind the microphone, since most vocal mics are designed to reject sound coming from the rear.
Nailing these preventative steps sets you up for a much easier workflow. When you start with a clean recording, the entire editing process becomes faster and smoother, and you end up with a final product that sounds infinitely more professional.
The AI-Powered Workflow: Audio Cleanup on Autopilot
If you've ever spent hours in an audio editor trying to surgically remove a hiss or a hum, you know the pain. It’s a tedious, highly technical job that requires a good ear and a ton of patience. For most creators, this is a serious production bottleneck. But a new workflow, driven by artificial intelligence, is completely changing the game.
The modern approach is refreshingly straightforward: upload your file, let the AI do its thing, and download a clean version. This isn't just a simple filter. These AI models have been trained on thousands of hours of audio, learning to tell the difference between the nuances of human speech and the random chaos of background noise.
This allows them to perform incredibly precise noise removal. Instead of just ducking the volume on certain frequencies—which often leaves the speaker sounding thin or underwater—AI tools can isolate the human voice, preserving its natural warmth while stripping out everything else.
From a Noisy Field Recording to a Polished Final Cut
Let's imagine a real-world scenario. A travel vlogger just filmed an amazing segment in a bustling city market. The visuals are perfect, but the audio is a mess of traffic, distant chatter, and a low-frequency hum from a nearby generator. In the old days, that clip might have been unusable or required an hour of painstaking work in a complex audio editor.
With an AI-powered tool, the process looks entirely different:
- Upload the video file directly. No need to detach the audio track first. Modern tools handle video formats like MP4 and MOV seamlessly.
- Let the AI get to work. The software scans the audio, identifies the vlogger's voice as the main signal, and intelligently flags all the market sounds as noise.
- Download the clean video. In just a few minutes, they get a new file where the dialogue is crisp and clear, with the market ambience pushed way into the background.
This is more than just a time-saver; it’s about making pro-level results accessible. Digital audio workstations (DAWs) are powerful, but they come with a steep learning curve. AI tools democratize the ability to remove background noise from audio, putting clean sound within everyone's reach.
Of course, the better your starting audio, the better the final result. Setting yourself up for success from the beginning makes the AI's job much easier.
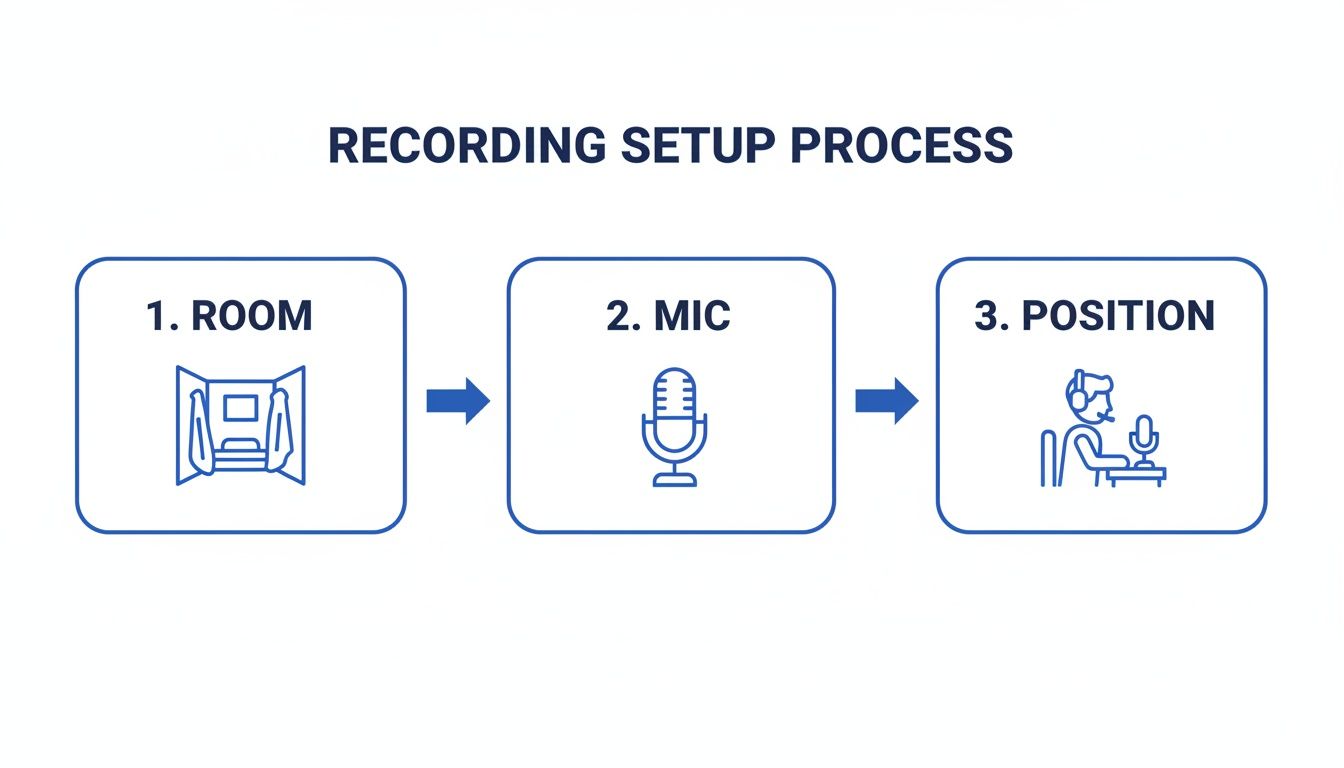
This simple setup guide shows how a little prep work with your room and mic positioning can make a world of difference for your final, polished audio.
The Magic of Cloud Processing and Batch Workflows
Another huge advantage here is that most of these tools are cloud-based. You don't have to install bulky software that bogs down your computer. Everything happens on a powerful remote server, so you can clean up files from any machine with an internet connection.
This is a massive win for creators who are constantly on the move or handling a high volume of content. Picture a marketing team with a dozen client interviews from a virtual summit. The audio quality is all over the place.
Instead of cleaning them one by one, they can use a batch processing feature. They just upload all the files at once and get an email when the whole batch is ready. What used to be a tedious, multi-hour chore is now just a few minutes of active work. If you're curious about the different types of tools out there, our guide on software noise cancellation dives deeper.
Many creators are turning to integrated platforms like Veed.io, which bundle video editing with powerful, one-click audio cleanup tools.
The real shift is moving from being an audio technician to being a content creator. AI handles the technical heavy lifting, freeing you up to focus on your message, storytelling, and connecting with your audience.
In the end, this AI workflow isn't here to replace manual editing entirely. There will always be a place for that level of hands-on control. But for the vast majority of us, it’s an incredible 80/20 solution—delivering 95% of the quality for 5% of the effort. It’s a fast, powerful, and accessible way to make sure your audio always sounds professional.
Manual Noise Reduction for Precise Control
While AI tools have gotten incredibly good and fast, sometimes you just need to get your hands dirty. For creators who want absolute control or are wrestling with a particularly stubborn audio issue, manual noise reduction inside a Digital Audio Workstation (DAW) is still the gold standard. This approach gives you the power to surgically fine-tune every parameter.
Think of it as the difference between an automatic car wash and a professional hand detail. The drive-thru is quick and does a decent job, but the hand detail gets into every nook and cranny for a truly flawless finish. The best part? Powerful tools for this are readily available in free software like Audacity or the Fairlight page within DaVinci Resolve.
The Secret Weapon: Capturing a "Noise Print"
The entire manual process hangs on a single, critical concept: the noise print. This is just a small, clean sample of only the background noise you want to remove. It's the unique sonic fingerprint of your recording space—the low hum from your computer, the faint buzz of a light fixture, or the whoosh of an air conditioner.
To get a good noise print, you have to remember to record a few seconds of pure silence before you start talking or after you finish. This snippet of "room tone" is what you'll feed to the software. The DAW analyzes this sample to understand exactly which frequencies to target, and then it intelligently subtracts that sonic signature from your entire track.
A clean noise print is non-negotiable. If it accidentally picks up a keyboard click, a breath, or even a tiny piece of your voice, the software will try to remove those sounds from your entire recording, leaving you with distorted, garbled audio.
A Practical Walk-through in Your DAW
While the interface might look a little different from one program to another, the basic workflow to remove background noise from audio is nearly identical everywhere.
- Find and Isolate the Noise: First, scan your timeline and find a 2-3 second section that has nothing but the consistent background noise you're trying to kill. Highlight it.
- Capture the Noise Profile: Dive into your DAW's noise reduction tool. You’re looking for a button that says something like "Get Noise Profile" or "Learn." Clicking this tells the software to analyze your selection.
- Select Everything: Now that the tool has its marching orders, select the entire audio clip you want to clean up.
- Apply the Reduction: Open the same tool again. This time, instead of learning, you’ll be adjusting the settings and hitting "Apply" or "OK." The software will then process the entire track, filtering out the unwanted frequencies it learned from your noise print.
It’s a straightforward process on paper, but expect to do a little back-and-forth to get it just right.
AI vs Manual Noise Reduction: A Creator's Guide
Choosing between a one-click AI tool and a manual DAW workflow can be tough. It really comes down to your specific needs for a project—are you prioritizing speed or precision? This table breaks down the key differences to help you decide.
| Feature | AI Tools (e.g., SimpleClean) | Manual DAW Editing |
|---|---|---|
| Speed | Extremely fast. Often processes audio in seconds. | Slower. Requires isolating a noise print and tweaking settings. |
| Ease of Use | Very simple. Usually just one or two clicks. | Steeper learning curve. Requires understanding audio concepts. |
| Control | Limited. You trust the algorithm to make the best choices. | Total granular control over every parameter (threshold, etc.). |
| Best For | Podcasts, vlogs, social media content on a tight deadline. | Professional voiceovers, music production, complex audio repair. |
| Potential Risks | Can sometimes create artifacts or an "over-processed" sound. | Easy to overdo it, resulting in unnatural, "watery" vocals. |
Ultimately, both approaches have their place in a creator's toolkit. AI is perfect for turning around content quickly, while manual editing is your go-to when audio quality is paramount and you can't afford any mistakes.
Fine-Tuning Your Settings for a Natural Sound
The real art of manual noise reduction isn't just applying the effect; it's dialing in the settings so you remove the noise without harming the original performance. Start with these parameters:
- Noise Reduction (dB): This slider dictates how aggressively the noise is cut. A starting point of around 12 dB is usually safe. Pushing this too high is the number one cause of unnatural, "watery" artifacts in the audio.
- Sensitivity: This tells the tool how closely a sound needs to match the noise print to be affected. Higher sensitivity is riskier, as it might start clipping the edges of your actual words.
- Frequency Smoothing (Bands): This helps blend the processed audio with the original, avoiding sharp gaps where the noise used to be. A value between 3 and 6 often works well to smooth things over.
The goal is never total, sterile silence—that just sounds weird and unnatural. The real aim is to push the background noise down so far that the listener's brain stops noticing it. A little clean room tone is far more pleasant than a dead-silent void.
This level of control is more important than ever. In a 2023 survey, 65% of creators flagged noisy recordings as their biggest editing headache. Poor audio can lead to a 20-25% drop-off in audience retention. While AI tools like SimpleClean solve this with automation, knowing these manual techniques gives you a much deeper toolkit. You can find more data on the growth of noise suppression technology and its impact.
Using a Noise Gate for Intermittent Sounds
What if your noise isn't a constant hum? For intermittent sounds—like a distant cough, a mouth click, or a chair squeak that only happens when you're not talking—a noise gate is your best friend.
A noise gate acts like a tiny, automatic volume knob. You set a specific volume level (the threshold), and any sound quieter than that threshold gets completely muted. When you speak, your voice is loud enough to "open the gate" and pass through. The moment you pause, the gate "closes," instantly silencing any quiet background sounds.
This is a fantastic trick for podcasters and streamers who want to clean up the dead air between sentences, making the final track feel tighter and more professional. Just be careful with the settings—a gate that closes too aggressively can clip off the natural tail-ends of your words.
Advanced Audio Cleanup and Polishing
Alright, so you've managed to kill that distracting background hum. Huge win. But getting rid of noise is really just clearing the stage. Now it's time for the real performance—polishing your audio until it shines.
This is where we go beyond simple noise removal and start tackling the subtle problems that scream "amateur recording." I'm talking about things like room echo, harsh vocal sounds, and wonky volume levels. Fixing these is what separates a decent recording from a truly professional one.
Taming Echo and Reverb
You know that hollow, "recorded in a bathroom" sound? That's reverb, and it's one of the biggest giveaways of an untreated recording space. It makes the speaker sound distant and unprofessional. While acoustic panels are the best fix, you can do some serious damage control in post-production.
Look for a "de-reverb" plugin. These tools are pretty clever; they analyze the audio, identify the long echoey tails after words, and dial them back. The result is a much tighter, more direct vocal sound that feels like it’s right there with the listener. In fact, a lot of modern noise reduction software for audio now bundles this feature in with their other AI-powered fixes.
Dealing with Plosives and Sibilance
Even in a perfect room with a great mic, our own voices can sabotage a recording. The two main culprits here are plosives and sibilance.
Plosives: This is that aggressive, thumping sound you get from "p" and "b" sounds hitting the mic. It looks like a massive, ugly spike on the waveform and sounds like someone is tapping the microphone. A pop filter is your first line of defense, but for recordings that already have them, you can surgically remove them with a high-pass filter or a dedicated de-plosive tool.
Sibilance: This is the sharp, hissing "sss" sound that can be physically painful to listen to on headphones. It’s incredibly fatiguing for an audience. The classic tool for this is a de-esser. Think of it as a smart compressor that only activates on those specific, harsh high frequencies, smoothing them out without messing with your overall vocal tone.
If you're ready to get your hands dirty with this level of editing, exploring the best podcast editing software will open up a world of powerful tools built specifically for these tasks.
Finalizing Your Audio for Distribution
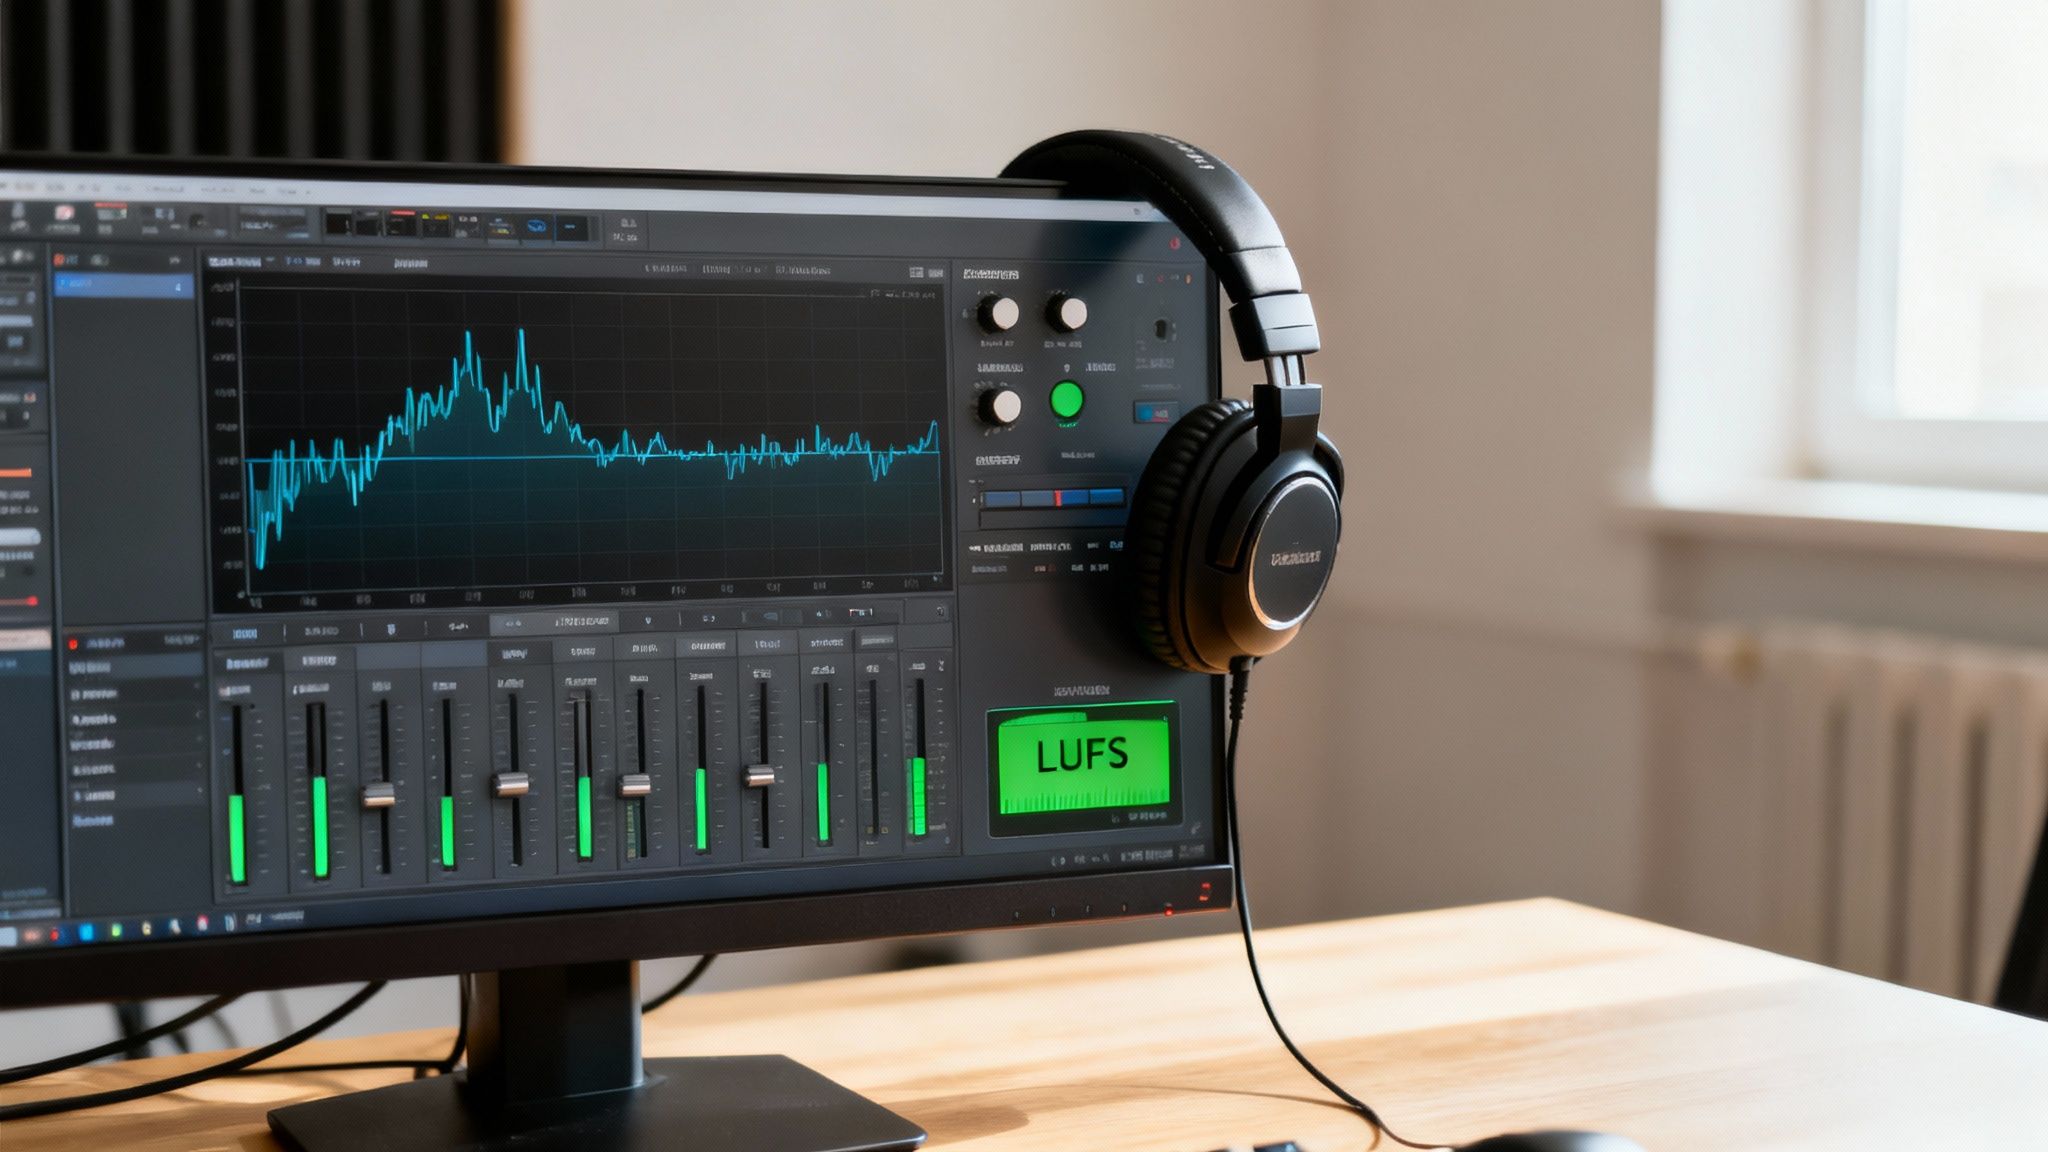
Once all the imperfections are gone, there's one last, crucial step that far too many people skip: mastering for loudness. This isn't about just turning up the volume; it's about making sure your audio meets professional standards so it sounds great on every platform.
The key metric you need to know is LUFS (Loudness Units Full Scale). It’s a standardized measurement that ensures a consistent listening experience, so your audience doesn't have to lunge for the volume knob when your podcast episode ends and the next one begins.
Your final mix is only as good as it sounds on the worst device. Don't just check it on your expensive studio headphones. Test it on cheap earbuds, your laptop speakers, and in your car to make sure it translates well everywhere.
Different platforms have their own loudness targets. Here are the big ones:
| Platform | Recommended LUFS Target |
|---|---|
| Spotify | -14 LUFS |
| Apple Podcasts | -16 LUFS |
| YouTube | -14 LUFS |
| Audible | Between -18 and -23 LUFS |
Almost any decent audio editor has a loudness meter plugin that will help you nail these targets. Hitting the right LUFS level ensures your audio won't be too loud or disappointingly quiet. It's the final stamp of quality that tells your audience you're serious about their experience.
Your Audio Cleanup Questions, Answered
Even with the best tools, cleaning up audio can throw you a curveball now and then. Whether you’ve been editing for years or are just starting out, a few common questions always seem to pop up. Let’s tackle some of the most frequent ones I hear from creators.
We'll dig into everything from setting realistic expectations to picking the right file formats and figuring out how modern tools handle tricky situations, like audio that already has background music.
Can I Really Get Rid of All the Background Noise?
It’s the million-dollar question, isn't it? While today's AI tools are incredible, achieving 100% complete removal of every single unwanted sound isn't always realistic—or even what you want. The real goal is to make the primary audio, usually someone's voice, perfectly clear and understandable.
Think about a recording made next to a construction site. If you push the noise removal too hard, you risk creating weird digital artifacts that make the voice sound thin or "watery." The best tools are all about striking a balance. They're smart enough to significantly reduce distracting sounds like traffic, wind, and humming appliances while keeping the natural tone and warmth of the speaker’s voice intact.
Here's a pro tip: The cleaner your original recording, the closer you'll get to that "perfect" silence. A good source file gives any tool, whether it's manual or AI-powered, a huge head start.
Your target should be pushing the noise so far into the background that it's no longer a distraction, not creating a sterile, unnatural void.
What's the Best File Format to Use After Cleaning My Audio?
The "best" format really comes down to your next step. There’s no single right answer for every scenario; it’s all about picking the right tool for the job by balancing file size against audio quality.
Here’s how I break it down for different project stages:
- For Archiving or More Editing: You’ll want a lossless format. WAV is the undisputed industry standard for uncompressed, full-quality audio. FLAC is another fantastic option—it gives you that same pristine quality but compresses the file without losing any data, so you save some space.
- For Sharing Online: When you're ready to upload to your podcast host, website, or social media, a high-quality compressed format is your friend. A 320 kbps MP3 or a high-bitrate AAC file will sound great to listeners while being small enough for quick streams and downloads.
Most good audio tools let you export in multiple formats, which is super helpful. You can save a high-quality master file for your archives and then create a smaller version for distribution.
Will Noise Removal Also Get Rid of My Background Music?
This is a huge concern, especially if you’ve intentionally added a music track to your video or podcast. The answer really depends on the kind of tool you're using.
Older, traditional noise reduction filters you might find in some DAWs often get confused. They just see music as another layer of sound and can try to suppress it along with the actual noise, which can completely mess up your mix.
Thankfully, advanced AI-powered cleaners are much smarter. They've been trained specifically to recognize the distinct frequencies and patterns of the human voice. This "vocal isolation" technology lets them surgically target and remove common background noise—like chatter, hums, and wind—while leaving intentional elements like theme music or sound effects pretty much untouched. It's one of the biggest advantages of using a modern, speech-focused tool.
How Do I Remove Background Noise from a Video File?
Good news—you don't need a complicated, separate process for your videos. Most modern audio cleanup tools, particularly cloud-based ones, are built to handle popular video formats like MP4 and MOV directly.
The workflow is usually dead simple. You upload your entire video file, and the software gets to work on its audio track automatically. After the noise is gone, you just download a new video file with the clean audio already embedded and perfectly in sync.
Sure, you could go the long route: extract the audio, clean it in a separate program, and then re-sync it to your video in an editor. But direct video support saves a ton of time and headaches, making the whole process way more accessible for creators.
Ready to hear what clean audio really sounds like? SimpleClean uses powerful AI to remove background noise from your audio and video files in just one click. Get started for free and experience crystal-clear sound today. Try it now at simpleclean.app.