
If you want to truly enhance the sound in your video, you have to stop treating audio as an afterthought. It’s a core part of your content strategy, plain and simple. Getting it right means starting with the cleanest recording possible, then leaning on smart AI tools like SimpleClean for the heavy lifting, and finally, adding those last polishing touches that make your audio shine. This workflow is how you turn muffled, distracting sound into a clear, professional track that keeps people watching.
Why Great Audio Is Your Biggest Advantage
Let's be real for a moment. Your audience might forgive a slightly grainy video, but they will click away in a heartbeat if the audio is bad. Muffled dialogue, annoying background noise, or wild volume swings don't just sound amateurish—they actively chip away at your credibility. It's the digital version of a weak handshake.
When your message is a struggle to hear, you're making your audience work for it. That effort leads to frustration and, eventually, a lost viewer. This is exactly why learning to enhance sound in video isn't some niche skill for audio engineers anymore. It's a must-have for every content creator out there.
This isn't just a hunch; the industry data backs it up. The global market for audio-video editing software is already valued at over USD 6.48 billion and is expected to explode to nearly USD 26.59 billion by 2035. That growth is driven by millions of creators on platforms like YouTube and TikTok, where clear audio is the price of entry. You can dig deeper into these market trends to see just how big this shift is.
The Real Cost of Poor Audio
Bad sound is a silent killer for your content. It sends a clear message that you don't care about the details, which can be brutal for your brand, whether you're teaching a course, marketing a product, or building a YouTube channel.
Here’s a quick look at how specific sound problems can affect viewer perception and your video's success.
| How Common Audio Issues Impact Your Videos | ||
|---|---|---|
| Audio Problem | Impact on Viewer | What Causes It |
| Background Noise | Creates a listening barrier and pulls attention away from your message. Makes content feel unprofessional and low-budget. | Air conditioners, refrigerators, computer fans, traffic outside, or even the subtle hum of electronics. |
| Muffled Vocals | Your voice lacks presence and authority, making your message feel less important or credible. | Speaking too far from the mic, using a low-quality built-in microphone, or poor mic placement. |
| Inconsistent Volume | Annoyance and frustration. The viewer has to constantly ride the volume controls, which ruins the viewing experience. | Moving around while speaking, not using a compressor, or poor editing during post-production. |
Each of these issues erodes the viewer's trust and makes them more likely to abandon your video.
The single biggest mistake I see new creators make is underestimating audio's impact. Great sound builds an invisible bridge of trust between you and your audience, making your message feel more direct, personal, and authoritative.
The good news? Modern tools have made getting professional-sounding audio easier than ever. AI-powered solutions like SimpleClean handle the most tedious cleanup jobs automatically, letting you strip out noise and clarify dialogue in minutes, not hours. When you prioritize audio from the get-go, you give your content the advantage it needs to capture—and hold—your audience's attention.
Get Great Sound Before You Hit Record
The secret to incredible audio isn't some post-production magic trick—it's capturing clean sound from the very beginning. You can’t fix what you didn’t record well in the first place. Think of it like this: it's a lot easier to add a little salt and pepper to a perfectly cooked steak than it is to salvage a burnt one. Getting your audio right on set saves you hours of headaches later.
This isn't about building a million-dollar studio. It's simply about being deliberate with your space and your tools. The biggest mistake I see creators make is hitting record without ever considering what their microphone is actually hearing.
Choose The Right Tool For The Job
Let’s be honest, your phone’s built-in mic is made for calls, not for creating professional-grade video content. The single best investment you can make for your audio quality is a dedicated external microphone. The trick is to pick the right one for what you’re actually shooting.
- Lavalier Mics (Lav Mics): These little clip-on mics are workhorses for interviews or any piece where you're talking directly to the camera. Because they stay a consistent distance from your mouth, you get beautifully even audio levels, even if you move around.
- Shotgun Mics: Highly directional, these mics are designed to capture whatever they’re pointed at and reject sound from the sides. They’re fantastic for mounting on your camera to isolate your voice from distracting background noise.
- Condenser Mics: If you're in a controlled space like a home studio doing voiceovers or podcasts, these are for you. They capture incredibly rich, detailed sound, but be warned—their sensitivity means they'll pick up everything, so a quiet, treated room is a must.
Just owning the right mic isn't enough. Knowing how to use it is where the real skill comes in.
Control Your Recording Environment
Your room is part of your recording setup, for better or worse. Hard, flat surfaces are your enemy. Bare walls, hardwood floors, and big windows all act like mirrors for sound, creating echo and reverb that will make your audio feel hollow and unprofessional.
You don't need to spend a fortune on acoustic panels. Soft, absorbent materials work wonders. Throw some heavy blankets over a couple of doors or lay down a rug. In a pinch, I've even recorded fantastic audio inside a walk-in closet full of clothes. The goal is simple: stop the sound from bouncing around.
The quality of your raw recording will always dictate the quality of your final product. Spending just ten minutes preparing your space can save you an hour of tedious audio repair in post-production. It's the highest-return investment you can make in your workflow.
The Pre-Flight Audio Checklist
Before you ever dream of hitting that record button, run through this quick checklist. This five-minute routine has saved me from countless audio disasters that could have torpedoed an otherwise perfect take.
Monitor Your Audio. Always, always, always wear headphones. This is non-negotiable. What your ears hear in the room and what the mic is capturing are two totally different things. Headphones are your only way to catch problems like wind noise, the rustle of a shirt against a lav mic, or the low hum of a refrigerator you'd tuned out.
Set Your Levels Correctly. Your audio level, or gain, needs to be in the sweet spot. Aim for your voice to peak somewhere between -12dB and -6dB. Too low, and you'll have to boost it later, introducing a bunch of ugly background hiss. Too high, and you'll get "clipping"—a nasty digital distortion that is almost impossible to fix. For a deeper dive, our guide on how to increase mic volume without the noise is a great place to start.
Find the Mic "Sweet Spot." You want to be close to your mic, but not on top of it. For most vocal microphones, about 6-10 inches away is perfect. This creates a warm, full tone known as the proximity effect and helps minimize room echo. To avoid "plosives"—those harsh pops from 'p' and 'b' sounds—try positioning the mic slightly to the side, aimed at the corner of your mouth instead of directly in front of it.
Finally, remember that great audio is useless if it doesn't line up with your video. Learning how to sync audio and video perfectly is a crucial skill that ties your whole pre-production process together.
Alright, you've captured the best audio you could on location. Now comes the fun part—the first and most powerful step in post-production. This is where a little bit of modern tech can save you a ton of time and make a massive difference in your final product. Forget wrestling with complex plugins and fiddly sliders; we're going to let AI do the heavy lifting first.
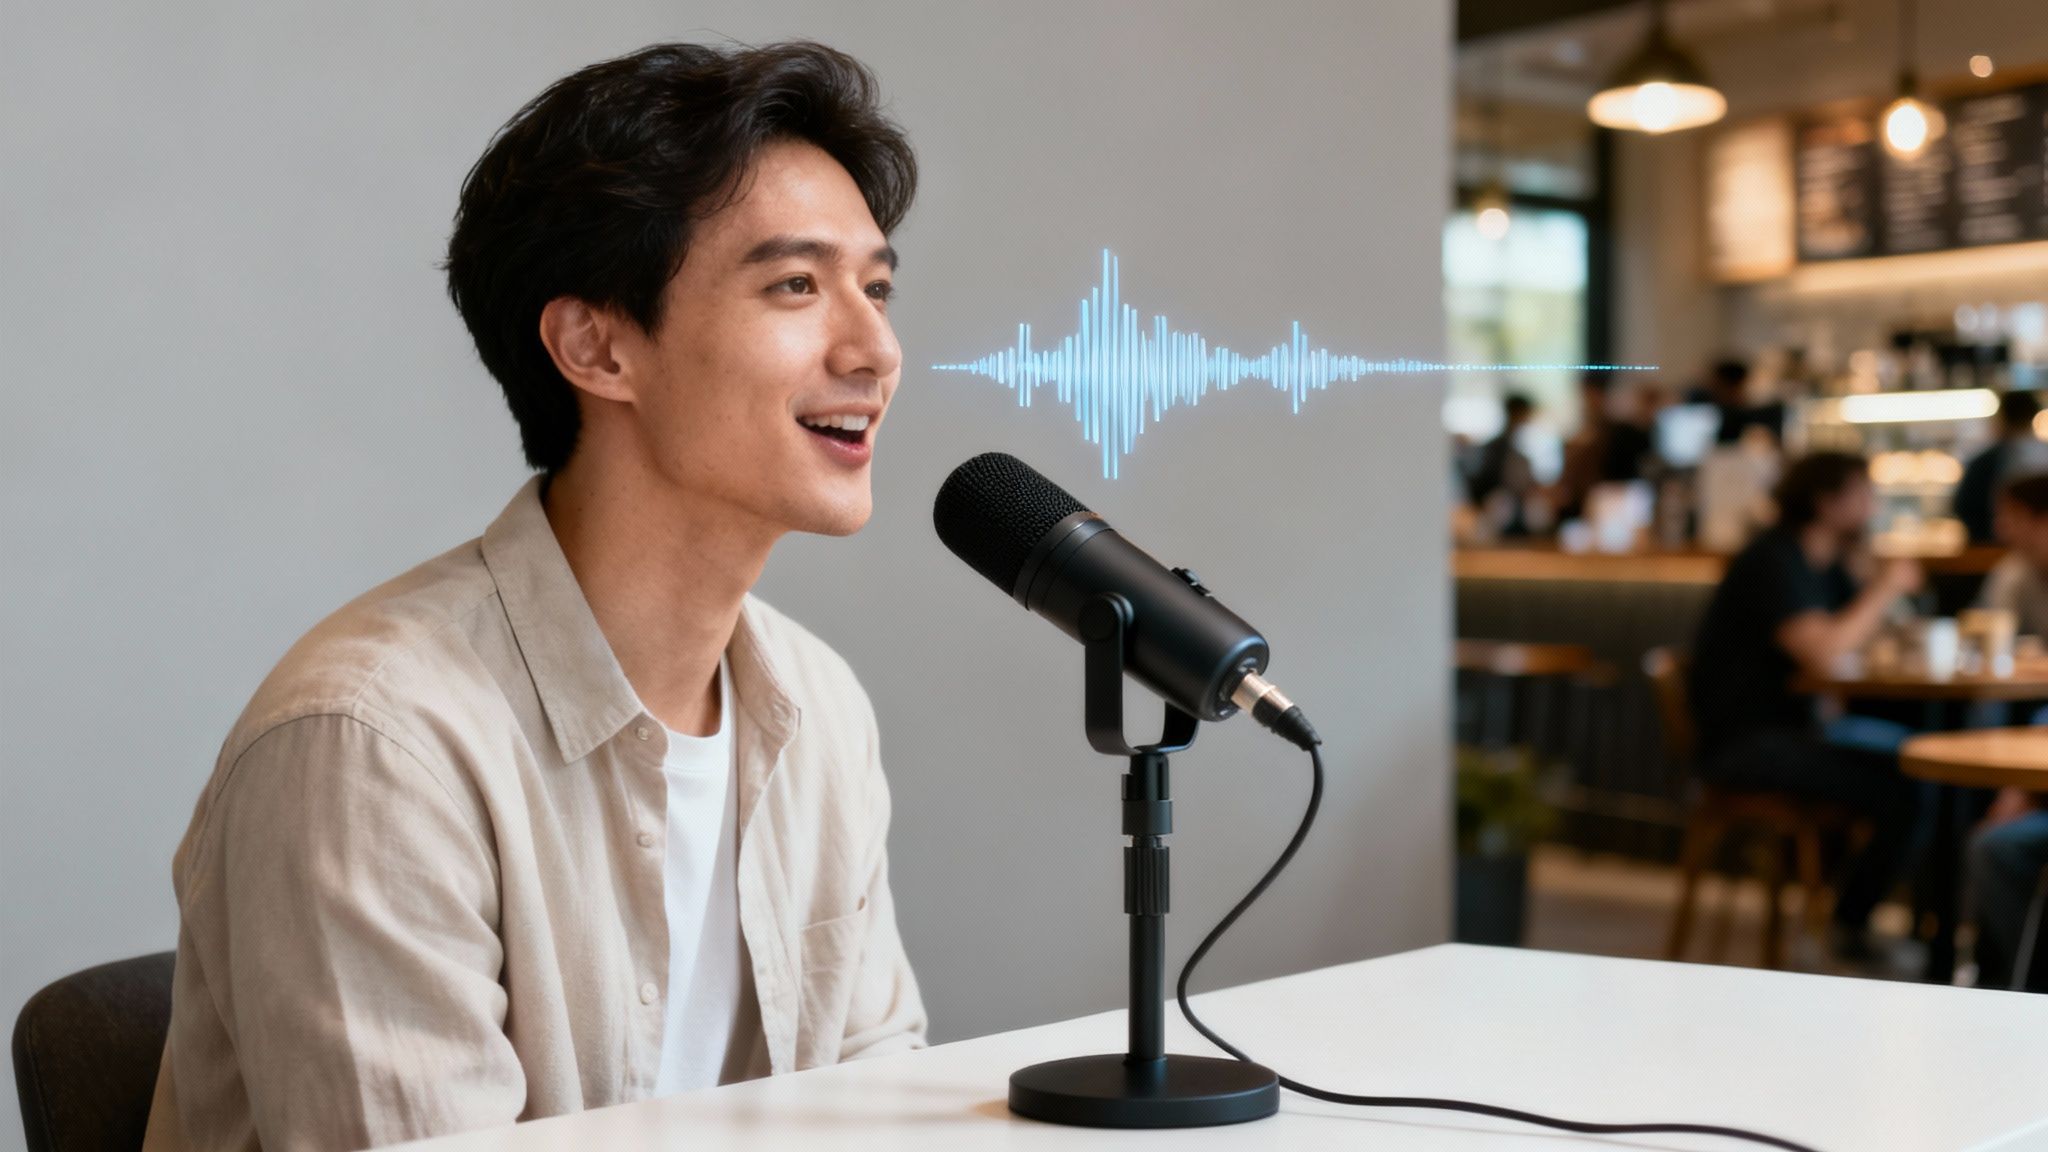
Let’s think about a real-world scenario I run into all the time. Imagine you just wrapped up a fantastic interview in a bustling café. The conversation was gold, but the recording is full of clattering dishes, a low hum from the street, and the general murmur of other people. Years ago, that would've been a post-production nightmare. Today, it’s a problem you can fix in minutes.
This is exactly what AI-powered tools like SimpleClean were built for. The whole idea is to be fast and simple. You just upload your video, and the algorithm gets to work. It’s smart enough to identify the human voice and separate it from all that other junk, surgically removing the distractions while keeping the dialogue crisp and natural.
Honestly, this one pass usually solves 90% of my audio problems. It gives me a clean, professional-sounding foundation that makes everything else—like adding music or tweaking levels—so much easier.
Making Sense of the SimpleClean Workflow
The best thing about a tool like SimpleClean is that it’s not trying to be a full-blown audio editor. There’s no steep learning curve. The workflow is dead simple by design, focusing only on getting you from a noisy file to a clean one.
When you open the web app, you’re greeted with a simple upload box. Just drag and drop your video file or browse for it on your computer. Since there’s no software to install, you can do this from pretty much any device with a web browser.
This image below actually shows the steps you should be taking before you even hit record. Getting this right is half the battle.
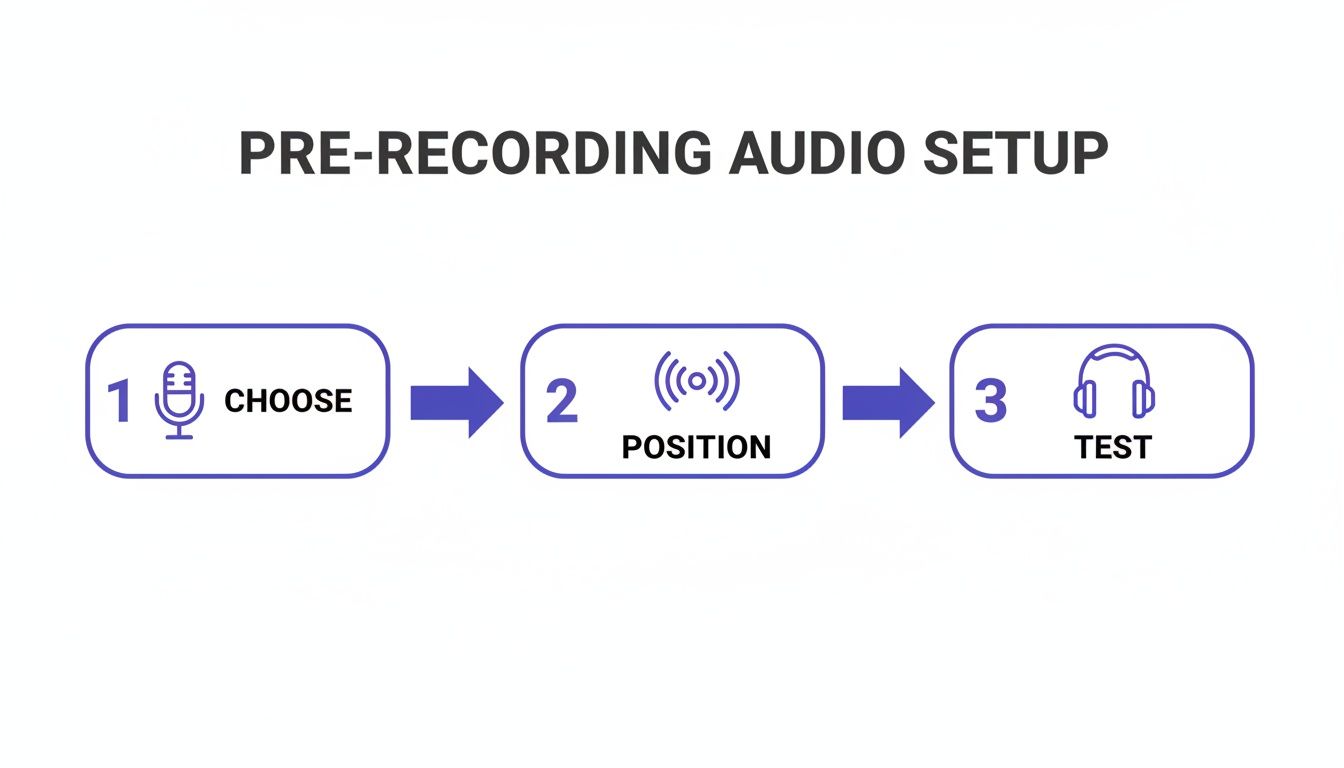
Nailing this process—choosing the right mic, placing it well, and checking your levels—is what sets you up for an easy cleanup later.
Uploading and Processing Your Video
Let’s go back to that café interview. You’ve got your MP4 file ready to go. The first thing you'll do is upload it. SimpleClean handles a bunch of different formats, like MP4, MOV, MP3, and WAV, so you probably won't have to worry about converting anything first.
Once it's uploaded, the AI takes over. This is where the magic happens. The system listens to your audio, figures out what is background noise—the clinking cups, the espresso machine hiss, the street traffic—and then carefully strips it away from the dialogue.
The interface is super clean and focused on one thing: getting your file processed quickly without a bunch of confusing settings to mess with. You don’t have to tell the AI what to remove; it’s been trained on thousands of hours of audio to know the difference between spoken dialogue and all the other sounds you don’t want. This is a huge leap from old-school noise reduction, where you had to manually find a "noise print" and cross your fingers.
AI cleanup isn't just turning down the volume on background noise. It's an intelligent separation of sound. The goal is to completely remove the distractions while making sure the voice you want to hear stays clear and free of weird digital artifacts.
Time-Saving Features for Busy Creators
If you're juggling multiple projects like I am, every minute counts. Modern AI tools are built for this reality, with features that are serious time-savers.
- Bulk Processing: Instead of cleaning files one by one, you can upload a whole batch of clips at once. This is a lifesaver for podcasters who have multiple guest tracks or YouTubers who are working with a bunch of different B-roll clips.
- Email Notifications: You don't have to sit there staring at a progress bar. Once your files are uploaded, you can close the window and move on to something else. The system just emails you when your clean files are ready to download.
- Format Flexibility: After the cleanup is done, you often have the option to download the file in a different format. For example, you could upload an MP4 video but download just the cleaned audio as a high-quality WAV file to bring into your editor.
These features turn audio cleanup from a chore into a simple background task. If you want to dive deeper into the tech, you can learn more about how AI audio noise reduction actually works. Kicking off your process with this single cleanup step is the most efficient way to get polished audio, giving you a fantastic starting point for the rest of your creative edit.
Polish Your Audio Like A Pro
Running your audio through an AI cleaner gives you an incredible head start—a clean, noise-free foundation to build upon. But the work doesn't stop there. Now comes the fun part: adding that final layer of polish that makes your dialogue sound truly professional, not just clean.
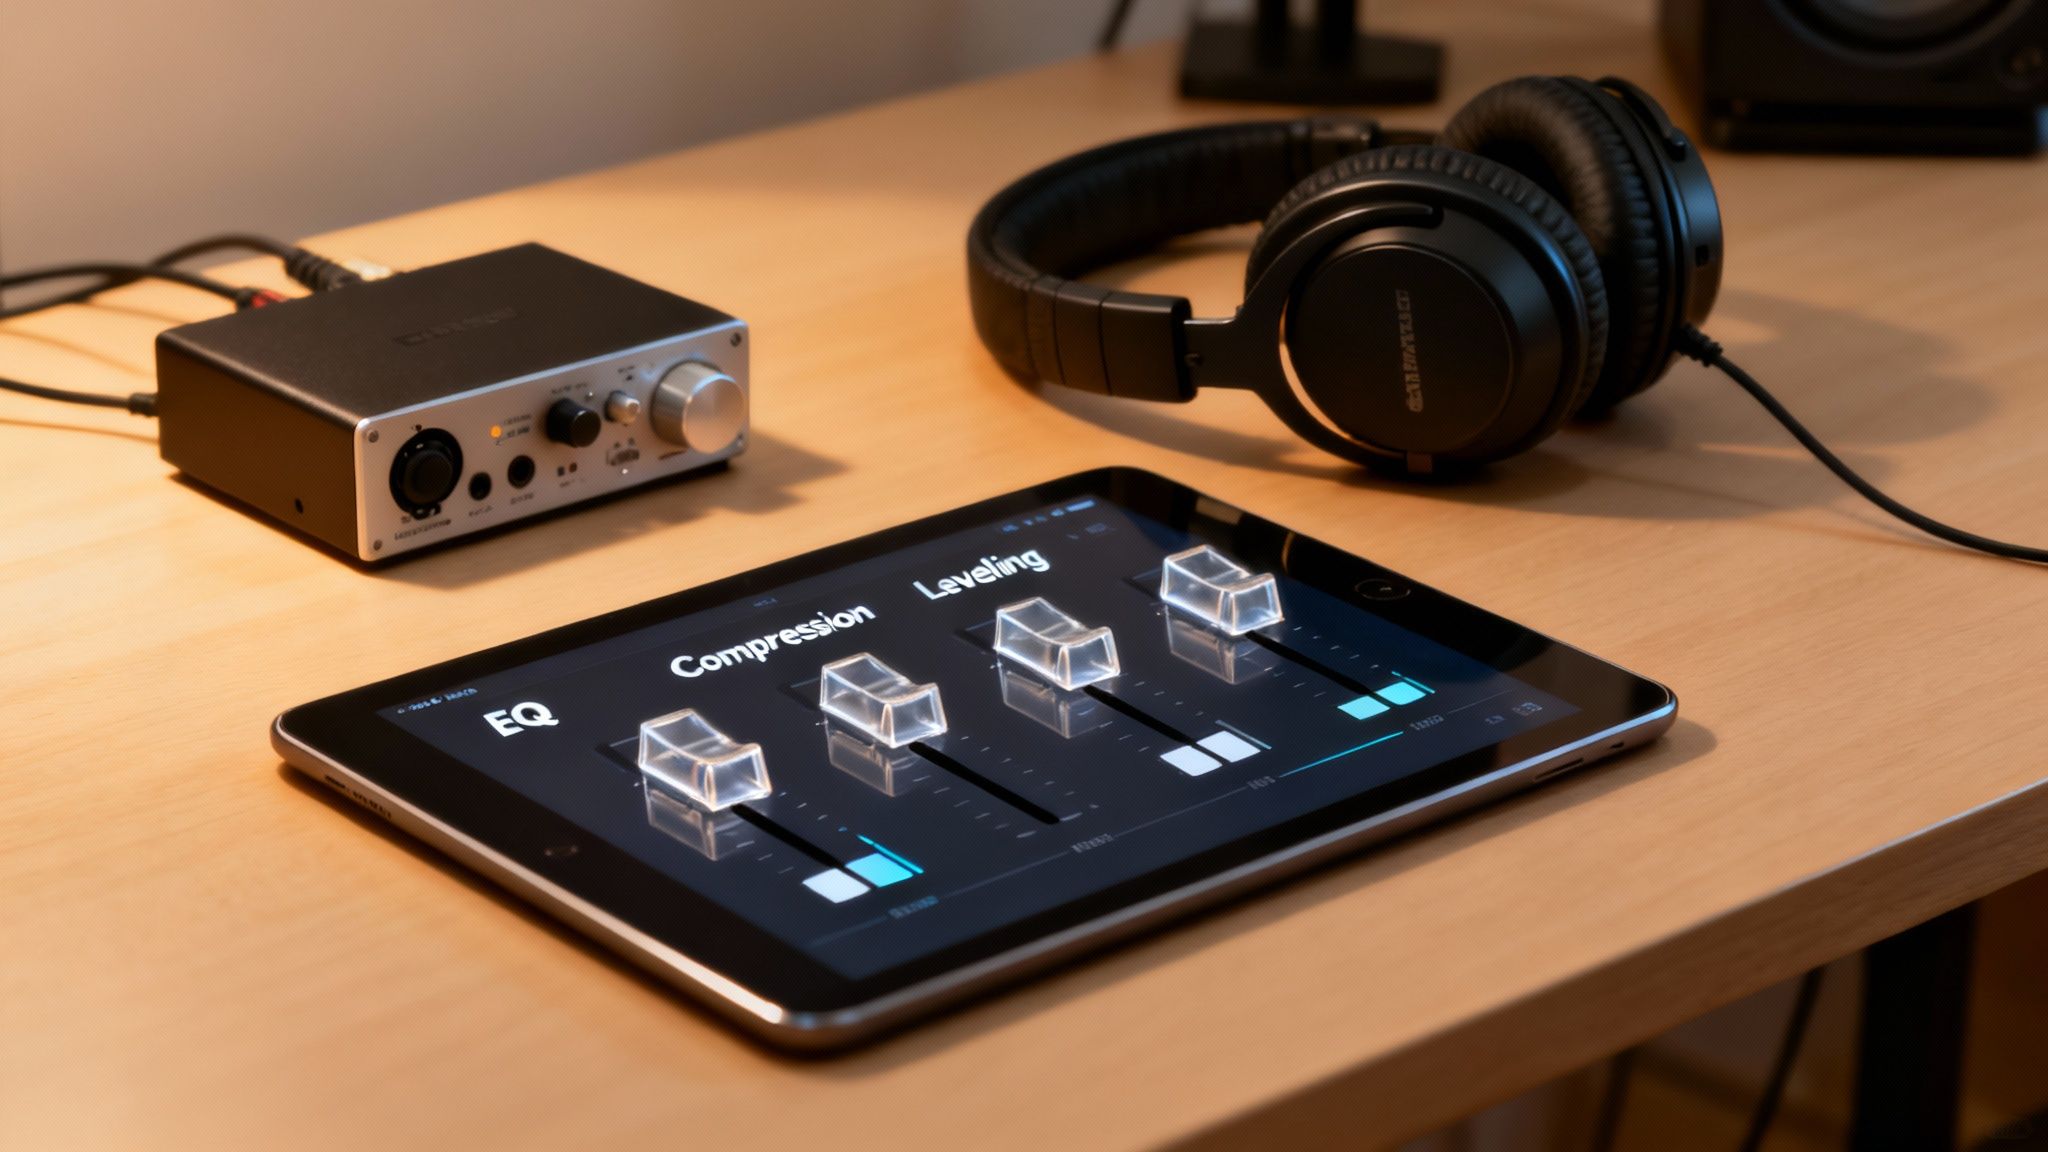
This is where a lot of creators get stuck, thinking they need to be a seasoned audio engineer. The good news? You don't. Getting a handle on just three core techniques—Equalization (EQ), Compression, and Leveling—will completely transform your sound from flat and boring to rich, warm, and ready for your audience.
Sculpting Your Sound With Equalization
Think of Equalization, or EQ, as the audio equivalent of a sculptor's chisel. It lets you carve out problematic frequencies and boost the ones that make a voice sound fantastic. The whole point is to improve clarity and make the dialogue more pleasant to listen to.
For example, does the voice sound a bit muddy or boomy? That's almost always a build-up of low-end frequencies. A simple high-pass filter set around 80-100 Hz is your secret weapon here. It slices away all that useless low-frequency rumble from things like an air conditioner or mic handling noise, which instantly cleans up the vocal track without touching the actual voice.
On the flip side, if a voice sounds muffled and lacks that crispness, a gentle boost in the 2-5 kHz range can make a world of difference. This is the "presence" area, where the clarity of consonants lives. A small lift here helps words cut through the mix, but be careful—go too far and it can sound harsh and thin.
EQ isn't about making drastic, obvious changes. The best equalization is subtle. You're just gently guiding the listener's ear, carving away the bad stuff and highlighting the good.
Creating Consistent Volume With Compression
Ever watched a video where you’re constantly reaching for the volume knob? One moment it's a whisper you can barely hear, and the next it's a shout that blasts your eardrums. That's a problem with dynamic range, and compression is the fix.
A compressor works by automatically turning down the loudest parts of your audio. This lets you then raise the overall volume of the entire track without causing any nasty distortion. It smooths everything out, bringing the quietest and loudest moments closer together for a much more consistent and professional listening experience.
For dialogue, a light touch is all you need. Start with a ratio of 2:1 or 3:1. In simple terms, this means for every 3 decibels the audio goes over your set threshold, the compressor only lets 1 decibel through. It’s a gentle squeeze that tames the peaks without crushing the life out of the audio.
Setting The Final Volume With Leveling
After your audio has been EQ'd and compressed, the last step in the chain is leveling. This is simply setting the final, overall volume of your track. You want it loud enough to be heard clearly on everything from a phone speaker to a home theater system, but not so loud that it distorts.
Your target level really depends on where you're publishing. Most streaming platforms, like YouTube, have a loudness standard called LUFS (Loudness Units Full Scale) to keep audio consistent across their site.
- YouTube: Aim for around -14 LUFS.
- Podcasts & Spotify: A target of -16 LUFS is more common.
Most video editors have a loudness meter plugin you can use to check your levels. Hitting these targets ensures the platform won’t automatically turn your audio down, preserving the quality you worked so hard to achieve. For a deeper dive into these techniques, check out our guide on how to clean up audio for any project.
Here's a quick rundown of how these tools fit into your workflow.
Essential Audio Polishing Tools For Creators
This table breaks down the three core techniques, what they do, and the perfect time to use them on your dialogue tracks.
| Technique | What It Does For Your Audio | When To Use It |
|---|---|---|
| Equalization (EQ) | Removes unwanted frequencies (like mud or rumble) and boosts pleasant ones (like vocal clarity). | Always use this first to clean up the foundational tone of your voice track. |
| Compression | Evens out the volume by reducing the gap between the quietest and loudest parts of your audio. | Use it after EQ to create a more consistent, powerful, and easy-to-listen-to dialogue track. |
| Leveling | Sets the final overall volume of your track to meet the standards of platforms like YouTube or Spotify. | This is the very last step. Use it to ensure your audio is at the perfect loudness for publishing. |
While an AI tool gives you a pristine canvas to start with, mastering these three steps—EQ, compression, and leveling—is what truly separates amateur audio from professional-grade sound. It's how you take full creative control and make your videos sound absolutely incredible.
Weaving in Music and Sound Effects
Alright, your dialogue is finally sounding clean and clear. This is where the real fun begins—adding the final layers of sound that can transform your video from good to truly memorable. The right background music or a few well-placed sound effects can set the mood, inject energy, and forge a much deeper connection with your audience.
But be careful. This is also a classic spot for a rookie mistake. So many people find an epic track, drop it into the timeline, and completely drown out their own voice. You have to remember: the music is there to support your story, not become the star of the show. Getting that balance right is everything.
Finding the Right Vibe
Before you even think about browsing a music library, take a second and think about the feeling you want to create. Are you making a high-energy tutorial? A quiet, thoughtful vlog? A serious corporate video? Your music choice has to match the emotional tone of your content.
An upbeat synth track might be perfect for a quick-cut intro, but it would feel jarring and out of place during a heartfelt interview. Picking the right track is about making sure all your audio elements are working as a team. Of course, you’ll want to stick with royalty-free options to keep things professional and avoid any copyright headaches. There are some excellent royalty-free music sources out there with endless genres to fit any project.
This push for better audio isn't just happening on YouTube; it's a huge industry trend. The professional audio-visual market is expected to hit a staggering USD 370.49 billion by 2030. In fact, gear like mics and speakers made up over 77% of the spending back in 2023. As businesses pour money into broadcast-quality audio for their own content, the bar gets raised for everyone.
Mastering the Art of Audio Ducking
If you learn one technique for mixing music and dialogue, make it audio ducking. It's a simple idea with a massive payoff. Ducking is a feature that automatically dips the music volume whenever someone starts talking, then smoothly brings it back up when they pause. It's what creates that professional, dynamic mix where the voice is always the priority.
Nearly every modern video editor has this built right in. While the exact steps vary, the basic idea is the same whether you're in Adobe Premiere Pro or DaVinci Resolve.
- First, make sure your dialogue is on its own audio track, and the music is on a separate track underneath it.
- Next, you'll find an audio setting (often in an "Essential Sound" panel or similar) where you can tell the editor that the dialogue track should "control" the music track.
- From there, you just need to fine-tune a few settings:
- Sensitivity: How quickly the music reacts when speech is detected.
- Duck Amount: How much to lower the music. I usually start somewhere between -18 dB and -24 dB.
- Fades: How quickly the volume drops and rises, which keeps the transitions from sounding abrupt.
Audio ducking is a game-changer. It's the "set it and forget it" tool that saves you from manually tweaking hundreds of volume points. It keeps your dialogue perfectly clear and saves an incredible amount of time.
Once you have it set up, your editor does all the heavy lifting, giving your video a polished, professional sound. It’s a simple trick that ensures your carefully cleaned dialogue gets the attention it deserves, letting your music add that extra layer of emotion without ever getting in the way.
Got Questions About Polishing Your Video's Sound?
Even with the best workflow, you're bound to hit a few snags. Maybe a technical issue is driving you crazy, or you’re just second-guessing your settings. This is where we’ll tackle some of the most common questions I hear from creators, giving you straight answers to get your project back on track.
Think of this as your personal cheat sheet for those persistent audio headaches. We'll demystify file formats, troubleshoot that annoying hum or hiss, and help you figure out when "good enough" is actually good enough. These are the real-world details that separate amateur audio from a polished final product.
What’s the Best Audio File Format to Use for Video?
This question comes up all the time, and the truth is, it depends entirely on what you're doing. It’s a classic balancing act between file size and audio quality.
For the recording and editing phases, you absolutely want to stick with an uncompressed format like WAV. Think of a WAV file as a RAW photo for your audio—it contains every last bit of the original sound information. This gives you all the data you need to effectively clean up noise, apply EQ, and compress the dynamics without degrading the quality.
Of course, WAV files are notoriously large. So, when it's time to export your final video, switching to a compressed format is the smart move.
- WAV (.wav): The undisputed champion for recording and editing. It's uncompressed, giving you the highest possible fidelity to work with.
- AAC (.aac): A modern and highly efficient compressed format. This is the standard for platforms like YouTube, delivering fantastic quality in a much smaller package.
- MP3 (.mp3): The format that started it all. It’s still everywhere, but AAC generally sounds better at the same bitrate.
For your final render, AAC is almost always your best bet. It hits that sweet spot between quality and file size, so your video sounds amazing but doesn't take all day to upload.
How Can I Get Rid of That Constant Hum or Hiss?
Ah, the dreaded background noise. That low-frequency hum is usually a ground loop, which happens when your gear is plugged into different electrical outlets. The simplest fix? Plug everything—your camera, audio recorder, and lights—into the same power strip. More often than not, that’s all it takes.
A high-pitched hiss is a different beast. It’s often the result of setting your microphone gain too low during recording and then cranking the volume in your editor. This amplifies the noise floor—the inherent electronic noise from your equipment. The real solution here is preventative: get your levels right from the start. Aim for your audio to peak between -12dB and -6dB.
But what if the noise is already there? Don't panic. An AI tool like SimpleClean is purpose-built for this. It can pinpoint and surgically remove these types of background noises without messing up the clarity of your voice.
Seriously, don't waste an hour trying to manually notch out a ground loop hum with an EQ. Modern AI tools can identify and eliminate it in seconds. It’s all about working smarter, not harder.
Is My Phone Really Good Enough to Record Audio?
Smartphone mics have come a long way, but they have one massive weakness: distance. They're designed to sound great when you're holding the phone to your ear. The moment you step back, the audio quality plummets, and your voice starts to sound thin, distant, and full of room echo.
So, when can you get away with it?
- For Close-Up Narration: If you’re recording a voiceover in a quiet, acoustically dead space (like a walk-in closet full of clothes), you can get surprisingly decent results by speaking directly into the phone.
- Paired With an External Mic: This is the real game-changer. By plugging a good lavalier or shotgun mic into your phone, you transform it into a professional-grade audio recorder.
For any serious video project, investing in an external microphone is the single best thing you can do for your audio quality. Even a budget-friendly option will make a night-and-day difference. Your phone's built-in mic is a fine backup, but it shouldn't be your plan A if you want your content to sound professional.
Ready to stop wrestling with noisy audio and get back to creating? Give your videos the crystal-clear sound they deserve. Try SimpleClean today and hear the difference AI can make in just a few clicks. Get started for free at simpleclean.app.