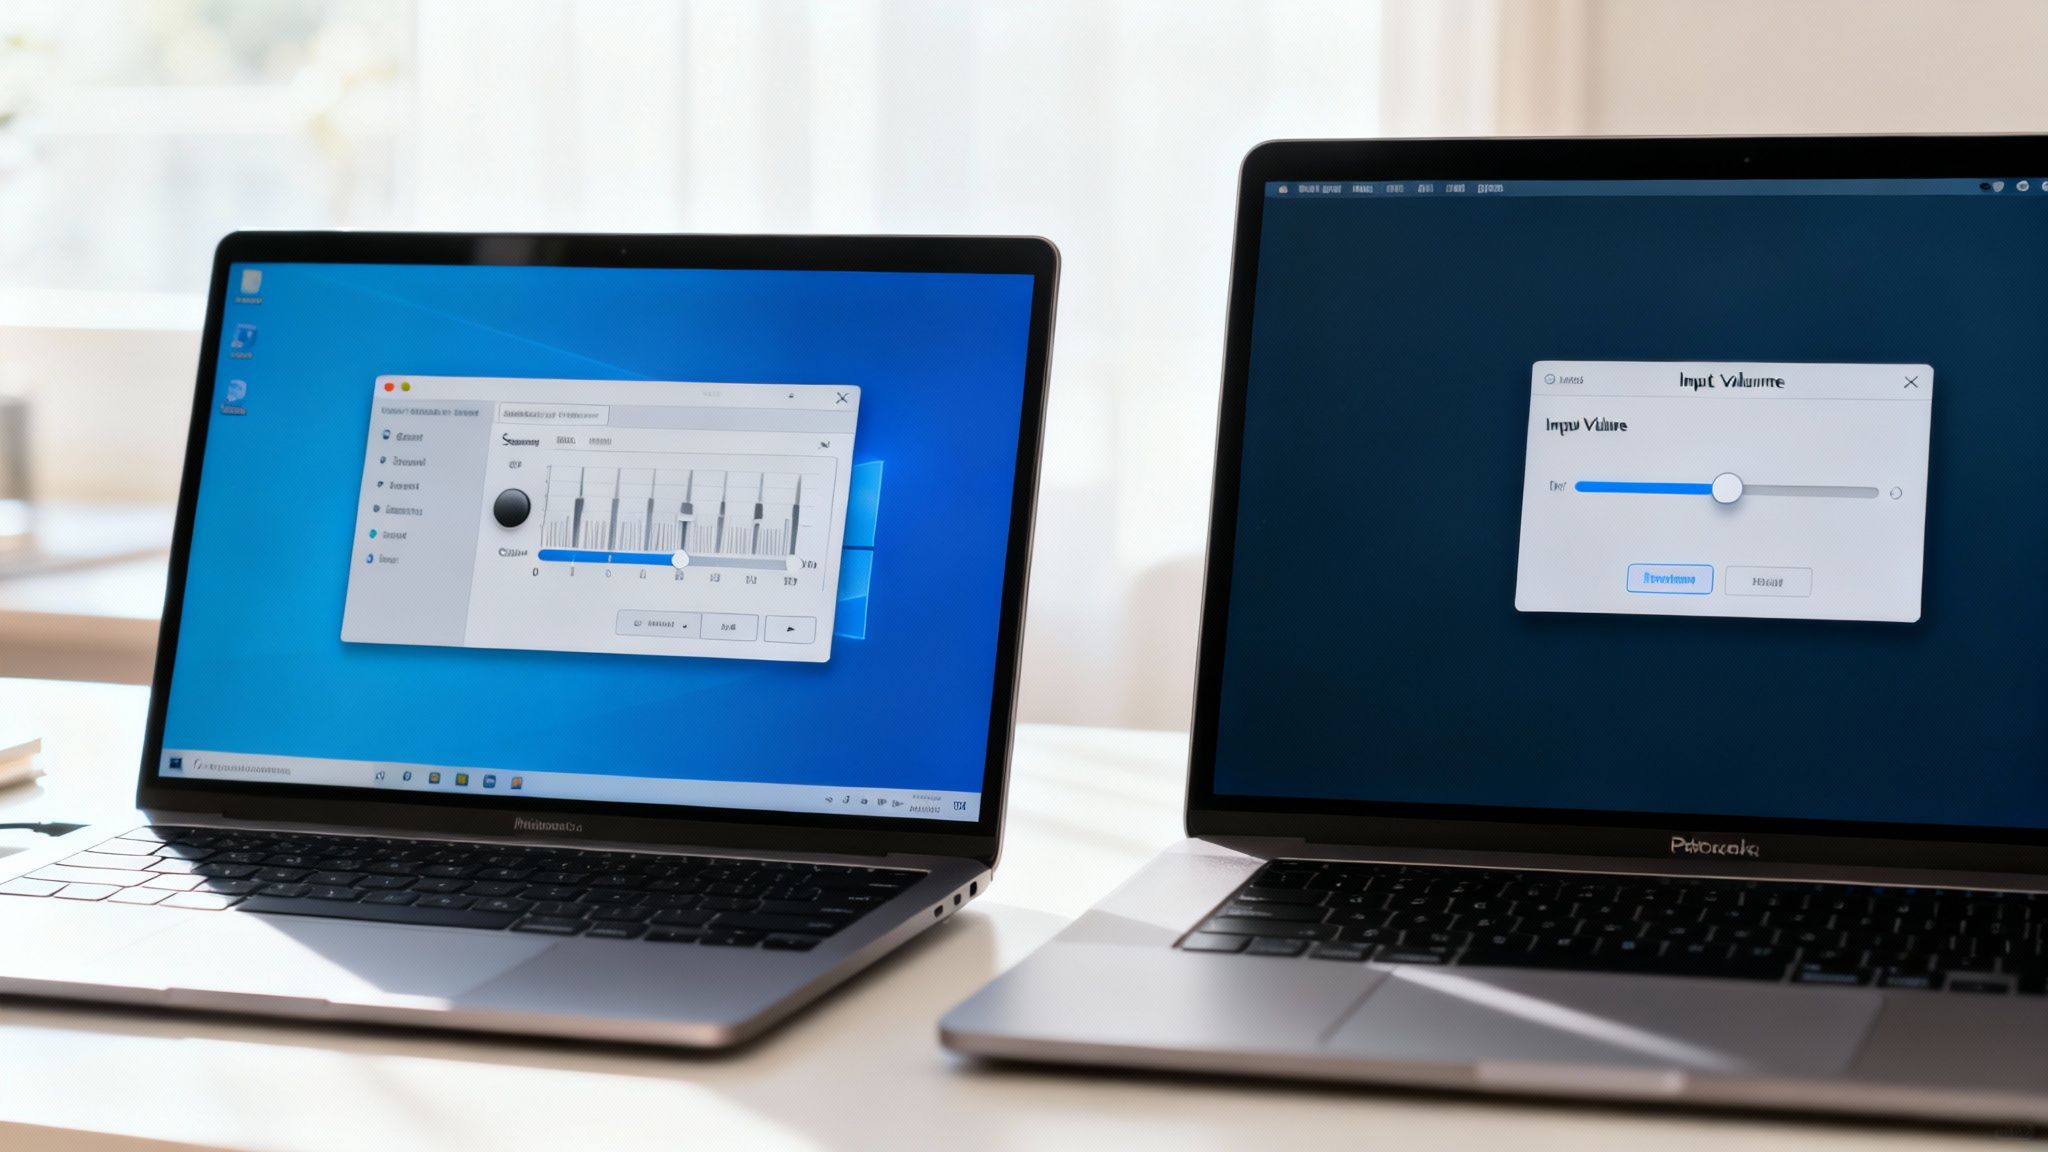
Sometimes the quickest fix is the most obvious one. Before you start digging through settings menus, make sure your microphone is plugged in securely and positioned close to your mouth. In your computer's sound settings, Windows users can look for the 'Levels' tab and 'Microphone Boost' option, while macOS users can slide up the 'Input volume' in System Settings. More often than not, one of these simple tweaks will solve the problem right away.
Diagnosing Why Your Microphone Is Too Quiet
So, your mic is too quiet. Before you get frustrated and start messing with a dozen different software settings, let's take a step back. The problem is usually a simple one, and a methodical check of the basics will save you a world of headache. A quiet microphone is rarely broken—it’s almost always a simple misconfiguration with either the hardware or the software.
Think of your audio signal as a journey. It starts with your voice, goes into the mic, travels through a cable, hits your computer, and is finally processed by an app. A weak link anywhere along that path means quiet audio on the other end. We just need to find that weak link.
Start with the Physical Setup
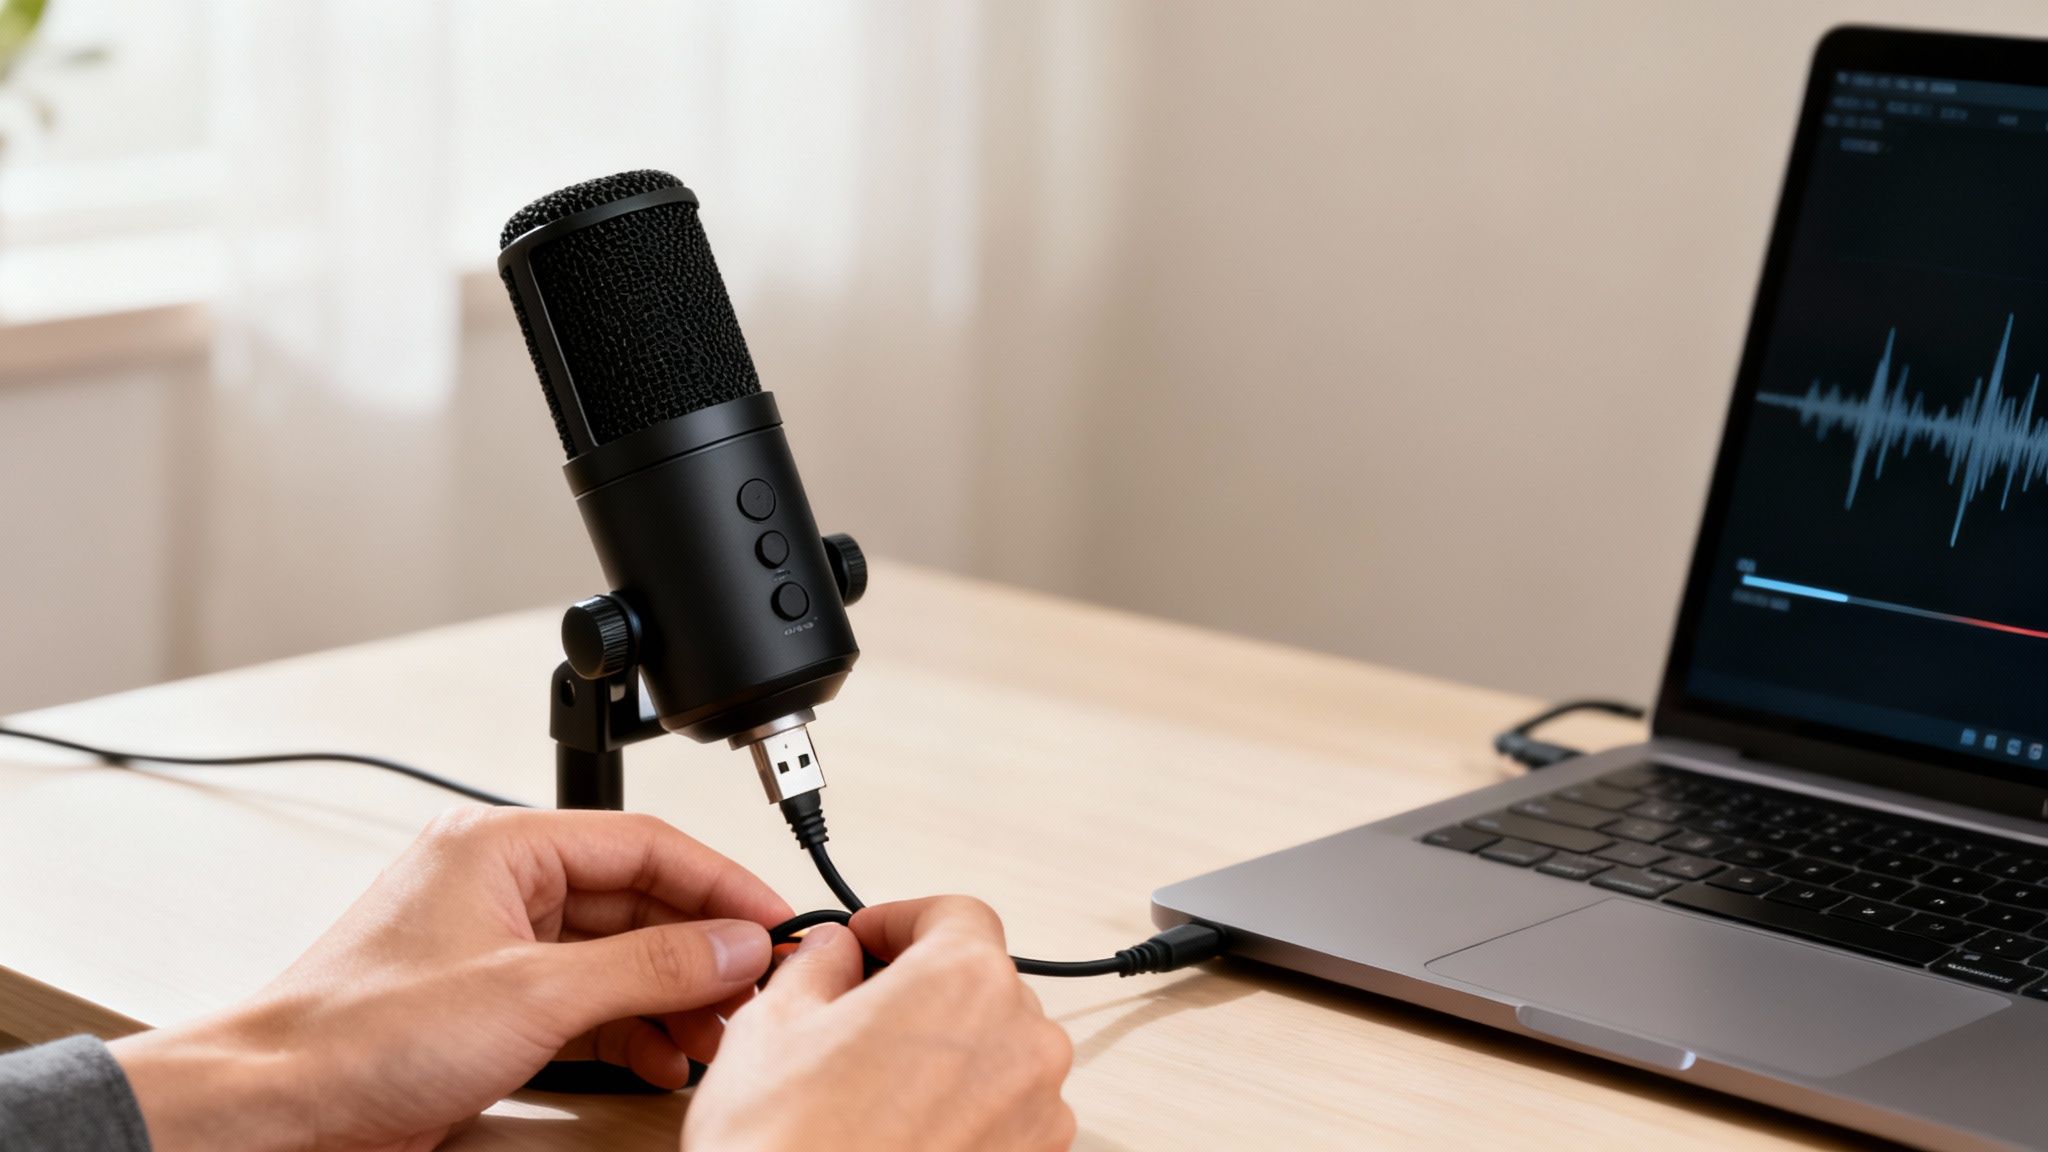
Let's begin with the physical stuff—the things you can touch. Is your USB or XLR cable seated firmly in its port, both on the mic and the computer? I can't tell you how many times a "broken" mic was just a slightly loose cable. If you're using a condenser mic that needs phantom power, double-check that the +48V button is switched on. It's an easy thing to forget.
Next, think about microphone placement. This is huge. Sound gets exponentially quieter the farther you are from the source. For most vocal mics, you want to be just a few inches away. If you’re six inches or more from the capsule, your voice will sound thin and distant, and cranking up the digital gain to compensate will just introduce a bunch of nasty background noise.
This flowchart can help you walk through these initial diagnostic steps logically.
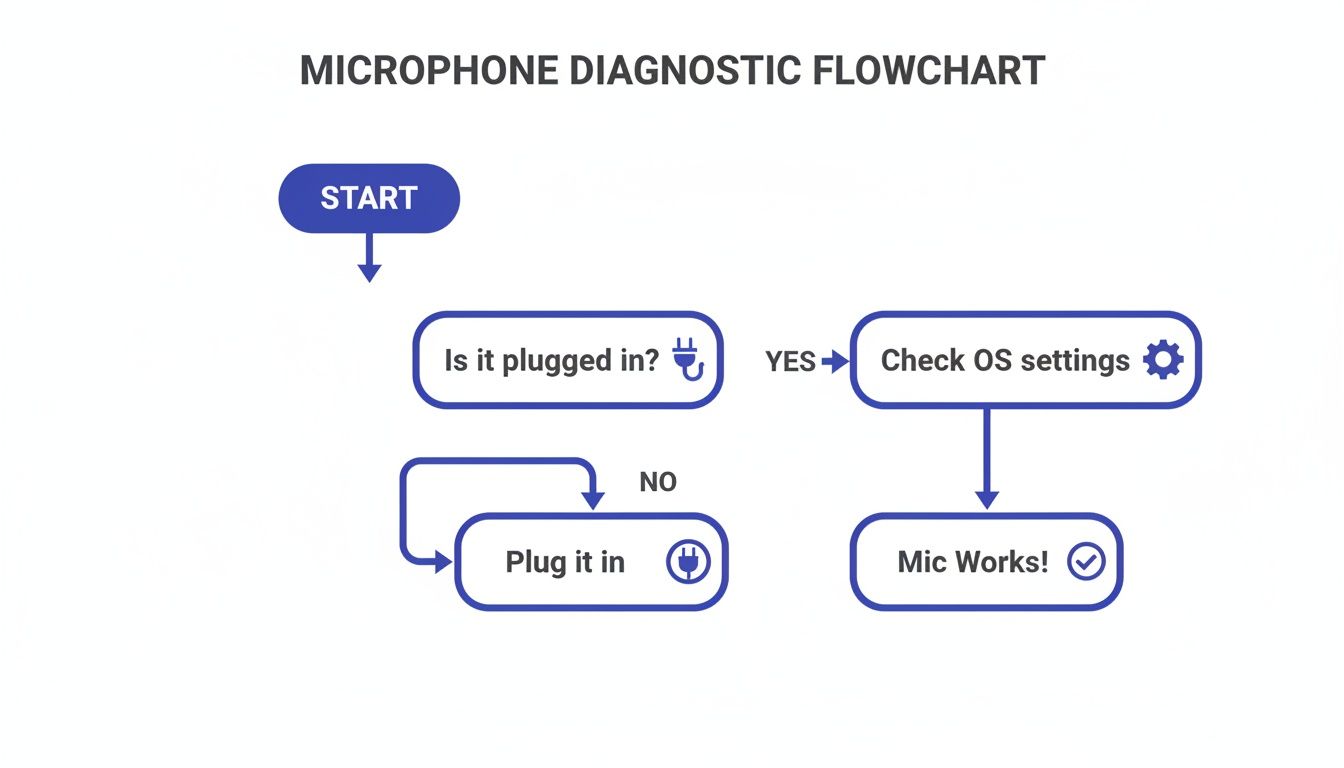
As you can see, confirming your physical connections and placement is always the right place to start before you even think about opening a settings panel.
Before diving deeper, run through this quick checklist. It covers the most common culprits for low volume and can help you pinpoint the issue in under a minute.
Quick Fix Checklist for Low Microphone Volume
| Potential Problem | Quick Solution | Difficulty |
|---|---|---|
| Loose Cable | Unplug and securely reconnect the USB or XLR cable at both ends. | Easy |
| Mic Placement | Move the microphone closer to your mouth (ideally 3-6 inches). | Easy |
| Mute Button | Check for a physical mute button on the microphone or headset itself. | Easy |
| No Phantom Power | If using an XLR condenser mic, ensure the +48V phantom power is on. | Easy |
| Incorrect Input | Make sure your system and app are set to use the correct microphone. | Easy |
| Low Gain/Volume | Turn up the physical gain knob on your mic or audio interface. | Easy |
These checks solve the vast majority of volume issues without needing to dig into complex software controls.
The Growing Demand for Better Audio
The need for clear, loud audio has exploded with the rise of remote work and content creation. It's not just in your head—everyone is trying to sound better. The global microphone market was valued at USD 7.21 billion in 2024 and is expected to hit USD 9.99 billion by 2030.
That growth is driven by people just like you who need to be heard clearly, whether on a Zoom call or a podcast. In fact, USB microphone sales alone have jumped a staggering 156% since 2019. This trend, which you can read more about in a report from Verified Market Research, shows just how essential good audio has become.
Adjusting Mic Settings in Windows and macOS
Sometimes the real culprit behind a quiet microphone isn't the mic itself or the app you're using—it's your computer's operating system. Both Windows and macOS have master controls that act as the final gatekeeper for your input volume. If you've already checked your cables and mic placement, digging into your OS settings is the next logical step.
Getting these settings right provides a clean, system-wide boost. Think of it as setting a strong foundation before you even open a recording app or join a video call.
Navigating Sound Settings in Windows
Windows tends to tuck its most powerful microphone settings a few layers deep, but they're straightforward to find once you know the path. The real control lies in the classic Sound Control Panel, not the modern Settings app.
The quickest way there is to right-click the speaker icon in your system tray and select "Sounds." This opens a small window; click over to the "Recording" tab. You'll see every recording device connected to your PC.
Find your active microphone in the list, click on it, and then hit "Properties." This is where you get to the good stuff. In the new window that pops up, you're looking for the tab labeled "Levels."
Pro Tip: Look beyond the main volume slider. Many audio drivers include a "Microphone Boost" option. This is a game-changer for quieter mics, as it can add a significant amount of gain—often up to +30dB.
Here in the "Levels" tab, you'll see two sliders: one for the main volume and another for the boost.
First, push the main volume slider all the way up to 100. Then, if you're still too quiet, start nudging the Microphone Boost up in small +10dB increments. Keep testing your audio as you go—the goal is to be loud and clear without introducing a ton of background hiss, which can happen if you push the boost too far.
Calibrating Input Volume on macOS
Thankfully, adjusting microphone volume on a Mac is a much more direct affair. Apple builds these controls right into the main System Settings, making them easy to find and tweak.
Start by opening System Settings (what used to be called System Preferences) and heading to the "Sound" section. From there, click on the "Input" tab. You’ll see your Mac’s built-in microphone and any external mics you have plugged in.
Here's how to dial in your level perfectly:
- Choose your mic: First, make sure the correct microphone is highlighted in the list.
- Watch the meter: As you speak into the microphone at a normal volume, keep an eye on the "Input level" meter.
- Adjust the slider: Drag the "Input volume" slider until your voice consistently makes the meter bounce to about 75% of the way to the top.
That 75% mark is the sweet spot. It ensures your signal is strong enough for any application without "clipping"—the harsh, crackly distortion that happens when the input signal is too hot. Nailing this setting is one of the easiest ways to get clean, professional-sounding audio on a Mac.
Boosting Mic Volume Within Your Favorite Apps
So you've tweaked all your system-level audio and think you're good to go, right? Not so fast. Many of the apps we use daily—from video conferencing to game streaming—have their own audio settings that can completely override whatever you just set up.
This is a classic "why am I so quiet?" problem. You might sound perfect in one program but come across as a whisper in another. It all comes down to the fact that software like Zoom, Discord, and OBS process your microphone audio on their own terms. Learning where to find these in-app settings is the key to sounding consistently clear everywhere.
Taming Audio in Zoom and Discord
Communication apps like Zoom and Discord try to be "helpful" by automatically managing your audio, but sometimes their good intentions backfire and actually turn you down. Both have settings for input sensitivity and noise suppression that you’ll want to get your hands on.
For Zoom: Head to Settings > Audio. You’ll immediately see a mic test meter and an "Input Volume" slider. The big one here is the checkbox for "Automatically adjust microphone volume." If you find your voice fading in and out, I'd recommend unchecking this. Set the slider manually to a level where you’re consistently hitting the upper end of the meter without it turning red (clipping).
For Discord: Go into User Settings > Voice & Video. Here, you'll see the "Input Volume" slider and an "Input Sensitivity" toggle. Flip off "Automatically determine input sensitivity" to gain manual control. This lets you set a specific threshold, preventing Discord from cutting you off when you speak softly—a super common reason people sound quiet on a server.
It's no secret we rely on these tools more than ever. The global market for conference microphones hit USD 2.6 billion in 2024 and is expected to more than double by 2034, a trend pushed by the need for crystal-clear audio in our hybrid work lives. Getting your mic volume right is a professional necessity, as highlighted in market analysis from Global Market Insights.
A Quick Word on Noise Suppression: Both Zoom and Discord have built-in noise filtering. While fantastic in a loud coffee shop, an aggressive setting can mistake parts of your voice for background noise and muffle you. If you’re in a quiet space, try setting it to "Low" or even turning it off. You might be surprised by the improvement in vocal clarity.
Gaining Precise Control in OBS Studio
If you're a streamer or content creator, you live and die by your audio quality in OBS Studio. Thankfully, OBS gives you a powerful audio toolkit that goes way beyond a simple volume fader, letting you dial in your sound with surgical precision.
Look for the "Audio Mixer" dock and find your microphone source. You can adjust the main slider there, but the real magic is hidden in the filters. Right-click on your mic source and select "Filters."
Here are the two filters you'll want to use to boost your volume:
- Gain: This is your most direct tool. Add a "Gain" filter and nudge the dB level up slowly while listening back. A small boost of 3-6dB can make a world of difference without introducing a ton of noise.
- Compressor: This is the secret to a professional, broadcast-like sound. A compressor evens things out, making your quiet moments louder and taming your loudest ones. The "Make-up Gain" setting within the compressor is a fantastic way to increase your overall perceived loudness for a full, consistent sound.
Mic Volume Settings Across Popular Apps
Finding the right audio settings can feel like a scavenger hunt, as every application hides them in a different spot. To save you some time, here’s a quick-reference table for some of the most common apps out there.
| Application | Location of Mic Settings | Key Feature to Adjust |
|---|---|---|
| Zoom | Settings > Audio |
Input Volume slider & Auto-adjust toggle |
| Discord | User Settings > Voice & Video |
Input Volume & Input Sensitivity |
| OBS Studio | Audio Mixer > [Your Mic] > Filters |
Gain & Compressor filters |
| Skype | Settings > Audio & Video |
Microphone slider & Auto-adjust toggle |
| Google Meet | Settings (gear icon) > Audio |
Microphone input device selection |
| Microsoft Teams | Settings > Devices > Audio devices |
Microphone dropdown & sensitivity settings |
Use this as your starting point. Since these apps are constantly updated, the exact path might change slightly, but the core settings—input volume, gain, and automatic adjustments—are what you're always looking for.
When to Consider a Hardware Upgrade for Better Volume
Have you tweaked every software slider, maxed out every digital setting, and are still wondering why your mic is so quiet? If that sounds familiar, it’s probably time to look at your hardware.
Software can only do so much. It’s great at amplifying the signal it receives, but it also amplifies all the imperfections—the hiss, the hum, the background noise. When you need a truly clean and powerful volume boost, hardware is almost always the answer.
This doesn't mean you need to build a professional recording studio. The goal is simply to add a piece of gear that provides clean gain, which is just the technical term for increasing the signal's strength before it ever gets to your computer. A hardware boost is far cleaner than a digital one, giving you volume without the unwanted noise.
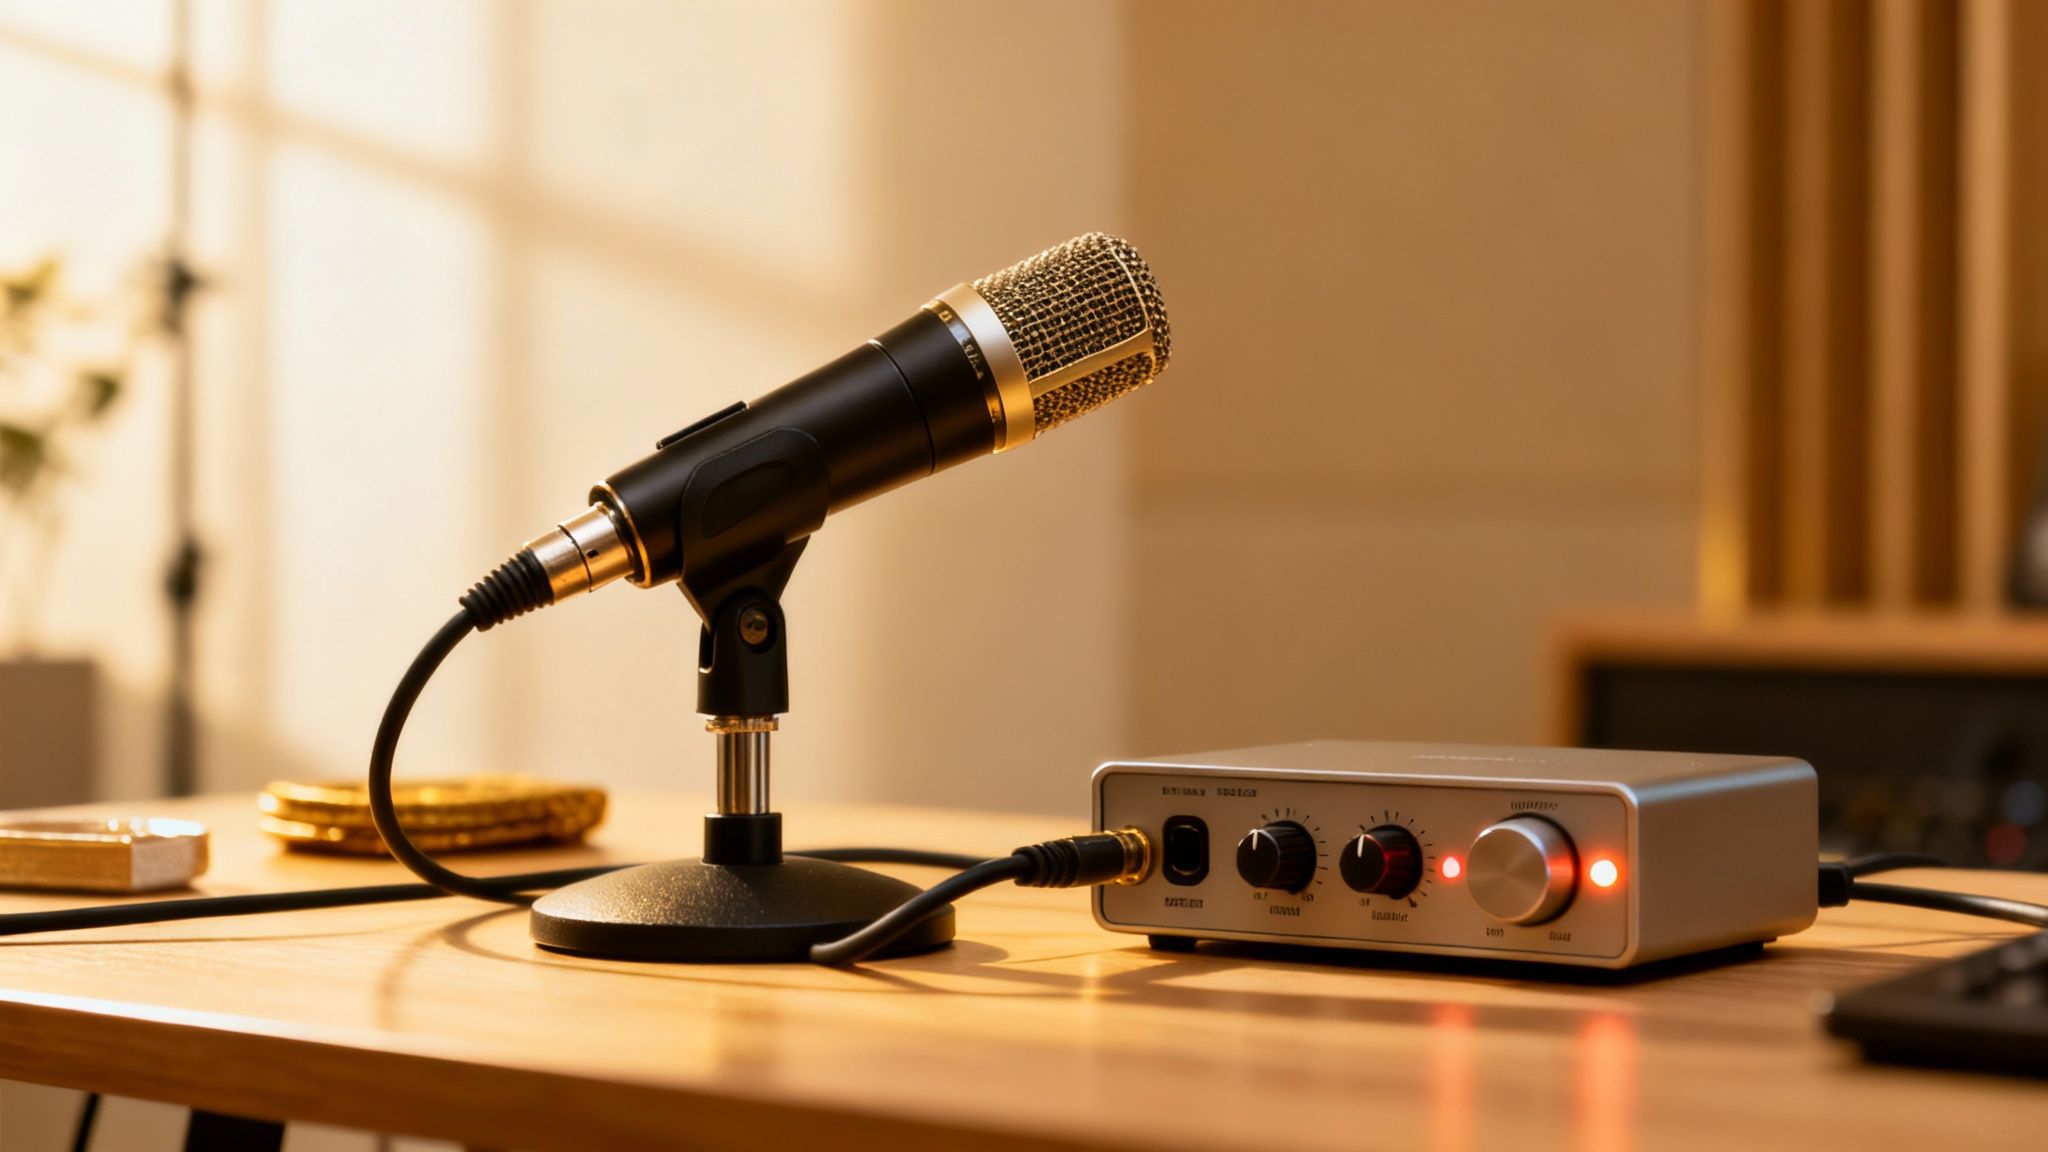
Preamps and Audio Interfaces: Your Volume Superheroes
The two key players here are preamplifiers (preamps) and audio interfaces. Don't let the technical names fool you; their job is simple: make your microphone louder and clearer.
An audio interface is basically an external sound card that acts as a bridge between your mic and your computer. Most connect via USB and have preamps built right in. For anyone serious about audio—like podcasters, streamers, and musicians—an interface is the single biggest leap in quality you can make.
Here’s the deal: An audio interface takes the weak analog signal from your mic, gives it a clean and powerful boost using its preamp, and then converts it into a high-quality digital signal your computer can understand. This gives you a much stronger, cleaner starting point than any USB mic can offer on its own.
Instead of dragging a slider in a software menu, you turn a physical knob on the interface. That simple action gives your mic a powerful, clean lift that software just can't match. This is how you get that loud, present, professional vocal sound without the fuzzy background hiss.
So, Do You Actually Need an Upgrade?
Let's be real: not everyone needs an audio interface. But if you've hit a wall with software boosts and your audio is still too quiet or noisy, it's the next logical step.
You should seriously consider an upgrade if you find yourself in these situations:
- You're using an XLR microphone. These professional mics can't plug directly into a computer's USB or headphone jack. They require an audio interface to work, period.
- Your mic needs phantom power. Many high-quality condenser mics need a +48V charge to operate, which is known as phantom power. Your computer can't provide this, but nearly every audio interface has a button for it.
- Your audio gets noisy when you turn it up. If cranking the digital volume in Windows or OBS makes your audio sound like a bucket of hiss, an external preamp is the solution. It delivers the volume you need without all that extra noise.
Ultimately, if your mic just has a naturally low output or you've maxed out all your software options, an audio interface is the most reliable way to fix the problem for good. It gives you direct, hands-on control over your volume and dramatically improves your overall sound quality in the process.
Tweaking Your Mobile Mic Volume
When you're recording or taking a call on the go, your smartphone is your go-to device. But what happens when people can barely hear you? A quiet mic can kill an important conversation or ruin a great take. Usually, the fix is hiding in your phone’s settings, though the path to get there is a little different for iOS and Android.
No matter which phone you have, the first thing I always check is app permissions. If your mic only sounds quiet in one specific app, it's a good bet that the app doesn't have proper permission to access the microphone. Head into your phone’s main settings, find the app causing trouble, and make sure its mic permissions are switched on. You'd be surprised how often this simple check solves the problem.
Finding the Right Mobile Audio Settings
If you're on an iPhone, a great trick for boosting your voice during calls is buried in the Accessibility menu.
- Go to Settings > Accessibility > Audio & Visual.
- Toggle on "Phone Noise Cancellation."
It sounds backward, but this feature actually helps the phone’s microphones zero in on your voice. The result is you sound much clearer and louder to the person on the other end.
For Android folks, things can vary a bit based on who made your phone (Samsung, Google, etc.), but the idea is the same. Dig into your sound or call settings and look for features named something like "Noise Reduction" or "Clear Calling." Sometimes, this software can be a little too aggressive, and turning it off or adjusting it can give your mic a noticeable volume boost.
My Two Cents: Always start with the software. Before you blame the hardware, take a minute to check your app permissions and any system-level noise cancellation features. These settings are the usual suspects when your mobile mic sounds faint.
When to Upgrade to an External Mic
If you've tried all the software tweaks and your audio still isn't cutting it—especially if you're creating content—it’s time to consider an external microphone. These little mics plug right into your phone's charging port (Lightning or USB-C) and give you a huge jump in both volume and overall quality. They’re built to capture your voice with far more detail than the tiny mics inside your phone ever could.
The market for mobile mics has exploded. Wireless models, in particular, now claim about 56% of the overall microphone market share and are expected to grow by 7.4% annually through 2030. This growth is all thanks to creators, journalists, and professionals who need high-quality audio on the move. You can see the full breakdown in Mordor Intelligence's market analysis.
Ultimately, grabbing an external mic is the surest way to get professional-sounding audio from your smartphone.
Common Questions About Microphone Volume
Even after you've gone through all the troubleshooting steps, a few questions might still be nagging you. Audio is a finicky beast, and sometimes the most common frustrations have surprisingly simple explanations. Let's tackle some of the frequent issues people run into when trying to get their mic volume just right.
We'll dig into why that fancy new mic sounds so quiet out of the box, whether you can get away with just software tweaks, and how to squeeze a bit more performance out of your laptop's built-in mic.
Why Does My New Microphone Sound So Quiet?
This is an incredibly common—and frustrating—moment. You unbox a shiny new microphone, plug it in, and your voice comes through as a faint whisper. More often than not, this isn't a defect. Many high-quality microphones, especially condenser types, are intentionally designed with a lower base output.
The idea is to capture a pristine, clean signal without any clipping or distortion. They're built with the expectation that you'll provide the necessary amplification later in the chain.
Don't just shout into the mic. The real solution is to add gain cleanly, either through your operating system (like the Microphone Boost in Windows), an audio interface with a good preamp, or even a simple gain filter in an app like OBS. Think of a good mic as a clean canvas; it's your job to bring up the levels properly.
Can I Increase Mic Volume Without Buying New Hardware?
Absolutely, and you'd be surprised how far software can take you. For everyday tasks like video calls, casual streaming, or recording voice notes, the tools built right into your computer and apps are often all you need to sound loud and clear.
Before you pull out your credit card, make sure you've pushed all the software buttons first:
- Your OS is the first stop: Max out the input volume in your Windows or macOS sound settings and look for any "boost" features.
- Check your app settings: Dive into the audio preferences in Zoom, Discord, or whatever you're using. They almost always have their own input volume sliders.
- Use audio filters: In programs like OBS Studio, you can add a "Gain" filter directly to your mic source for a clean, digital volume increase.
If you’ve done all that and your audio is still too quiet—or it gets hissy and distorted when you crank it up—that’s your cue. It means you’ve hit the limits of your onboard hardware, and an audio interface is the logical next step for getting that clean, powerful volume you're after.
How Can I Boost My Laptop's Built-in Microphone?
Let's be honest: laptop mics are known for being quiet and tinny. But you can still make them more usable with a few tweaks. Since you can't exactly change the mic's position or plug in a preamp, you're relying entirely on software. Your first port of call should be your system's sound control panel.
For Windows users, the single most effective move is to find and enable the "Microphone Boost" feature. On a Mac, just make sure the "Input volume" slider in your Sound settings is all the way up.
One more pro tip: check the noise cancellation settings in your conferencing apps. Aggressive background noise removal can sometimes mistake a quiet voice for noise and suppress it. Setting it to a lower intensity might just bring your voice forward.
Tired of background hum and echo ruining your recordings? SimpleClean uses AI to scrub distracting sounds from your audio and video, giving you studio-quality speech with just one click. Upload a file for free and hear the difference for yourself.
Article created using Outrank