Quick Answer
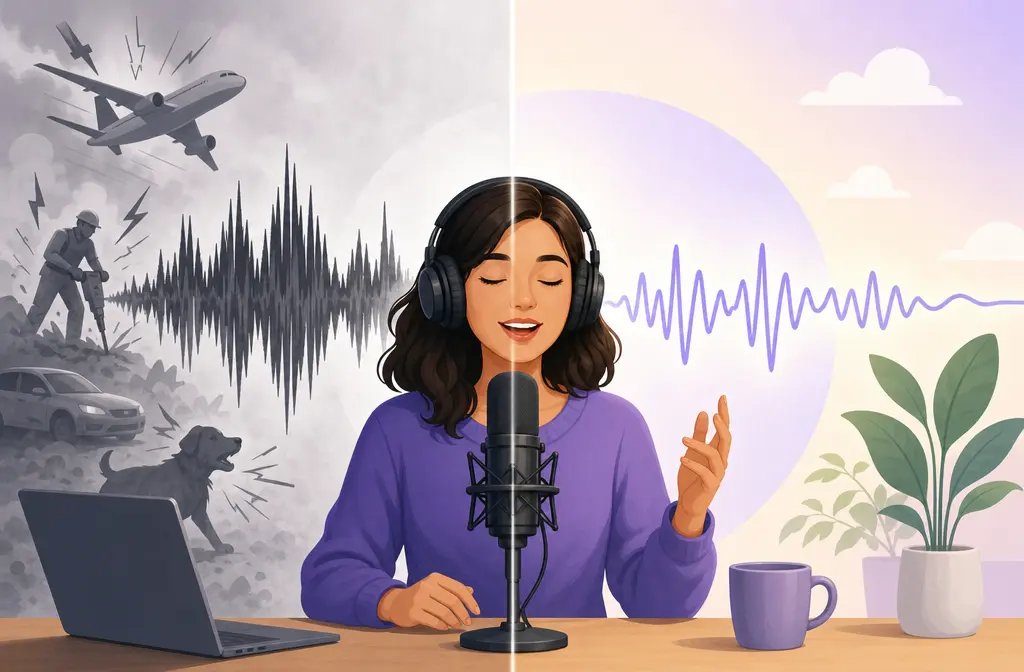
Adobe Podcast’s Enhance Speech tool is one of the fastest ways to remove background noise from spoken-word audio and video. It works best on dialogue with steady noise, room echo, light chatter, and rough voice recordings. The basic workflow is simple: upload your audio or video, let Adobe process it, preview the result, then adjust the Speech and Background controls before downloading.
The big caveat: Adobe Podcast is designed for speech cleanup, not music-first audio or clips where natural ambience matters. If your result sounds robotic, plasticky, or overly processed, back off the speech enhancement, bring some background back in, or stop using it for that clip and switch to a lighter cleanup path.
What Adobe Podcast Removes Best
Based on Adobe’s own positioning and workflow docs, Enhance Speech is built to improve spoken voice by reducing distracting background sound and making dialogue clearer. In real creator workflows, it is most useful for:
- Background noise behind speech
- Room echo and reverb on voice recordings
- Light background chatter behind a main speaker
- Some background music that sits under speech
- Low-grade mic recordings that need speech-focused cleanup
That does not mean it can perfectly rescue every bad recording. Adobe notes that results depend on how audible the speech is and how much noise is present. Cleaner input still produces better output.
Who Adobe Podcast Is For, and Who It Is Not For
| Use case | Good fit for Adobe Podcast? | Why |
|---|---|---|
| Podcast voice track | Yes | Strong for spoken-word cleanup and rough mic improvement |
| Talking-head YouTube video | Yes | Good when the goal is clearer dialogue, not preserving room tone |
| Zoom or Teams export | Usually yes | Helpful for compressed remote speech and mild background noise |
| Interview clip with one clear main voice at a time | Often yes | Can improve intelligibility if overlap is limited |
| Heavy multi-speaker overlap | Limited | AI speech cleanup struggles when voices compete |
| Music-heavy content | No | Enhance Speech is speech-first, not ideal for music preservation |
| Ambience-first documentary audio | No | Can strip away natural environmental sound |
If your main goal is “make the voice clearer,” Adobe Podcast is a strong candidate. If your goal is “keep the scene sounding natural,” be more cautious.

How to Remove Background Noise in Adobe Podcast
Adobe’s browser workflow is straightforward for both audio and video uploads.
- Open Enhance Speech. Go to Adobe Podcast’s Enhance Speech tool in your browser.
- Upload your file. Select your audio or video file and wait for it to upload.
- Let Adobe process it. The tool analyzes the file and generates an enhanced version.
- Preview the result. Listen for clarity, noise reduction, reverb reduction, and any artificial voice texture.
- Adjust Speech and Background controls. Use these sliders to make the voice cleaner without pushing it too far.
- Download the enhanced file. Save the cleaned version and replace the old audio in your editor if needed.
Adobe also documents desktop and mobile-oriented workflows for video creators, but the core process is still upload, enhance, preview, adjust, and download.
Best Speech and Background Settings for Natural Results
This is where most articles stay too vague. The tool can work very well, but it can also sound overprocessed if you push it harder than the source supports.
What the controls are doing
- Speech: pushes the voice toward a cleaner, more polished, more isolated sound
- Background: lets you keep or reduce more of the original environmental sound behind the speaker
How to keep it from sounding robotic
- Start by listening before you touch anything
- If the voice sounds fake, reduce the speech-heavy processing
- Bring back a little background if total isolation feels unnatural
- Do not expect a destroyed recording to become studio-perfect
- Compare the result on speakers and headphones before exporting final
A useful mental rule: stop as soon as the recording becomes easy to understand. Do not keep pushing for “perfect” if the side effect is a brittle or synthetic voice.
Practical slider strategy
- For HVAC, fan, or computer noise: stronger speech cleanup often works well
- For echoey rooms: aim for clarity first, then pull back if the voice becomes hollow
- For traffic or café noise: use moderation, because aggressive processing can make speech sound plasticky
- For videos that should still feel “in the room”: keep some background so the result does not feel detached from the picture
If your clip still sounds unnatural after a moderate adjustment, that is usually your sign to stop using Adobe Podcast for that file rather than forcing it further.
Supported Formats and Practical Limits to Check Before Uploading
Adobe’s official FAQ and product documentation are the right place to confirm current file support before you upload. The key practical takeaway is simple: Enhance Speech supports common audio uploads and also supports video workflows, but you should always verify the current accepted formats and any plan-facing usage limits in Adobe’s own docs because those can change.
- Check Adobe’s current supported audio and video formats in the FAQ
- Confirm whether your workflow is browser-based, desktop-based, or mobile-based
- Check current plan details directly on Adobe’s product pages
- If a file fails, confirm that the file type itself is supported before troubleshooting anything else
Because Adobe updates product and plan details over time, this article avoids listing hard numbers that may go stale. Use the official Adobe FAQ linked below as your final pre-upload check.
Best Workflows by Use Case
1) Podcast episode voice track
Adobe Podcast is a strong fit when you have a host read, solo narration, or a dialogue track that needs fast cleanup. Enhance the exported voice file, then bring the cleaned version back into your DAW or video editor.
Best for:
- Solo podcast narration
- Course lessons
- Podcast intros and ad reads
- Spoken segments recorded on a weak mic
2) Talking-head video
This is one of the best use cases. Adobe’s own guide specifically frames Enhance Speech for video creators. Upload the video, process it, download the result, and replace the original audio in your timeline if needed.
Best for:
- YouTube explainers
- UGC-style marketing videos
- Short-form social talking-head clips
- Screen-recorded lessons with voiceover
3) Interview clip
Adobe Podcast can help when one person speaks clearly at a time. It becomes less reliable when speakers talk over each other or when a second nearby voice is almost as loud as the main speaker.
Best for:
- Alternating interview answers
- Remote interview exports with limited overlap
Less ideal for:
- Crosstalk-heavy panels
- Street interviews with many competing voices
4) Zoom or Teams export
Good candidate if the recording has ordinary remote-call issues: room sound, fan noise, weak laptop mic tone, or compressed voice. Clean the exported file after the call, then replace it in your edit.
If your meeting platform already applied heavy live noise suppression, listen carefully. Stacking aggressive cleanup on top of already processed speech can make artifacts more obvious.

Adobe Podcast vs Premiere Pro Enhance Speech
Adobe’s own guidance draws a practical distinction here.
| Tool | Best for | Main advantage | Main drawback |
|---|---|---|---|
| Adobe Podcast Enhance Speech | Fast browser cleanup of exported audio or video | Simple upload-and-download workflow | Less ideal if you need clip-by-clip timeline decisions |
| Premiere Pro Enhance Speech | Editors already working inside a video timeline | In-timeline control without leaving the edit | More editor overhead for quick salvage jobs |
Use Adobe Podcast when
- You want the fastest speech-cleanup path
- You are working from an exported file
- You do not need detailed timeline-by-timeline audio editing
- You are cleaning a talking-head or voice-heavy video quickly
Use Premiere Pro when
- You are already editing in Premiere
- You need clip-specific decisions inside the project
- You want cleanup to stay attached to your edit workflow
When Adobe Podcast Beats Premiere or a DAW Cleanup, and When It Does Not
Adobe Podcast often wins when
- The recording is speech-first
- You need speed more than surgical manual control
- You want one upload and one download
- You are fixing echoey or noisy dialogue without building a chain of plugins
Premiere or a traditional DAW may be better when
- You need to preserve music quality
- You need selective processing on only part of a clip
- You want manual EQ, expansion, spectral repair, or detailed denoise decisions
- You need to preserve natural ambience instead of replacing it with a polished voice sound
Why Adobe Podcast Can Sound Too Processed
This is the failure case people usually describe as robotic, plasticky, watery, or “AI voice.” It does not always mean the tool is bad. It often means the source is outside the ideal zone for aggressive speech enhancement.
Common causes
- Weak original speech: if the voice is buried, the tool has less clean information to work with
- Heavy overlap: two people speaking at once is hard for speech-isolation tools
- Loud second voices: nearby chatter can compete with the main speaker
- Extreme wind: badly damaged low-frequency bursts are difficult to reconstruct naturally
- Too much enhancement: over-cleaning can create an unnaturally smooth or phasey voice texture
What to do instead
- Use less aggressive speech cleanup
- Allow more background back in
- Split the project into separate clips and only enhance the sections that benefit
- Keep the original for comparison instead of committing too early
And if the file still sounds worse after moderation, that is your signal to stop. AI cleanup can improve many spoken recordings, but it cannot reliably rebuild every broken recording into transparent studio audio.
Simple Export-and-Replace Workflow for Video Editors
If you are cutting a video and just need cleaner dialogue, this workflow is usually faster than trying to solve everything in a complicated mix session:
- Export the noisy audio or the source video clip from your editor
- Upload it to Adobe Podcast Enhance Speech
- Preview and adjust Speech and Background
- Download the enhanced result
- Replace the original audio in your timeline
- Check sync and level match before final export
This is also the same basic replacement pattern described in practical creator workflows for courses and lessons: enhance outside the editor, then swap the cleaned file back into the finished project.
When to Stop Using Adobe Podcast and Switch Paths
You should consider a different cleanup path if:
- The clip is music-heavy
- You want to preserve the real room or ambient environment
- The voice keeps sounding artificial even after lighter settings
- There is severe overlapping speech
- The noise damage is so strong that intelligibility never becomes stable
In that case, use a timeline tool for more manual decisions. If you want a simpler exported-file fallback, SimpleClean is another tool from our team.
Best-For Recommendations
- Best for fast spoken-word cleanup: Adobe Podcast Enhance Speech
- Best for editors already inside a video project: Premiere Pro Enhance Speech
- Not best for: music-first audio, natural ambience preservation, or severe multi-speaker overlap
Related Reading
Sources
- Adobe Podcast Enhance Speech
- Adobe Podcast FAQ
- What is Enhance Speech?
- Enhance Speech for video
- Remove noise and improve voice quality | Firefly
- Apply Enhance Speech in Premiere
- How to Clean Up Course Audio Using Adobe Podcast (Free)
Final Take
Adobe Podcast is excellent when you treat it like what it is: a speech-focused cleanup tool. It can do a very good job reducing background noise, room sound, chatter, and rough voice quality in podcasts, interviews, and talking-head videos. But the best results come from restraint. Preview carefully, use the Speech and Background controls to keep the voice natural, and stop before the recording starts sounding synthetic.
If you want the shortest path from noisy exported file to cleaner dialogue, Adobe Podcast is a strong option. For more cleanup guides, visit SimpleClean.