Getting rid of background noise in your videos has become surprisingly simple, thanks to modern tools. The real magic lies in using AI-powered software that can tell the difference between speech and everything else, letting you clean up your audio with a quick upload. This means you can skip the headaches of manual editing and get professional, clear sound in just a few minutes.
Why Clean Audio Is Non-Negotiable for Creators
Eye-catching visuals might hook someone, but it's the audio that keeps them watching. The moment a viewer hits play, their brain is hardwired to lock onto the human voice. Every competing sound—whether it's a quiet fan hum, distant traffic, or the echo bouncing around an empty room—makes them work harder just to follow along. This extra mental effort, often called cognitive load, is a fast track to frustration and a dropped viewer.
Think about it. You've probably experienced this yourself. Ever tried to watch a brilliant online course where the instructor's wisdom was buried under the drone of an air conditioner? Or a heartfelt podcast interview where the clatter of plates from a busy café kept pulling you out of the conversation? In both cases, the incredible content is completely undermined by bad audio. The audience doesn't just hear the noise; they feel it as a wall between them and the message.
The True Cost of Distracting Noise
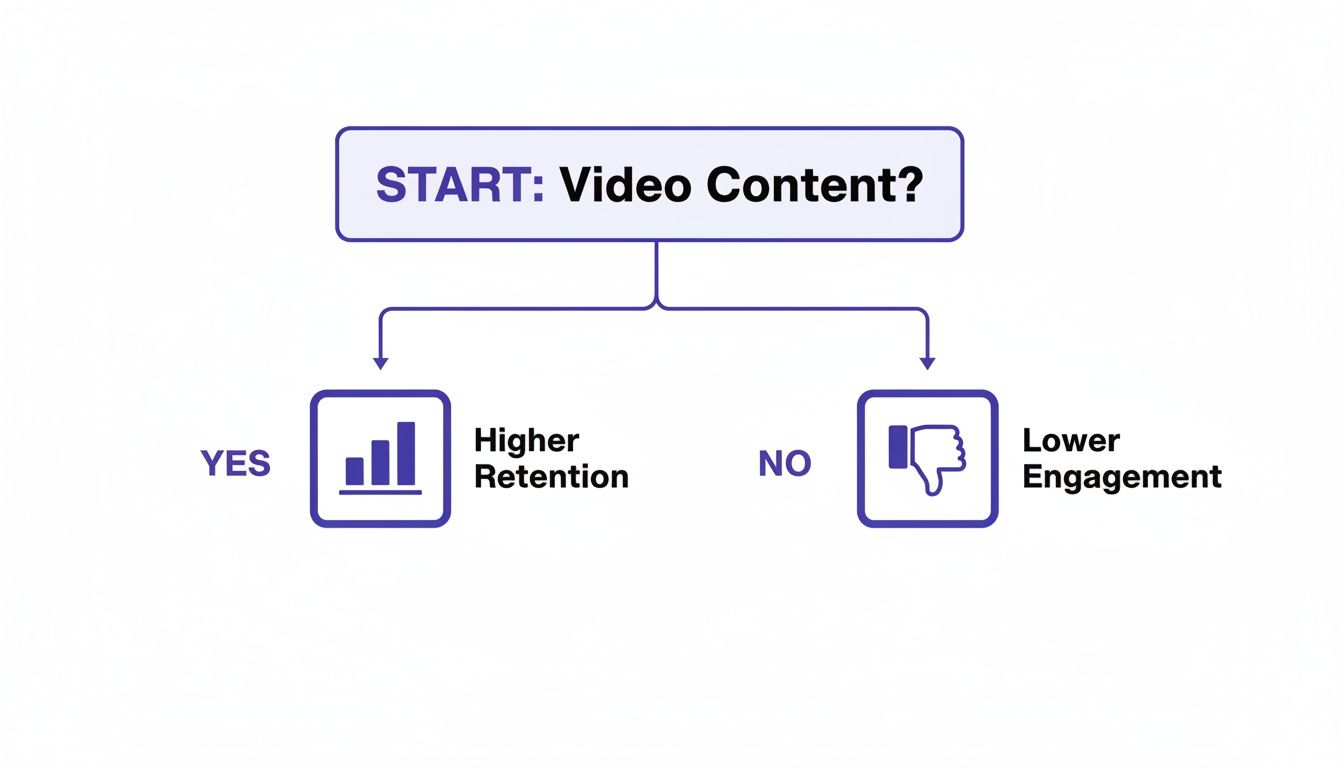
Ignoring your audio isn't a small mistake; it has real, measurable consequences. For YouTubers and video creators, poor sound quality can absolutely kill engagement. It's not uncommon for videos with crisp, clear speech to see up to 30% higher viewer retention. On the flip side, without decent noise removal, a huge chunk—around 40% of amateur videos—get flagged for poor quality in analytics, which directly hurts their reach and how professional they look. You can learn more by digging into video engagement statistics.
Your audio is the foundation of your credibility. When it’s clean and clear, your message sounds authoritative and trustworthy. When it’s noisy and distracting, your expertise gets lost in the static.
Building Trust Through Sound
At the end of the day, figuring out how to remove background noise from video is about more than just a technical fix. It’s a sign of respect for your audience's time and attention. When you take the time to deliver pristine audio, you're creating a frictionless listening experience that builds trust and shows you're serious about quality.
Clean sound quietly communicates professionalism and care. It sends a signal to your viewers that you value their experience, and that subtle cue can be the difference between someone who subscribes and someone who clicks away. Before we get into the tools and how-tos, just remember this: great audio isn't a luxury. It's the invisible force that makes your message land with power.
Learn to Hear What Your Audience Hears
Before you can fix bad audio, you have to play detective. It’s a simple truth I’ve learned over years of post-production work: you can't fix a problem you haven't properly diagnosed. Just slapping a generic "noise reduction" filter on your track is a recipe for disaster—it often creates more problems than it solves, leaving you with robotic, hollow-sounding dialogue.
The first, most crucial step is to listen—really listen. This isn't about casual hearing; it's about critical analysis. Put on a good pair of over-ear headphones (earbuds just won't cut it) to block out the sounds in your current room. Pay close attention not just to the words, but to the spaces between the words. That's where the unwanted noise loves to hide.
Pinpointing the Usual Suspects
Most audio problems you'll run into fall into a few common categories. Once you can recognize their sonic "fingerprints," you’ll know exactly which tool to reach for.
Let's break down the most frequent types of background noise creators deal with and where they typically come from.
Common Video Noise Issues and Their Sources
| Noise Type | Common Sources | Audio Characteristic |
|---|---|---|
| Ambient Noise | HVAC systems, computer fans, refrigerator hum, light ballast buzz. | A constant, steady, low-frequency drone or hiss that sits under the main audio. |
| Intermittent Noise | Dog barks, sirens, door slams, coughs, keyboard clicks. | Sudden, sharp, and unpredictable sounds that stand out from the background. |
| Room Echo / Reverb | Hard, flat surfaces like bare walls, high ceilings, wood or tile floors. | A hollow, "empty room" or "bathroom" sound where your voice bounces around. |
| Electrical Interference | Poorly shielded cables, ground loops, dimmer switches, mobile phones. | A distinct buzz or hum, often at a specific frequency (like 60 Hz in the US). |
| Handling Noise | Bumping a mic stand, adjusting a lavalier mic, cable rustling. | Low-frequency thumps, bumps, and rustling sounds caused by physical contact. |
Knowing what you're up against is half the battle. A dog bark requires a different approach than a persistent air conditioner hum.
This is more than just an academic exercise. As you can see, fixing these audio issues has a direct and powerful impact on how long people will actually watch your content.
Ultimately, clean audio isn't just a technical detail—it’s a sign of professionalism that keeps your audience tuned in.
Use Your Eyes to Diagnose Sound
While your ears are your number one tool, your eyes can be a surprisingly powerful ally. Pull your clip into your video editor and take a good look at the audio waveform. This visual map of your sound can reveal issues your ears might have glossed over.
A healthy spoken-word waveform has clear peaks where you're talking and deep valleys in the silence. If the "silent" parts are thick and fuzzy instead of flat, you've got a constant noise floor problem.
Keep an eye out for sudden, dramatic spikes—those are your intermittent culprits, like a cough or a dropped pen. You should also watch for "clipping," where the waveform looks like its top has been sheared off. That means the recording level was too high and the audio is distorted, which is a much tougher problem to fix than a simple background hum.
By combining what you hear with what you see in the waveform, you can make a much more accurate diagnosis and choose the right fix the first time.
Your New Secret Weapon: The Modern AI Audio Workflow
Not long ago, cleaning up bad audio was a real headache. It meant diving into complex editing software, painstakingly hunting for specific noise frequencies, and manually trying to "paint" over every hum, hiss, and rumble. Honestly, you needed to be a bit of an audio engineer to get it right, and it took forever.
Today, that whole process is ancient history.
AI-powered audio tools have completely changed the game for creators. The new workflow is refreshingly simple and usually involves just three steps: upload your file, let the AI work its magic, and download the clean version.
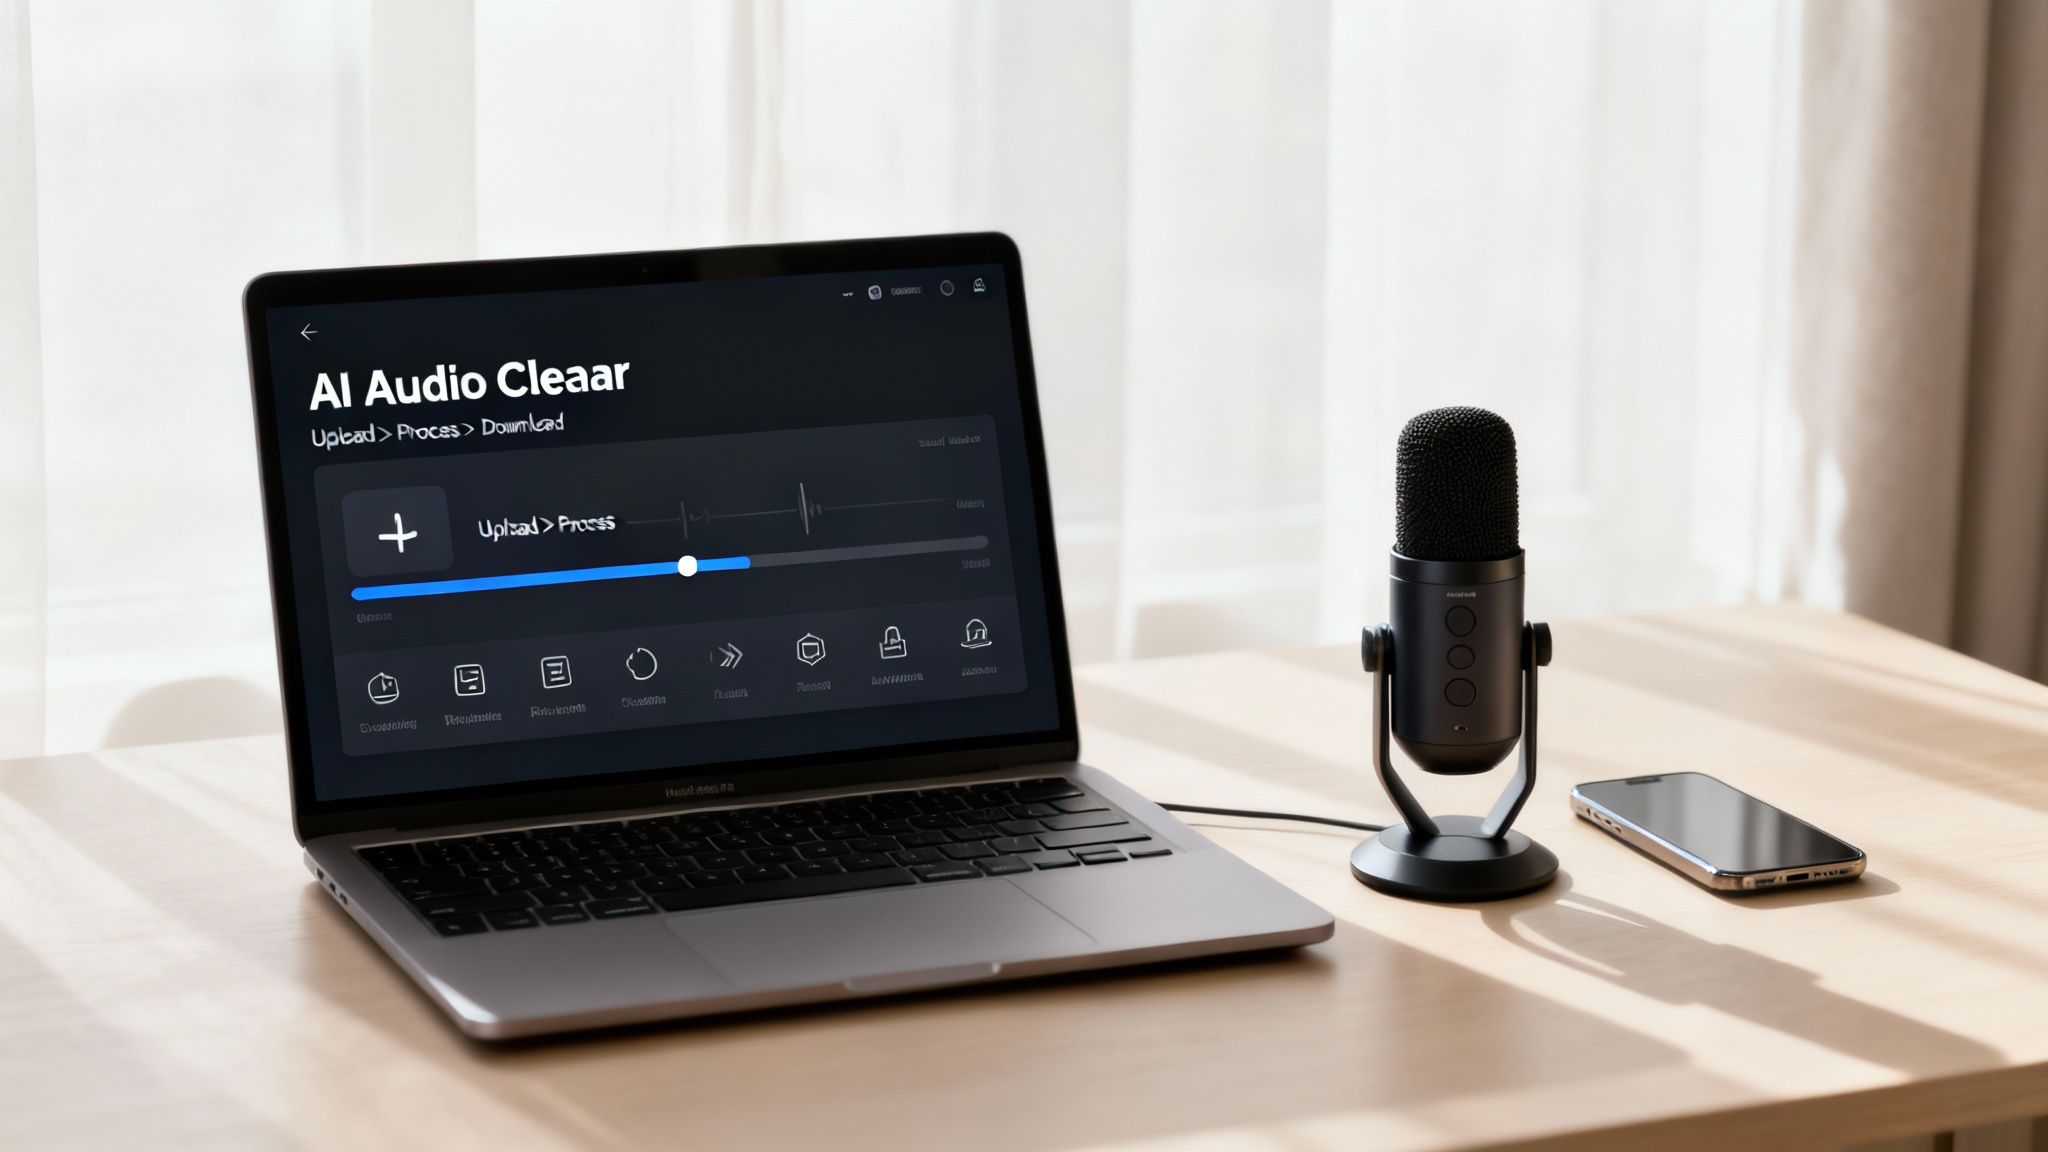
This shift means anyone, regardless of their audio engineering background, can get studio-quality results that were once out of reach.
How AI Actually Cleans Your Audio
Instead of making you find the noise yourself, modern tools like SimpleClean use powerful algorithms trained on thousands of hours of audio. These systems have learned to tell the difference between the specific frequencies of human speech and all the random sounds that make up background noise.
The AI can then surgically remove those distractions while leaving the warmth and clarity of your voice intact.
- City Noise: The rumble of traffic or the wail of a distant siren? The AI can identify and mute it.
- Wind: That awful, low-frequency roar from an outdoor shoot is one of the things AI is best at eliminating.
- Appliance Hum: It can easily isolate the constant drone of an air conditioner or a computer fan and pull it right out.
- Room Echo: AI can even reduce that hollow, reverb-filled sound from untreated rooms, making your voice feel closer and more professional.
The cleanup is fast, effective, and surprisingly accurate. It's no wonder the market for this technology is exploding. The global Background Noise Reduction Software market is expected to jump from $3.21 billion in 2026 to an incredible $45.02 billion by 2034. This is driven by creators who understand just how crucial clear audio is—especially when we know that over 50% of videos have audible distractions that kill watch time. You can read more about this market growth on Business Research Insights.
A Quick Walkthrough with SimpleClean
Let's see just how easy this is with a cloud-based tool like SimpleClean. The best part? There’s no software to install; everything happens right in your web browser.
First, you just drag and drop your video or audio file onto the page. It doesn’t matter if it’s an MP4 from your phone or a WAV file from a dedicated recorder.
Once it's uploaded, the AI gets to work analyzing the file, separating your voice from all the noise layered underneath it.
In just a few moments, you get a clean version back. You can play a before-and-after comparison on the spot to hear the difference, and then download the final, polished file. It's a "set it and forget it" process that automates what used to be the most time-consuming part of editing.
My Two Cents: AI is a miracle worker, but it can't fix everything. It works best when it has a decent source file to start with. The goal is to remove noise, not to repair severely clipped or distorted audio, so always try to get the cleanest recording you can on location.
When an AI Workflow Makes the Most Sense
This approach isn't just for beginners; it's for anyone who values their time. An AI workflow is the perfect solution for the vast majority of audio cleanup tasks.
Think about these common scenarios:
- The YouTuber on a Deadline: You shot a fantastic video, but the AC was running the whole time. An AI tool can fix that in less time than it takes to make a cup of coffee.
- The Podcaster with a Remote Guest: Your guest called in from a noisy coffee shop. Just upload their audio track, and the AI will isolate their voice from the chaos.
- The Educator Creating Online Courses: You need to produce dozens of video lessons that sound crisp and professional, but you don't have days to spend tweaking audio.
If you need to remove background noise from videos without getting lost in technical settings, an AI-powered tool gives you the best mix of quality, speed, and simplicity. It's an indispensable part of the modern creator's toolkit. To get a better sense of what's happening under the hood, check out our guide on how software noise cancellation works.
Taking Control with Advanced Manual Techniques
While AI tools are fantastic for their speed and simplicity, sometimes you need the precision of a surgeon. For those moments, you’ll want to dive into the manual tools found in professional software like Adobe Audition, the Fairlight page in DaVinci Resolve, or the surprisingly powerful and free Audacity.
This isn't about ditching AI. Think of it as adding a complementary skill set for tackling those really stubborn audio problems where automation just doesn't cut it. Manual editing puts you in the driver's seat, giving you fine-grained control that’s perfect for complex, overlapping noises or when you need to preserve every subtle nuance of a delicate recording.
Mastering the Noise Print Technique
One of the oldest and most reliable tricks in the book is capturing a noise print. This is the cornerstone of traditional noise reduction and works wonders on constant, steady sounds—think of an air conditioner hum, a computer fan, or that faint electrical hiss.
The idea is brilliantly simple: you teach the software what the unwanted noise sounds like all by itself.
- First, you need to isolate the noise. Hunt for a section of your recording, ideally three to five seconds long, that contains only the background noise you want to remove. This is your clean sample.
- Next, you capture the print. In your software, you'll highlight this isolated section and use a function typically called "Capture Noise Print" or "Learn." This tells the software to analyze the specific frequencies of that unwanted sound.
- Finally, you apply the reduction. Select the entire audio clip you want to clean up, apply the noise reduction effect, and the software will intelligently subtract the sonic signature of your noise print from the whole track.
Pro Tip: It's tempting to crank the reduction slider all the way up to 100%, but resist the urge. Pushing it too hard often introduces weird digital artifacts, creating a "watery" or robotic sound. Start with a more subtle setting, somewhere around 50-70%, and listen carefully as you adjust.
Visually Erasing Sounds with a Spectral Editor
So, what about sounds that aren't constant? A sudden cough, a dog bark, a door slamming shut—these can ruin an otherwise perfect take. This is where a spectral frequency display becomes your secret weapon.
Instead of the usual waveform that just shows volume over time, a spectral editor gives you a colorful heat map of your audio's frequencies. It lets you literally see the sounds. That low-frequency thump from a mic stand getting kicked? It'll show up as a dark blob at the bottom. A plate clattering? It'll look like a bright slash across the whole frequency range.
Using tools that feel a lot like a "lasso" or "healing brush" in Photoshop, you can draw a box around the visual blob representing the cough and just delete it. The software is smart enough to fill in the gap based on the surrounding audio, making the unwanted sound vanish as if it were never there.
Using Gates to Tame Unwanted Hiss
For that low-level hiss that creeps in during the quiet moments between words, an audio gate (or noise gate) is the perfect tool. A gate works exactly like its name suggests: it’s a gatekeeper for your sound.
You set a volume threshold. Any sound quieter than that threshold gets muted or turned down. Any sound louder than the threshold—like your voice—is allowed to pass through completely untouched.
This is a lifesaver for cleaning up the "silences" in a recording that aren't truly silent. By setting the threshold just above the level of your background hiss, the gate will automatically shut during pauses in your speech, creating beautifully clean, quiet gaps. Just be mindful of the attack and release settings; if they’re too aggressive, the gating can sound choppy and unnatural. For a deeper dive into the tools that make this possible, you can find great information on various types of powerful audio restoration software.
Putting It All Into Practice
Let's look at how you'd use these techniques to solve some common creator problems.
Scenario A: The Persistent Refrigerator Hum
- You recorded a podcast interview in your kitchen, and now a low drone from the fridge is running through the entire file.
- The Fix: Use the noise print method. Find a few seconds where nobody is speaking, capture that hum as your print, and apply a gentle reduction across the whole interview.
Scenario B: The Accidental Cough
- You nailed a crucial line in your video voiceover, but someone coughed in the other room right in the middle of it.
- The Fix: Pull the clip into a spectral editor. Visually hunt down the cough—it will look like a distinct burst of energy. Use the healing brush tool to paint it right out of the recording.
Scenario C: The Amp Hiss
- You’ve recorded an electric guitar tutorial, but your amplifier leaves a constant, low-level hiss on the track between every note you play.
- The Fix: Apply a noise gate. Set the threshold just a hair above the hiss level. The gate will close and silence the track whenever you aren't playing, cleaning it up instantly.
How to Record Cleaner Audio from the Start
While the latest AI tools can feel like magic, the real secret to clean audio isn't in post-production. It’s about preventing noise from creeping into your recording in the first place. Think of it as audio hygiene—a few minutes of prep before you hit record can save you hours of frustrating cleanup work later.
The most important rule is also the simplest: get your microphone as close to the sound source as possible. Proximity is your best friend. A mic just a few inches from your mouth captures a rich, powerful vocal signal, naturally pushing background chatter, computer fans, and street noise so far into the background they become insignificant.
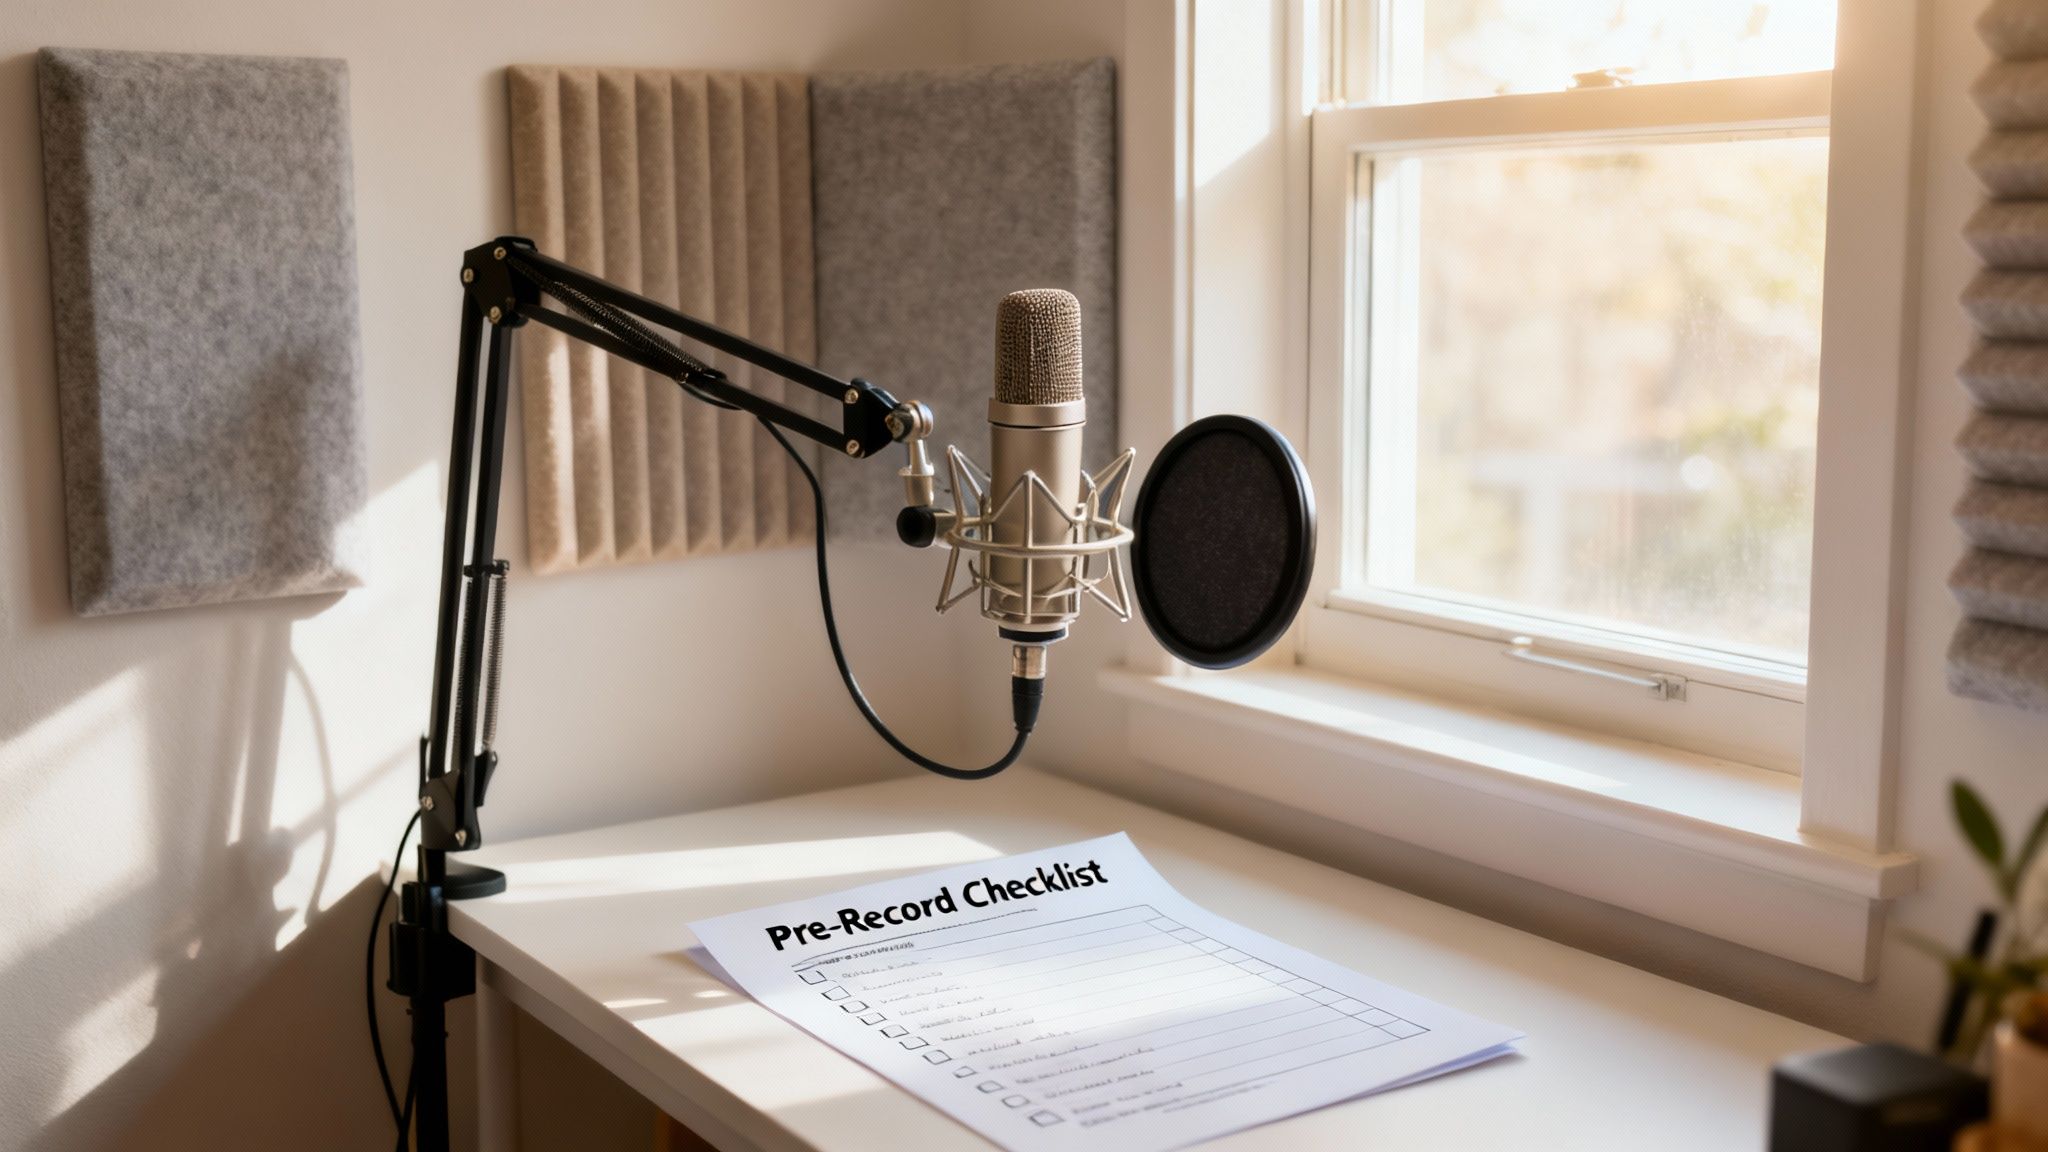
Your Pre-Recording Environment Check
Before you touch your gear, take a look around the room. Hard, flat surfaces are the enemy of clean audio. They act like mirrors for sound, bouncing waves all over the place and creating that hollow, distracting echo we call reverb.
You don't need a professional studio to solve this. Small tweaks make a big impact:
- Soften the Space: Record in a room with a carpet, curtains, or even just a sofa. Tossing a few pillows or a blanket in the corners can do wonders to absorb stray sound waves.
- Kill the Hum: Hunt down and turn off anything that hums, buzzes, or whirs. This means air conditioners, refrigerators, desktop computer fans, and even certain light fixtures.
- Seal the Room: This sounds obvious, but it’s amazing what a closed door and window can block. Sirens, barking dogs, or a chatty roommate can be stopped before they ever reach your mic.
This kind of prep work is non-negotiable for pro-level sound. Truly understanding advanced recording techniques for sound quality can be the difference between a project that sounds amateur and one that sounds polished.
Mastering Your Gain Staging
With your space prepped, it's time to set your recording level, also known as gain. This is a balancing act. Set your gain too low, and you'll have to crank the volume in your editor, which also cranks up the volume of any subtle hiss or room tone.
But if you set the gain too high, your audio will "clip," creating a nasty, crackling distortion that's impossible to fix. The goal is to find that sweet spot where your voice is strong and clear but never hits the red on your meter. Aim for your audio levels to peak between -12dB and -6dB.
Capturing high-quality source audio is more than just a best practice; it's the foundation for everything that comes after. A clean recording gives AI tools the best possible material to work with, resulting in a cleaner, more natural-sounding final product.
The technical quality of your recording matters, too. For example, research into AI audio enhancement shows that a higher sample rate leads to dramatically better results. Training a model with 48kHz audio achieved a 77.94% quality score—a massive jump from the 38.40% score at 8kHz, all while significantly reducing distortion.
Ultimately, being meticulous during the recording process is the best trick in the book. The cleaner your original audio is, the less you’ll have to stress about removing background noise later. And for specific issues like filming outdoors, our guide on how to effectively remove wind noise from your video has you covered.
Common Questions Creators Ask About Background Noise
Even with the best tools, you're bound to have some questions as you dive into cleaning up your audio. Let's tackle a few of the most common hurdles creators face. Getting these sorted will give you the confidence to make your next project sound its best.
Think of this less as a technical manual and more as a field guide. Understanding the why behind the process is just as important as knowing which button to click.
Can I Really Remove All Background Noise?
This is the big one, and the honest answer is: you probably wouldn't want to. While today's AI tools are incredibly good, aiming for complete, sterile silence is a mistake. An audio track with absolutely no ambient tone can feel strange and unnatural to the human ear.
The real goal is to get rid of distractions. It’s about pushing that air conditioner hum or the distant traffic rumble so far down in the mix that the listener’s brain just ignores it, leaving your voice front and center. That’s what a tool like SimpleClean is built for—it intelligently lowers the noise floor while keeping the essential, natural character of your recording intact.
What's the Best Free Software for Removing Noise?
If you want a truly free, do-it-yourself option, the classic answer is Audacity. It’s a powerful open-source editor that uses a manual "noise print" method. This can work well, but it definitely has a learning curve and requires some tinkering to get just right.
For a faster, and frankly, better result, AI-powered services are the clear winner. Many, including SimpleClean, have a free tier that gives you a taste of professional-grade noise reduction without the headache. This workflow lets you skip the complicated settings and get a clean file with just a couple of clicks.
For any creator, time is the most valuable asset. While manual tools are free, the speed and superior quality of an AI cleaner often give you a better return by freeing you up to create.
Will Noise Reduction Make My Voice Sound Weird?
It absolutely can, but that’s usually a sign of a heavy-handed approach. That robotic, "underwater" sound is a classic side effect of pushing old-school noise reduction filters way too hard. It’s what happens when the software can't tell the difference between noise and the subtle frequencies of your voice.
This is where AI shines. These modern tools are trained on thousands of hours of human speech.
- They understand what a natural voice is supposed to sound like.
- This allows them to surgically remove the unwanted noise around it.
- The process preserves the warmth and tone of your voice, getting rid of the junk without sacrificing quality.
For a deeper dive into all things sound-related, from gear reviews to recording techniques, it helps to explore specialized resources. Find more articles within the Audio category for deeper insights into sound production.
How Do I Get Rid of Wind Noise in My Videos?
Ah, wind. It's the nemesis of every outdoor creator. The best defense is a good offense: prevention. Using a "deadcat"—that furry cover for your mic—or even a basic foam windshield is non-negotiable if you’re recording outside.
When you have to fix it after the fact, AI is your best bet by a long shot. Wind creates a chaotic, low-frequency rumble that traditional tools like equalizers and noise gates just can't handle. Because the sound is so random and unpredictable, you can't easily isolate it with manual filters.
An AI tool, on the other hand, is smart enough to identify the unique sonic profile of wind and can dramatically reduce it, often saving a clip you thought was completely unusable.
Ready to hear what AI can do for your audio? SimpleClean brings studio-level clarity to your projects in just a few minutes, all from your browser. Try it for free and clean up your first hour of audio at SimpleClean.app.