So, you've got an echo problem. Don't worry, it's one of the most common audio headaches out there, and you've got a couple of solid ways to fix it. You can either tackle it at the source by setting up your recording space properly, or you can clean it up later using software. The best tools for the job in post-production are usually specialized de-reverb plugins, a well-placed equalizer (EQ), noise gates, or the increasingly popular one-click AI audio cleaners.
Why Your Audio Has an Echo and How to Fix It
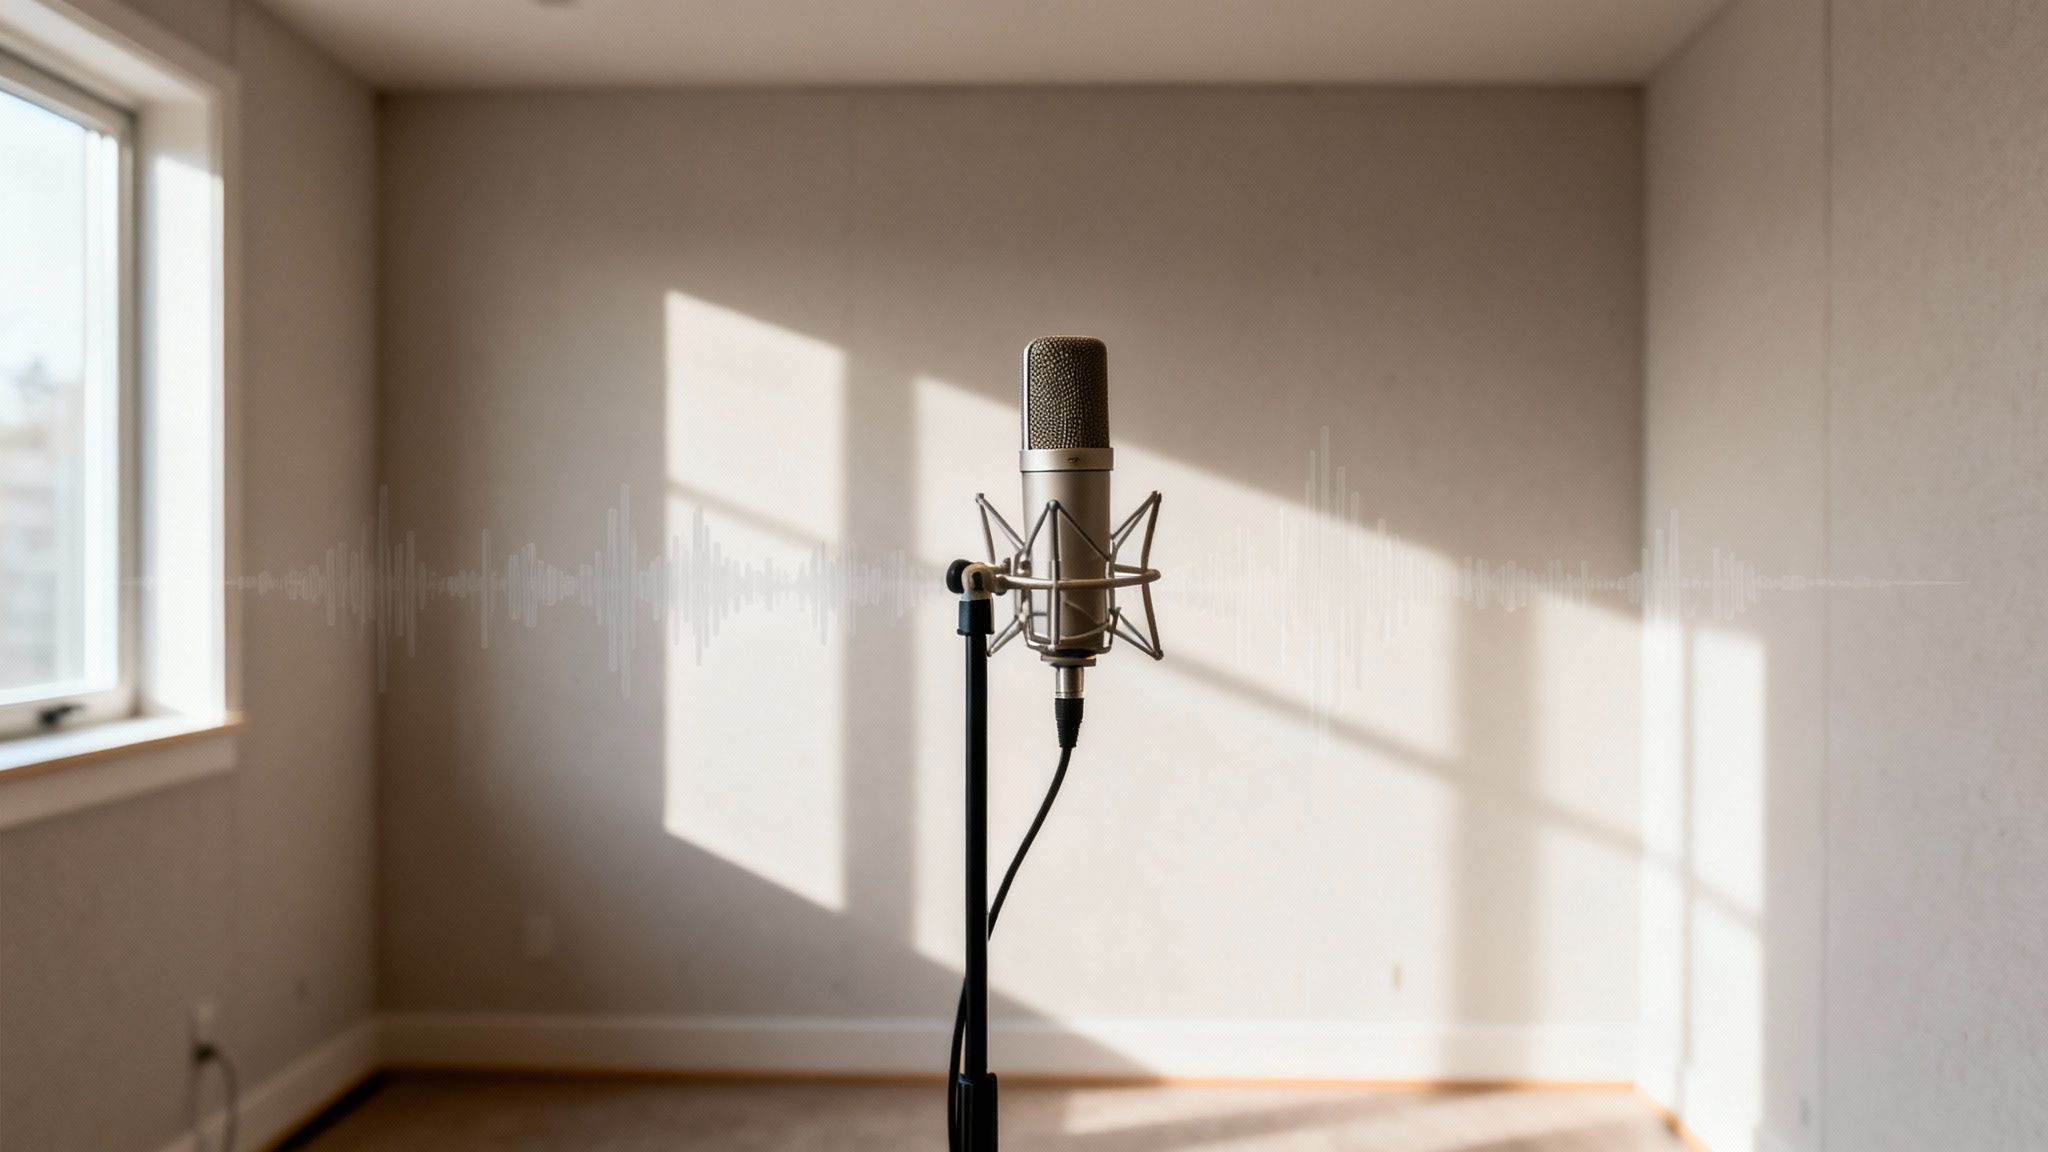
That hollow, distant sound you're hearing in your recordings? It's almost always your room's fault. When you speak, sound waves shoot out from your mouth, hit hard surfaces like walls, ceilings, and desks, and then bounce right back into your microphone milliseconds later. That's the effect we hear as echo or reverb.
People often use the terms interchangeably, but there's a slight difference. An echo is a distinct, separate repetition of a sound—think shouting into a canyon. Reverb, on the other hand, is the messy jumble of countless reflections all blending together, which gives a sense of space. For most podcasters and creators, what you're actually fighting is too much reverb from a room that hasn't been acoustically treated.
Your Roadmap to Clean Audio
Luckily, you have two main battle plans for fighting off these unwanted reflections and getting that crisp, professional sound. Which one you use really depends on if you're about to record or if you're trying to salvage a file you already have.
- Prevention at the Source: Honestly, this is always the best way to go. It's all about improving your room's acoustics and using smart microphone techniques to capture clean audio from the very beginning. We'll get into some simple, budget-friendly ways to make this happen.
- Post-Production Repair: Sometimes re-recording just isn't in the cards. That's when you turn to your software toolkit. This guide will walk you through both the hands-on manual techniques in your DAW and the powerful AI-driven tools that can intelligently separate your voice from the room noise.
The struggle to remove echo from audio isn't new; it's a foundational challenge in communications. The effort to solve it dates back to the 1950s with early echo suppressors in telephony. Modern digital signal processing, which powers today's advanced tools, has its roots in research from the 1980s that made echo cancellers smaller and more effective. You can find more insights about the history of echo cancellation to see how far we've come.
Echo Removal Strategies at a Glance
To help you decide where to start, here's a quick breakdown of the different approaches we'll be covering. Each has its own strengths and is suited for different situations.
| Method | Best For | Difficulty Level | Effectiveness |
|---|---|---|---|
| Room Treatment | Preventing echo before it's recorded | Low to Medium | Very High |
| Mic Technique | Reducing room sound capture on a budget | Low | High |
| AI One-Click Tools | Fast, high-quality results with no audio skill | Very Low | High to Very High |
| De-Reverb Plugins | Precise, manual control over reverb tails | Medium to High | High |
| Gating/Expansion | Taming reverb between words and phrases | Medium | Medium |
| EQ (Equalization) | Reducing muddy frequencies that contribute to echo | Medium | Low to Medium |
Think of this table as a quick-start guide. Prevention is king, but when that's not possible, knowing which software tool to reach for can save you a ton of time and frustration.
Fix Echo at the Source: Before You Hit Record
The best way to deal with echo has nothing to do with fancy software or editing tricks. It’s about stopping it from ever getting into your recording in the first place. Honestly, spending a little time getting this right will save you hours of headaches in post-production. You don't need a pro studio, just a bit of clever thinking about the space you're in.
So where does all that nasty echo and reverb come from? It's the sound of your voice bouncing off every hard, flat surface in the room—your walls, the ceiling, a hardwood floor, even a big window. Your microphone picks up your voice, and then a split-second later, it picks up all those reflections. The goal is simple: kill those reflections before they reach the mic.
Tame Your Room with DIY Acoustic Treatment
You can make a huge difference using stuff you probably already have lying around. The whole idea is to cover those hard surfaces with soft, absorbent materials.
- Soften the Surfaces: Got heavy blankets or a spare duvet? Drape them over the walls or hang them from mic stands. A thick rug on the floor is a game-changer. Even tossing a few pillows in the corners can help.
- Let Your Furniture Do the Work: A big, plush couch is an amazing sound absorber. So are bookshelves packed with books. Recording in a furnished room is always, always better than an empty one.
- The Classic Closet Trick: If you're just recording your voice, a walk-in closet is your best friend. All those clothes hanging around are like free, professional-grade acoustic treatment. It's a fantastic way to get a dry, focused vocal sound without spending a dime.
Hunt Down Your Room's Problem Spots
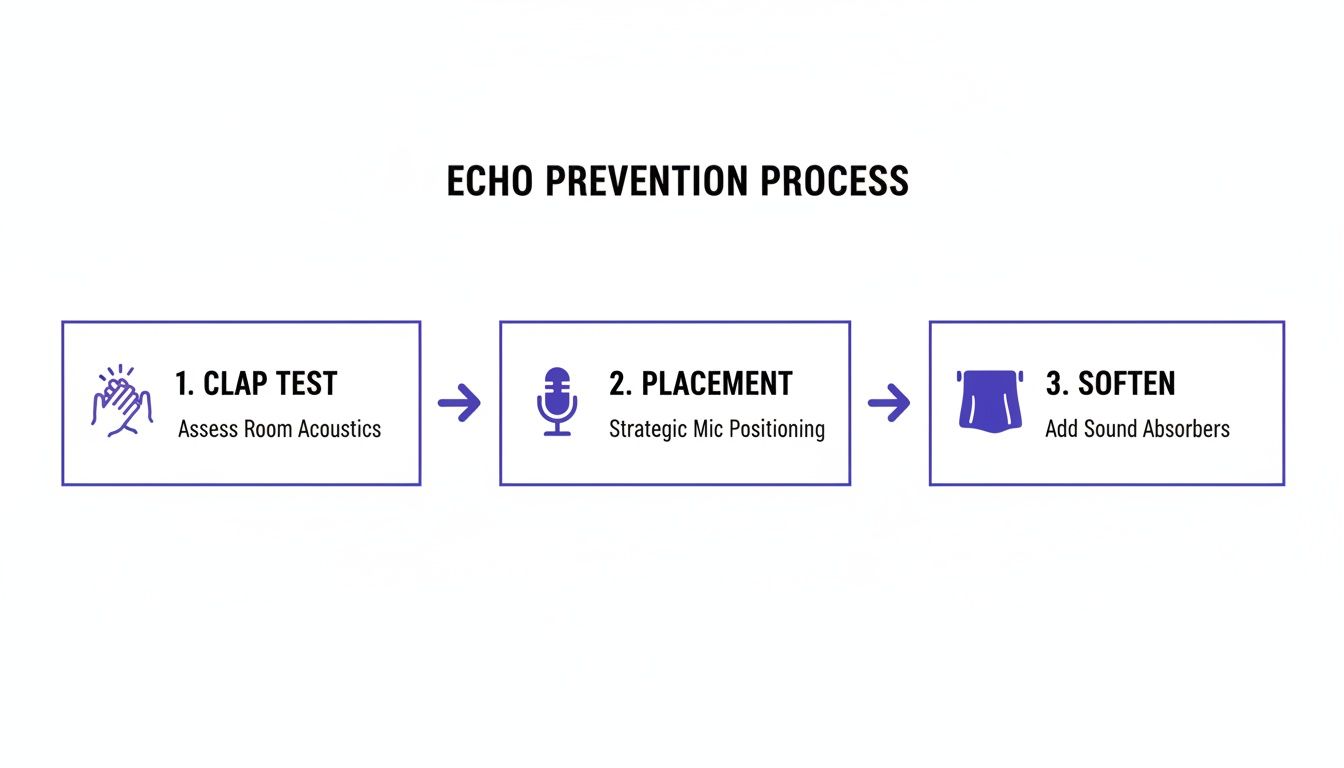
Before you start dragging furniture around, you need to find out where the worst reflections are coming from. The quickest way to do this is with a simple "clap test."
Just stand where you plan to record and give one loud, sharp clap. Now listen. Do you hear a tinny, ringing sound, almost like a slap? That's flutter echo, bouncing between two parallel walls. The clap test helps you pinpoint exactly where the sound is bouncing around the most.
Pro Tip: Once you find a problem area—say, a long, bare wall across from where you're sitting—that's your target. Even just hanging a heavy moving blanket there for your recording session will make a night-and-day difference.
It's Not Just the Room, It's How You Use the Mic
Your microphone choice and how you place it are just as critical as the room itself.
Most microphones used for podcasting or voice-over have what's called a cardioid polar pattern. Think of it like a heart-shaped pickup area. The mic is super sensitive to sound right in front of it but rejects sound from the sides and, crucially, from the back. You can use this to your advantage. Simply aim the "dead" rear of the microphone toward the worst source of reflections, like that bare wall or window we talked about.
And finally, the easiest tip of all: get closer to the mic. When you speak about 3-6 inches away, your voice is much, much louder than any of the room reflections. This drastically improves the signal-to-noise ratio, making your voice the star of the show and pushing that echo way into the background.
Using Your DAW to Manually Reduce Echo
So, you’ve got a recording with that dreaded room echo, and heading back to the studio to re-record just isn't in the cards. What now? This is where your Digital Audio Workstation (DAW) becomes your best friend. Don't think of it as just a recording tool; it's a full-on audio repair shop.
Getting your hands dirty with manual fixes takes a bit more time than one-click AI tools, but the payoff is immense. You get precise, surgical control over the sound, allowing you to rescue audio that might otherwise be unusable.
Let's say you just wrapped up a fantastic interview for your podcast, but your guest was recording from their spacious, high-ceilinged living room. The content is gold, but that distracting echo makes it sound amateurish. Instead of trashing the file, we can dive into the DAW and perform some sonic CPR.
The goal here isn't to just slap a filter on it. It's about carefully targeting the echo without gutting the original warmth and clarity of the speaker's voice.
Of course, the best cure is always prevention. Keeping these simple steps in mind before you hit record can save you hours of post-production headaches.
A quick clap test, smart microphone placement, and a few soft surfaces are your first and best line of defense. But when that fails, we turn to our digital toolkit.
Carve Out Mud with an Equalizer
First up is the trusty equalizer, or EQ. Echo and reverb have a tendency to build up in the low-mid frequencies, typically somewhere between 200-800 Hz. This is what creates that classic "muddy" or "boxy" sound that clouds up a vocal track. A parametric EQ is the perfect tool for this job.
Here’s a classic trick: create a narrow band in your EQ and give it a big volume boost. Then, slowly sweep that boosted band across the frequency range while your audio plays. Listen closely. When the echo suddenly jumps out and sounds ten times worse, you’ve found a problem spot.
Once you’ve locked onto that frequency, just flip the boost into a cut. Gently lower the volume for that specific band. Don't go crazy—overdoing it can make the voice sound thin and hollow. Hunt for two or three of these muddy spots and dial them back. It’s a subtle art, but it makes a huge difference.
Tame Echo Tails with a Noise Gate
While an EQ helps clean up the tone of the reverb, a noise gate is all about tackling its timing. A noise gate is basically an automated volume control; it completely mutes any sound that drops below a certain level. This is brilliant for chopping off the echoey tails that trail off in the silence between words and sentences.
To set it up properly for echo reduction:
- Set the Threshold: This is the most important part. Adjust the threshold so the gate stays open while the person is speaking, but snaps shut the moment they pause. The idea is to silence the space between their phrases, killing the reverb before it has a chance to decay.
- Fine-Tune Attack and Release: You'll want a fast attack so the gate opens instantly when speech starts, avoiding clipped words. For the release, a slightly slower setting often sounds more natural, preventing the sound from cutting off too abruptly.
This manual gating technique is a simplified version of what sophisticated echo cancellation systems do in real-time. Professional systems use adaptive filters to achieve an echo return loss enhancement of 20-30 dB, effectively subtracting the echo from the signal. You can read more about the complex tech behind echo suppression and cancellation on Wikipedia.
Visually Erase Reverb with Spectral Editing
When you need to bring out the big guns, spectral editing is the way to go. This advanced feature, found in software like iZotope RX or Adobe Audition, lets you see your audio in a whole new way. Instead of a simple waveform, the spectral display gives you a visual "heat map" of frequencies over time.
In this view, reverb tails often appear as faint, horizontal lines that linger after the main dialogue has ended. They're literally the visual fingerprint of the echo. With a spectral repair tool, you can select these visual artifacts and simply erase them or lower their volume.
This is without a doubt the most precise method, but it definitely has a learning curve. It’s perfect for fixing short, problematic clips where nothing else has worked, but it takes a trained eye and a steady hand.
Advanced De-Reverb Plugins and Specialized Tools
So you’ve tried EQ and gating, but that stubborn room sound just won't go away. When the basics aren't enough, it's time to bring in the big guns: dedicated de-reverb plugins. These aren't just fancy EQs; they're specialized tools built with sophisticated algorithms designed to intelligently separate the direct sound of a voice from the reverb of the room it was recorded in.
A noise gate is a blunt instrument—it just silences anything below a certain volume. A de-reverb plugin, on the other hand, is a surgical tool. It actually analyzes the acoustic fingerprint of your recording, identifies that washy, reflective tail that follows every word, and then surgically turns it down.
The result is far more natural. Instead of just chopping out the silence between phrases, these plugins can actually reduce the room sound during the speech itself. This is what gives you that tight, focused, and professional sound we're all after.
How These Plugins Work Their Magic
At their core, these tools are trying to solve a complex puzzle: what part of this sound is the speaker, and what part is just the room bouncing that sound around? They use a couple of clever methods to figure this out.
- Spectral Subtraction: This is a common approach where the plugin creates a "profile" of the reverb—that sustained, mushy sound—and then just subtracts it from the entire track. It’s incredibly effective for targeting those obvious room reflections.
- Deconvolution: This is the really high-tech stuff. Deconvolution attempts to reverse-engineer the room's acoustic signature. It’s like it figures out the unique echo pattern of the space and then "un-prints" it from your voice, often with stunningly clean results.
Believe it or not, the core ideas behind this have been around for a while. The theory for adaptive echo cancellation dates back to the mid-1960s. Today's digital plugins are just the incredibly powerful descendants of those early concepts, using smart filters that constantly adjust to give you the cleanest audio possible. You can learn more about the evolution of these audio processing techniques if you want to geek out on the history.
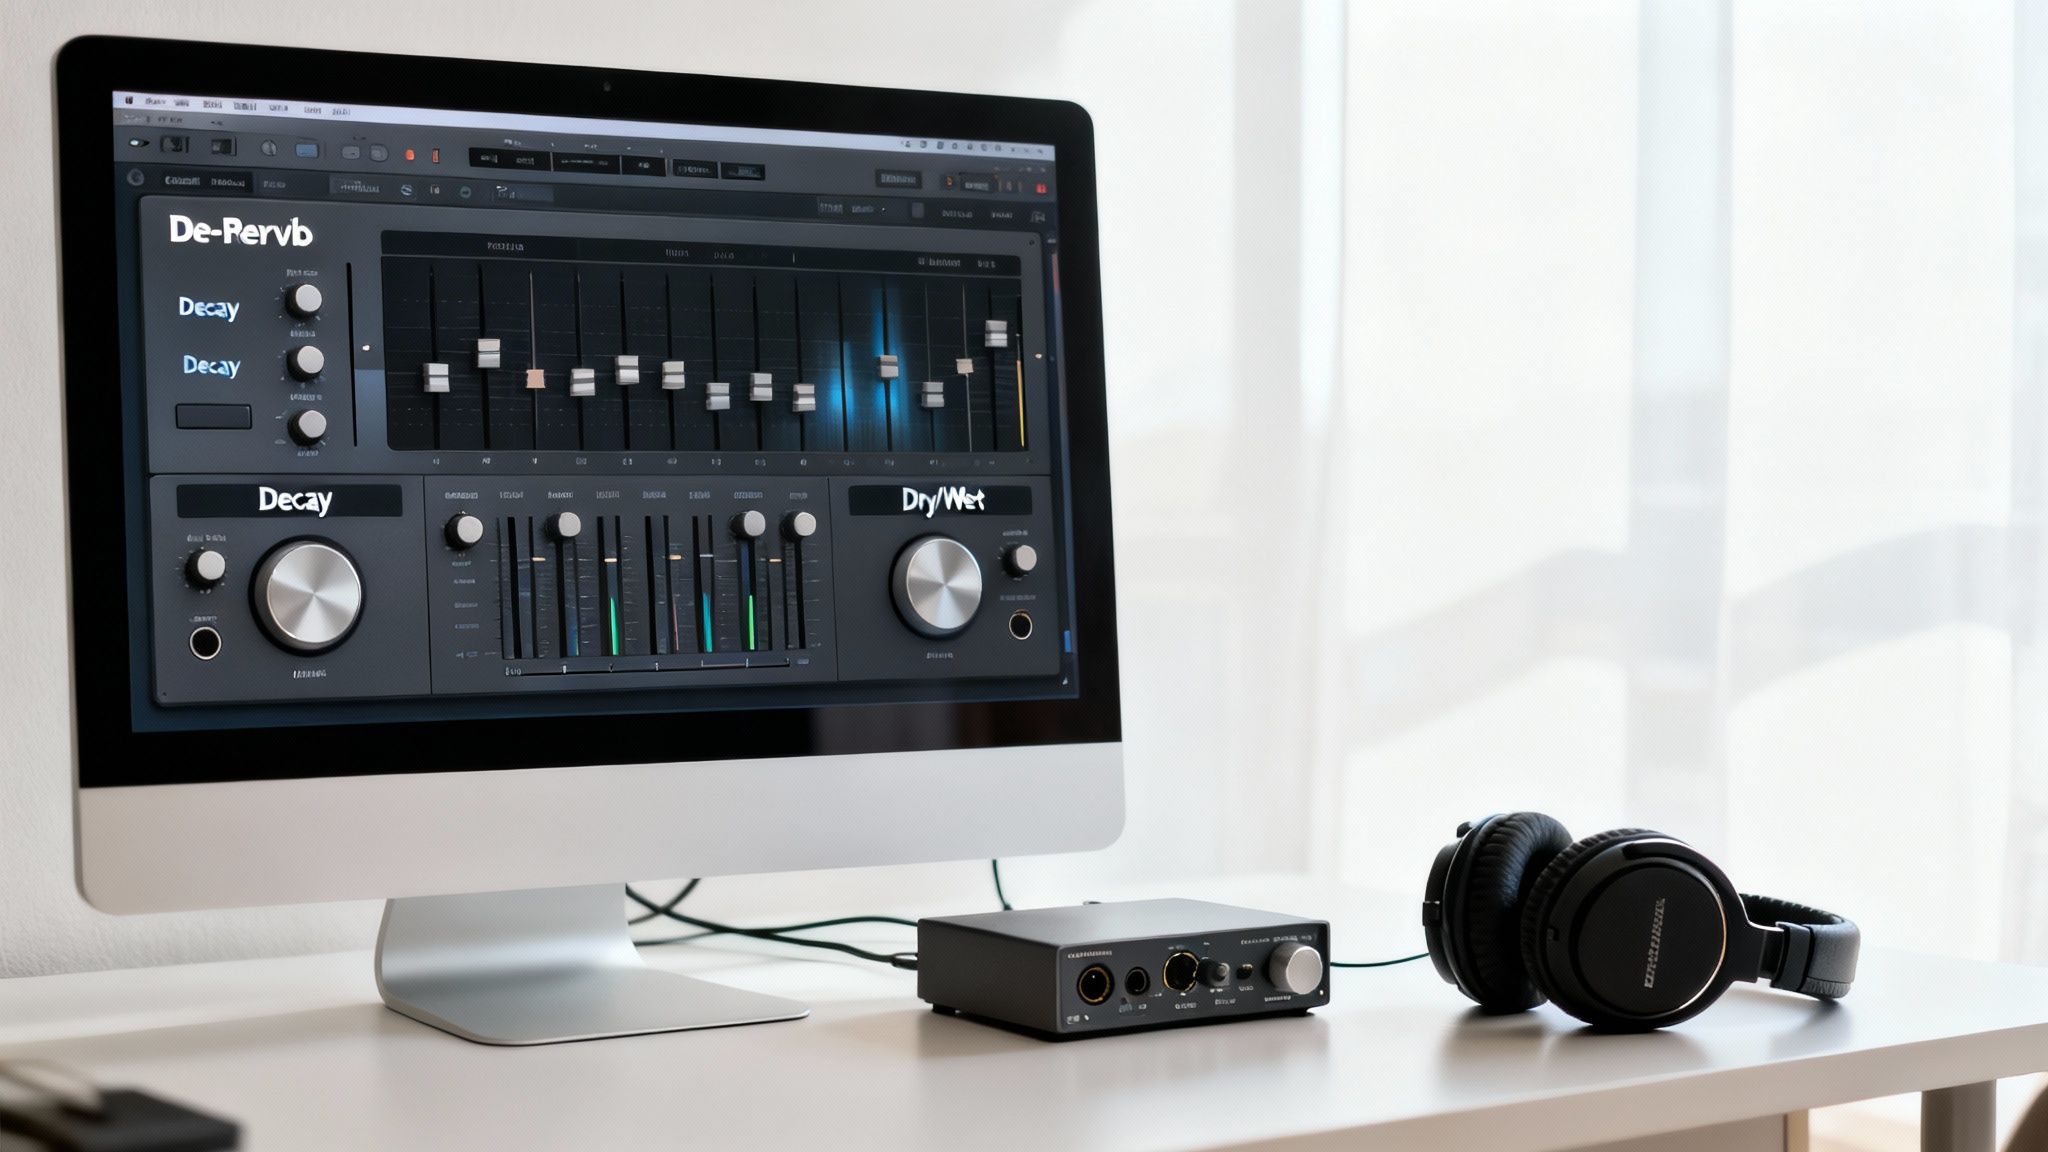
Dialing in the Perfect Settings
While a lot of modern plugins have a simple "one-knob" mode, getting your hands dirty with the main parameters gives you the control you need to remove echo from audio cleanly, without creating weird-sounding artifacts. Let's say you're working with a podcast interview that was clearly recorded in a big, empty office.
Here are the controls you'll want to master:
| Parameter | What It Does | Pro Tip for Podcast Dialogue |
|---|---|---|
| Reverb Level | Your main control for how much echo gets removed. Think of it as the intensity knob. | Start with it turned down and slowly bring it up until the echo is less distracting. Cranking it to 100% almost always sounds unnatural and robotic. |
| Decay Time | This tells the plugin how long the reverb tail is. It helps it distinguish between short, slap-back echoes and longer, cavernous ones. | For spoken word, a shorter decay setting usually works best, as it helps the plugin focus on the echo immediately after someone speaks. |
| Frequency Targeting | Lets you tell the plugin where to look for the echo—in the boomy low-mids, the harsh upper-mids, or the splashy highs. | This is key for preserving the natural tone of the voice. You can attack the muddy frequencies where the echo is worst while leaving the rest of the voice untouched. |
Learning to use these tools properly can genuinely rescue audio that you might have otherwise thrown away. You can make a recording from a boomy conference hall sound like it was done in a proper studio, all from the comfort of your editor. It’s an essential skill for making sure your audio always sounds professional.
The AI Revolution in Audio Repair
The old way of fighting echo and reverb was a grind. It meant hours spent tweaking EQs, carefully setting gates, and using complex plugins, all while hoping you didn't make the audio sound worse. But honestly, the game has completely changed over the last few years.
AI-powered tools have come onto the scene, offering incredibly effective, nearly instant ways to remove echo from audio, often with just a single click. This isn't just a small step forward; it's a whole new way of thinking about audio cleanup.
These tools are built on machine learning algorithms that have been trained on thousands upon thousands of hours of audio. They’ve been fed a massive diet of everything from pristine, studio-quality speech to recordings drenched in every kind of echo and reverb imaginable. Through this process, the AI learns to tell the difference between a human voice and the messy room reflections bouncing around it.
Instead of just crudely chopping out frequencies or silencing quiet parts, these smart algorithms can actually deconstruct and then rebuild the audio from the ground up. They pinpoint the direct sound of your voice and intelligently suppress the echo, giving you a level of clarity that used to be reserved for professional recording studios.
The One-Click Workflow
The real magic of these AI solutions is just how simple they are to use. All the heavy lifting and complex audio engineering happens behind the curtain, leaving you with a clean, straightforward process.
Let's say you just recorded a fantastic interview for your podcast, but your guest was using their laptop mic in a big, empty room. The audio is echoey and distant. Instead of dedicating your afternoon to fighting it with EQs and gates, an AI tool like SimpleClean turns a major headache into a quick win.
- You just drag and drop your audio or video file onto the site.
- The AI gets to work, analyzing the file to separate the voice from the echo.
- It processes everything in the cloud, surgically stripping out all that unwanted reverb.
- A few moments later, you download a clean, professional-sounding file that's ready to go.
This approach is a lifesaver for creators who need great results without getting bogged down in technical details. It truly makes high-quality audio accessible to anyone, no matter their background in sound engineering.
AI audio repair isn't just about being fast; it's about being smart. By analyzing the specific acoustic signature of each recording, these tools can adapt to any environment—from a tiled kitchen to a cavernous conference hall—and still deliver clean, consistent results.
When AI Is the Smartest Choice
Look, manual techniques still have their place for very specific, surgical tweaks. But for most spoken-word content like podcasts, video voiceovers, or online courses, AI is often the more practical and powerful choice.
Deciding between traditional methods and AI-powered tools often comes down to a trade-off between control, speed, and ease of use.
Manual vs. AI Echo Removal Comparison
Here’s a quick breakdown of how the two approaches stack up against each other.
| Feature | Manual DAW Techniques | AI-Powered Tools |
|---|---|---|
| Speed | Slow and methodical, can take hours | Extremely fast, often just a few minutes |
| Skill Level | Requires a good ear and technical knowledge | Beginner-friendly, no audio skills needed |
| Consistency | Results can vary depending on the user's skill | Delivers consistently high-quality results |
| Control | Offers granular, surgical control over parameters | Typically offers simple, high-level adjustments |
| Best For | Subtle problems, experienced audio engineers | Severe echo, quick turnarounds, content creators |
Ultimately, for most podcasters, YouTubers, and educators, the ability to rescue a piece of audio quickly is worth its weight in gold.
It means a fantastic interview or a crucial tutorial doesn't have to be thrown out just because the recording environment wasn't perfect. This shift lets creators put their energy back where it belongs: on making great content, not fighting with post-production nightmares.
Common Questions About Fixing Audio Echo
When you're trying to clean up a recording, it's easy to run into a few common hurdles. Let's walk through some of the questions that pop up most often when creators start tackling echo.
Can I Really Get Rid of All the Echo?
This is the big one, isn't it? The honest answer is... probably not 100%.
Once a sound is recorded with heavy echo or reverb, those reflections are essentially "baked into" the audio file. Trying to surgically remove every last trace often leaves you with weird digital artifacts—that dreaded "underwater" or robotic sound.
The goal isn't perfection; it's clarity. Your aim should be to reduce the echo enough so it's no longer distracting. That's the real win. And it's exactly why getting it right at the source, during recording, is always your best bet.
What’s the Difference Between Echo and Reverb, Anyway?
People use these words interchangeably all the time, but in the audio world, they mean two very different things. Nailing down the difference helps you figure out what you’re actually trying to fix.
- Echo: Think of shouting into a canyon. You hear your voice, and then a moment later, a clear, distinct copy of your voice calls back. That’s an echo.
- Reverb: Now, imagine speaking in a large, empty church. You don't hear distinct copies, but rather a dense, messy wash of sound that lingers in the air. That’s reverb.
For podcasters and creators recording at home, what you're calling "echo" is almost always reverb from sound bouncing off your walls, ceiling, and desk.
You're not fighting a single, clean reflection. You're trying to control thousands of them all jumbled together, which is what makes your voice sound distant and muddy.
Do I Need to Buy Expensive Software to Fix This?
Not always, but it really depends on how bad the problem is.
Free tools like Audacity or GarageBand have built-in EQs and gates that can definitely help with mild reverb. If you have the patience to learn them, you can make a noticeable improvement without spending a dime.
However, if you're dealing with a seriously echoey room, a dedicated tool is a game-changer. Specialized de-reverb plugins or AI-powered cleaners are designed for this specific problem, and they produce much cleaner, more natural results in a fraction of the time. You don't need a thousand-dollar pro-level suite; there are plenty of affordable options out there that can save you hours of frustration and deliver a far better final product.
Ready to skip the complex plugins and get studio-quality sound in one click? Let SimpleClean handle the heavy lifting. Upload your file, and our AI will surgically remove echo and background noise, leaving you with crystal-clear audio ready for your audience. Try it for free today at https://simpleclean.app.
Article created using Outrank