Quick Answer
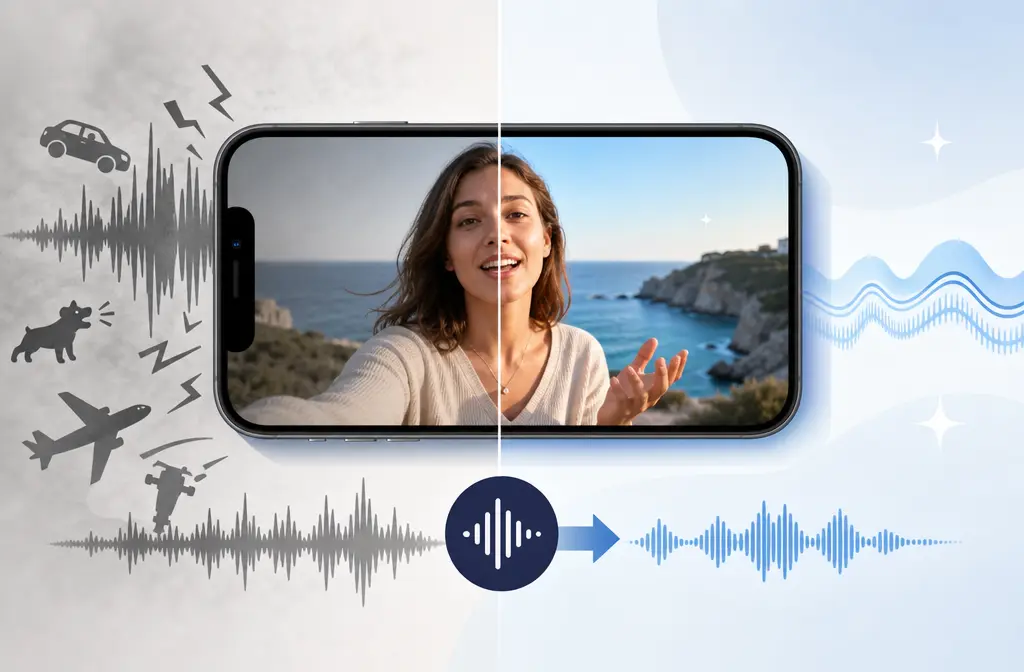
Yes, you can remove background noise from an iPhone video after recording, but the best method depends on your iPhone model and the kind of noise in the clip.
- If your video was recorded with Spatial Audio on a supported newer iPhone, start in Photos > Edit > Audio Mix. Apple documents Standard, In-Frame, Studio, and Cinematic modes plus an intensity slider. Source
- If you do not see Audio Mix, try iMovie. Apple says iMovie can automatically enhance audio, reduce background noise, and optimize for voice. Source
- If the problem is hard noise like wind, traffic, echo, or other voices competing with the speaker, Apple’s built-in tools may not be enough.
The safest way to avoid muffled speech is to use the lightest cleanup that solves the problem. If you push voice isolation too hard, speech can start sounding dull or watery.
The Best Method Depends on Your iPhone and Your Noise
Many pages mix together recording settings, post-recording cleanup, and zoom-related audio behavior. They are different jobs.
- Post-recording cleanup on newer iPhones: Photos Audio Mix
- Post-recording cleanup on older devices or unsupported clips: iMovie
- Prevention before recording: Record Sound format, Wind Noise Reduction, and mic choice
- Audio changing while zooming: Audio Zoom behavior during capture
If your iPhone audio seems to change when you zoom in and out, that may be Audio Zoom rather than post-processing. Secondary reporting from MacRumors and Tom’s Guide explains that zooming can change how much ambience is captured. MacRumors Tom's Guide
| Option | Best for | When it falls short |
|---|---|---|
| Photos Audio Mix | Newer supported iPhones with Spatial Audio videos | Hard wind, echo, traffic, or overlapping voices |
| In-Frame | Reducing off-camera sounds | Weak when noise overlaps the speaker |
| Studio | Reducing background noise and reverb around speech | Can sound processed if pushed too far |
| Audio Zoom | Changes what gets captured while zooming | Not a fix for an already noisy recording |
| iMovie | Light cleanup when Audio Mix is unavailable | Limited on difficult noise problems |
| Dedicated cleaner after export | Tougher spoken-audio cleanup | Requires exporting the file first |
Which Tool Is Best for Each Noise Type?
| Noise type | Best first step | Best fallback |
|---|---|---|
| Light hiss | Photos Audio Mix or iMovie | Export for stronger cleanup if hiss remains |
| Fan or AC noise | Studio mode in Photos, or iMovie | Export if the voice starts sounding muffled before the noise is gone |
| Wind | Try Photos first if available | Export; wind is often too severe for Apple tools alone |
| Echo or reverb | Studio mode may help a little | Export; echo is often baked into the voice |
| Traffic | In-Frame or Studio, depending on the clip | Export if road noise competes with speech |
| Nearby voices | In-Frame if the speaker is clearly framed | Export if background voices overlap the main voice |
| Handling noise | Try light cleanup only | Export if bumps and rubbing distract from speech |
The general rule: if the noise sits away from the voice in time or space, Apple’s tools have a better chance. If the noise overlaps the voice constantly, cleanup gets harder and artifacts become more likely.

Method 1: Use Photos > Edit > Audio Mix on Supported iPhones
Apple says Audio Mix is available for videos recorded with Spatial Audio on supported iPhone models. In Photos, open the video, tap Edit, then adjust Audio Mix and its intensity. Apple overview Apple Audio Mix details
What the Audio Mix modes mean in plain English
- Standard: Leaves the sound more natural and less processed.
- In-Frame: Prioritizes sounds coming from people visible in the frame and reduces off-camera sound.
- Studio: Aims to reduce background noise and reverb so speech sounds more direct.
- Cinematic: A more stylized mix that is usually not the first choice for straightforward speech cleanup.
How to avoid muffled voices with the intensity slider
- Raise intensity if the noise is steady and the voice still sounds clear.
- Lower intensity if consonants start sounding soft or the clip starts feeling underwater.
- Compare against Standard before saving.
Best-for recommendations inside Photos
- Talking-head clips: Start with Studio, then back off if the voice loses clarity.
- Off-camera distractions: Try In-Frame if the speaker is visible.
- Mild cleanup only: Stay closer to Standard.
- Open the video in Photos.
- Tap Edit.
- Open Audio Mix.
- Switch between Standard, In-Frame, Studio, and Cinematic.
- Adjust the intensity slider.
- Replay the loudest part of the clip before saving.
Method 2: Use iMovie on iPhone or iPad if Audio Mix Is Unavailable
If you do not have a supported Spatial Audio recording, iMovie is Apple’s fallback. Apple says iMovie can automatically enhance audio, reduce background noise, and optimize audio for voice. Source
This makes iMovie a good option for older iPhones, videos that do not show the Audio Mix button, and clips with light hum, hiss, or general room noise.
When iMovie is the right choice
Use iMovie when the clip is understandable already and just needs polishing. It is less ideal when wind blasts, heavy echo, traffic, or nearby talkers keep colliding with the speaker.
Simple iMovie workflow
- Open iMovie and create or open a project.
- Add your iPhone video.
- Select the clip in the timeline.
- Use the audio enhancement and noise reduction options available in iMovie.
- Listen for speech clarity first, not just noise reduction.
- Export a test version and compare it with the original.
Method 3: Export the Clip When Apple Tools Are Not Enough
Built-in Apple tools are convenient, but they have limits. Tough cases usually share one of these problems:
- The noise overlaps the voice, like traffic under every word
- The echo is baked into the recording, because room reflections are part of the voice itself
- The voice is too quiet compared with the background sound
- There are competing voices nearby, which are harder to separate cleanly
If your iPhone clip still has stubborn wind, room echo, street noise, or nearby voices after Photos or iMovie, exporting can make sense. If you want a dedicated fallback, SimpleClean is another tool from our team that you can use after export.
Best for:
- Outdoor clips recorded in wind or traffic
- Home videos with TV noise or nearby conversation
- Coaching clips, walkthroughs, and property videos where clear speech matters more than ambience

Why Built-In Tools Sometimes Fail
Background noise is not always a separate layer that software can simply turn off. Speech and noise may share the same frequencies and the same moments in time.
Built-in tools work best when they can identify what should be emphasized or reduced. They struggle more when the speaker is distant, the room is echoey, wind distorts the voice itself, or another voice overlaps the main speaker.
If you keep increasing isolation until the noise drops, the voice may become dull first. That is the point to stop and switch methods.
Troubleshooting
Why don’t I see Audio Mix on my iPhone video?
Apple says Audio Mix is for videos recorded with Spatial Audio on supported iPhone models. If your clip was not recorded that way, or your device does not support that workflow, you may not see the control. Source
The cleanup is weak
Switch between In-Frame and Studio rather than only pushing intensity higher. If neither gets you there, export the file for stronger cleanup.
The voice sounds muffled
Back off the intensity slider and compare with Standard. Muffled speech usually means the processing is too aggressive for that clip.
The noise changes when I zoom
This may be Audio Zoom, which affects capture behavior while recording. It can change how much ambient sound your iPhone picks up as you zoom. MacRumors Tom's Guide
Wind is still present
Wind is one of the hardest problems to fix after recording. If Photos or iMovie only help a little, export the clip and use a stronger workflow.
How to Prevent Noisy iPhone Video Next Time
Prevention is better than repair. Apple documents a few settings and habits that matter before you hit record.
- Choose the right Record Sound setting. Apple says iPhone 16 or later can record in Spatial Audio, Stereo, or Mono. Source
- Leave Wind Noise Reduction on when needed. Apple says wind noise is automatically reduced when recording with Spatial Audio or Stereo unless Wind Noise Reduction is turned off. Source
- Watch out for Audio Zoom behavior. If you want more consistent ambience, test how the audio changes when you zoom. Source
- Move the phone closer. A stronger voice-to-noise ratio makes every cleanup method work better.
- Use AirPods as a mic where supported. Apple says supported AirPods can be used as a camera microphone in supported apps on iPhone or iPad. Source
Best Option by Situation
- Best for newer iPhones and fast fixes: Photos Audio Mix
- Best for older devices or unsupported clips: iMovie
- Best for hard spoken-audio problems: export the file and use a dedicated cleaner if needed
- Best for future prevention: correct Record Sound settings, Wind Noise Reduction, and better mic placement
Final Take
If you want to remove background noise from iPhone video without making voices sound muffled, start with the least aggressive fix that matches your situation.
Use Photos Audio Mix if your newer iPhone recorded the clip with Spatial Audio. Use iMovie if Audio Mix is unavailable. If wind, echo, traffic, or nearby voices keep overpowering speech, export the clip and move to a stronger dedicated workflow.
The winning workflow is not the one with the strongest suppression. It is the one that keeps the speaker easy to understand. For more cleanup workflows, visit SimpleClean.