Quick Answer
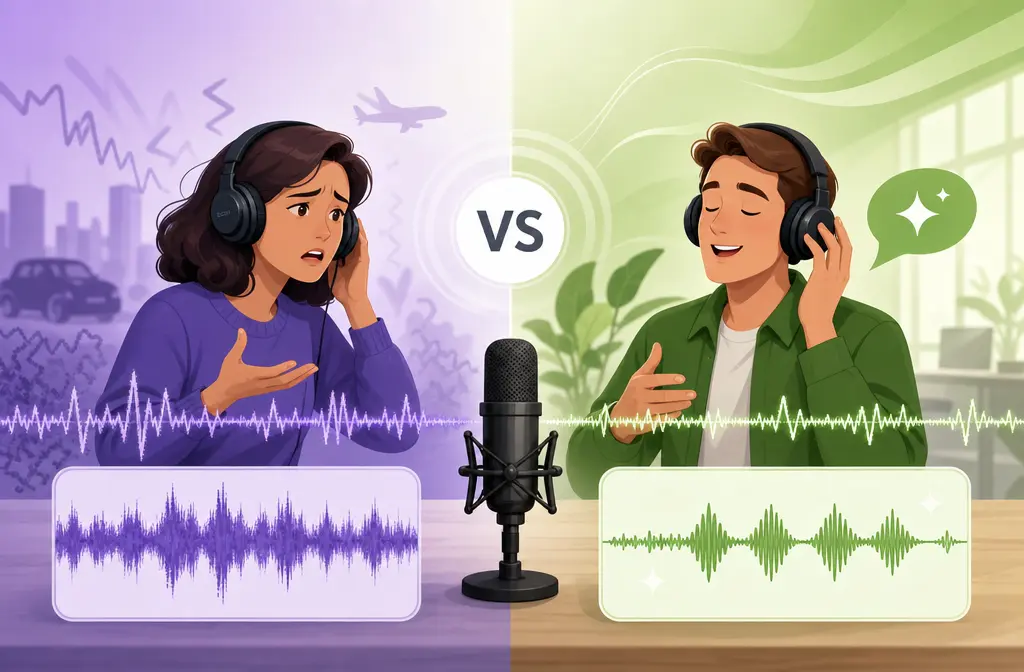
If you already edit in Camtasia and your problem is mild to moderate steady noise like fan hum, low hiss, or consistent room noise, Camtasia is usually the faster choice because you can clean the audio on the timeline without leaving the project.
If your exported voice still sounds rough, distant, or echoey and you need stronger spoken-word rescue after recording, Adobe Podcast is usually the better choice. Its Enhance Speech workflow is built around uploaded-file cleanup rather than timeline editing.
The practical short version for tutorial creators:
- Choose Camtasia when you want the quickest in-editor fix for steady noise.
- Choose Adobe Podcast when the voice itself needs heavier after-the-fact help.
- Use both when you want to edit in Camtasia first, then give the final narration or export a final speech polish.
Quick verdict: Adobe Podcast, Camtasia, or both?
| Situation | Best fit | Why |
|---|---|---|
| You are already editing a tutorial in Camtasia and hear fan, hum, or low hiss | Camtasia | Fastest workflow, no export-upload round trip, built for timeline cleanup |
| Your finished voice still sounds rough, roomy, or like it needs stronger speech rescue | Adobe Podcast | Better fit for stronger after-the-fact spoken audio enhancement |
| You need to preserve screen-edit timing first, then improve the final narration | Both | Edit in Camtasia first, then clean the exported speech |
| You have transient sounds like door slams or traffic bursts | Neither is ideal | TechSmith says Camtasia works best on subtle, consistent noise, not transient sounds |
| You only have a final export and do not want to reopen the project | Adobe Podcast | Uploaded-file cleanup is often more efficient than going back into the editor |
What changed in Camtasia 2025?
Older advice about Camtasia noise cleanup can be outdated because AI Noise Removal arrived in Camtasia 2025.0.0 on February 12, 2025, according to TechSmith’s version history. That is why some older tutorials look different from the current workflow.
TechSmith also says Camtasia Windows noise removal uses DeepFilterNet and processes on-device. For creators who prefer to stay inside their editor and avoid a browser upload loop, that workflow difference matters.
Best-for matrix
| Use case | Camtasia AI Noise Removal | Adobe Podcast Enhance Speech |
|---|---|---|
| Fan or AC hum | Usually a strong fit | Also viable, but may be more cleanup than you need |
| Low hiss or steady static | Usually a good fit | Often still good if the voice needs more polish |
| Keyboard clicks during narration | Less certain, especially if irregular | Can be a better rescue path if speech is the priority |
| Echo or roomy sound | Less proven as a primary fix | Usually the better bet for stronger speech rescue |
| Distant mic sound | May help less if the core voice is weak | Usually the better option when the voice itself needs stronger enhancement |
| Overlapping speech | No source support for separating speakers | No source support for reliably fixing overlapping dialogue |
| Export-ready tutorial voice with mild background noise | Usually enough | Useful if you want stronger final polish |
| Music or heavy system audio mixed with narration | Requires careful listening | Less ideal if you need to preserve mixed non-speech audio |
The biggest dividing line is simple: Camtasia is best when the noise is steady and the voice is already mostly usable. Adobe Podcast is better when the voice needs rescue, not just cleanup.

Adobe Podcast free vs premium limits that matter for this workflow
For this specific Camtasia-versus-Adobe decision, Adobe’s plan limits matter a lot.
According to Adobe’s current plans page, the free Enhance Speech tier includes:
- Audio-only processing
- One file at a time
- No strength adjustment
- 30-minute maximum duration
- 500 MB maximum file size
- 1 hour per day
Adobe says the paid plan adds video support, bulk upload, strength adjustment, and higher limits.
Why this matters for screen-recording creators:
- If you export a short narration track or short lesson audio, Adobe’s free plan may be enough.
- If your workflow depends on uploading video files directly, the paid plan is the relevant comparison.
- If you want to fine-tune how aggressive the cleanup sounds, strength adjustment is part of the paid workflow, not the free one.
- If you produce lots of lessons per day, the daily cap and one-file-at-a-time behavior can create friction.
Workflow comparison: in-timeline cleanup vs export-then-upload cleanup
Camtasia workflow
TechSmith’s support docs position Camtasia as an in-editor process. You select the media on the timeline, go to audio effects, and apply noise removal. TechSmith also advises applying noise removal before other audio effects. On some Windows workflows, you may see an Analyze step.
Why creators like this route:
- No leaving the project
- No extra upload cycle
- Easy to test while hearing the clip in context with screen actions, cursor sounds, and cuts
- Useful when narration timing is still changing
Adobe Podcast workflow
Adobe frames Enhance Speech as an upload-and-clean workflow. You export audio or video, upload it, process it, then bring the cleaned result into your publishing flow or back into your editor if needed.
Why creators choose this route:
- Better fit for after-the-fact speech rescue
- Useful when the voice still sounds rough after editing
- Can make more sense when you only have the exported file rather than the original project
The tradeoff is obvious: Adobe adds a round trip. Camtasia does not.
Audio quality comparison criteria
Without claiming a lab-tested winner, here is the most practical way to compare them for tutorial and screen-recording audio.
1. Naturalness
If the recording is already decent and only has steady background noise, Camtasia may preserve a more straightforward edited-in-place result because you are making a lighter correction. If the recording is rough, Adobe Podcast may produce a more dramatically improved speech result, but stronger processing can also sound more processed if pushed too far.
2. Noise reduction strength
TechSmith’s best-practices guidance says Camtasia works best on subtle, consistent noise such as fans, static, and hum. That suggests Camtasia is not meant to be a miracle tool for every bad recording. Adobe Podcast is usually the stronger candidate when you need more than mild cleanup.
3. Echo handling
The supplied Adobe sources position Enhance Speech around cleanup for noisy or distorted speech. For roomy, distant, or echo-leaning narration, Adobe is usually the safer recommendation. The TechSmith sources are more explicit about steady-noise strengths than about echo rescue.
4. Artifact risk
Both categories of tools can create tradeoffs. Common failure modes include:
- Robotic or overprocessed voice
- Swallowed consonants
- Cleanup that feels too weak to matter
- Loss of room tone that makes edits feel unnatural
In general, the harder you push speech cleanup, the more carefully you should listen for artifacts.
5. Speed
Camtasia usually wins on speed when you are already in the project. Adobe can still be fast in a broad sense, but it adds export, upload, processing, download, and possibly re-import.
6. Batch convenience
For Adobe, batch convenience depends on plan level because bulk upload is a paid-plan feature. For Camtasia, convenience depends more on whether the clips already live in your project and how many separate pieces need tweaking.
Best workflow by scenario
| Scenario | Recommended workflow | Why |
|---|---|---|
| Tutorial video with mild fan noise | Stay in Camtasia | The noise type matches TechSmith’s stated steady-noise strengths |
| Course lesson with okay editing but weak, distant narration | Export then use Adobe Podcast | The voice likely needs stronger speech-focused cleanup |
| YouTube explainer with lots of timeline edits still in progress | Clean in Camtasia first | Editing context matters, and you avoid constant export loops |
| Repurposed meeting or webinar clip | Usually Adobe Podcast first | Meeting-style speech often needs heavier rescue than simple hum removal |
| Finished lesson export that still sounds a bit noisy | Adobe Podcast | You already have the final file, so post-export cleanup is often more efficient |
Screen-recording-specific advice
Screen-recording audio is trickier than plain podcast audio because the file may include narration, app sounds, notification pings, music beds, and click effects all mixed together.
That affects tool choice in a few important ways:
- If narration is the clear priority, Adobe Podcast becomes more appealing after export.
- If timeline context matters, Camtasia is more convenient because you hear the audio with the visuals and edits.
- If captions come after cleanup, cleaner voice can help downstream caption quality, but your edit should be stable first.
- If system audio or music matters, be cautious with speech-first cleanup on a full mixed export, because what helps voice most is not always best for the rest of the soundtrack.
When Camtasia is enough
- Your voice is already intelligible and reasonably close-mic’d.
- The problem is mostly fan hum, steady hiss, or light room noise.
- You are still editing and do not want extra export-upload friction.
- You want to apply noise reduction before your other audio effects, as TechSmith recommends.
When Adobe Podcast is the better rescue tool
- The exported voice still sounds rough, boxy, echoey, or too distant.
- The issue is no longer just background noise; the speech itself needs stronger enhancement.
- You only have the exported file, not a live Camtasia project you want to reopen.
- You are willing to accept the upload-and-process round trip for a potentially stronger speech result.
When to use both
A practical hybrid workflow is:
- Do your screen recording edit in Camtasia.
- Use Camtasia for modest cleanup if the noise is steady and obvious.
- Export once the timing is final.
- If the voice still needs improvement, run the exported file or narration through Adobe Podcast.
This keeps Camtasia focused on editing and basic cleanup, while Adobe handles the final speech polish.
How to choose the right workflow
- Identify the noise type. If it is steady hum, fan, or hiss, start with Camtasia. If the voice is distant or echoey, lean Adobe.
- Check where you are in the project. If you are still editing, staying in Camtasia is usually more efficient.
- Ask whether you need speech rescue or just noise reduction. That is the real fork in the road.
- Consider file and plan limits. Adobe free is audio-only, one file at a time, with a 30-minute max, 500 MB cap, and 1 hour per day.
- Test a short section. Listen for robotic tone, swallowed consonants, and whether system audio gets affected in a bad way.
- Only round-trip when the improvement is worth it. If Camtasia already gets you to publishable quality, stop there.
Common failure modes
- Robotic voice: Often a sign the cleanup is too aggressive for the source.
- Swallowed consonants: Listen closely to T, K, S, and P sounds after processing.
- Weak change: Common when the source problem is not the kind of noise the tool handles best.
- Long loop: Export, upload, process, and re-import can slow production on lots of lessons.
- Music or system-audio tradeoffs: Speech-focused cleanup on a mixed tutorial export may affect non-speech audio in ways you do not want.
Simple exported-file handoff
If you only have a final MP4, MOV, or WAV and want a lighter cleanup path without reopening a full editor project, you can also try SimpleClean for exported tutorial audio cleanup. SimpleClean is another tool from our team, so treat it as a simpler handoff option rather than a replacement for full editing inside Camtasia.
Bottom line
For noisy screen-recording narration, Camtasia is usually the better workflow choice when the issue is mild, steady background noise and you are already editing on the timeline. Adobe Podcast is usually the better rescue choice when the finished voice still needs stronger spoken-word cleanup after export.
If you are unsure, the safest order is usually: try Camtasia first for steady-noise cleanup, then escalate to Adobe Podcast only if the voice still sounds rough.
FAQs
Is Adobe Podcast better than Camtasia for background noise?
Not always. Camtasia is often the better workflow choice for mild steady noise when you are already editing there. Adobe Podcast is usually better when the voice needs stronger after-the-fact speech cleanup.
Can Camtasia AI Noise Removal remove echo or just steady noise?
TechSmith’s documentation is clearest about steady, subtle, consistent noise like fans, static, and hum. For echo-heavy or distant voice, Adobe Podcast is usually the safer recommendation.
Should I clean audio before or after editing in Camtasia?
If you are using Camtasia, TechSmith recommends applying noise removal before other audio effects. In practical terms, many creators do the main edit in Camtasia, apply noise cleanup there, and only use post-export cleanup later if the voice still needs help.
Does Adobe Podcast work on MP4 screen recordings?
According to Adobe’s plans page, video support is part of the paid plan. The free Enhance Speech tier is audio-only.
What are Adobe Podcast free plan limits for Enhance Speech?
Adobe lists these free-plan limits: audio-only, one file at a time, no strength adjustment, 30-minute maximum duration, 500 MB maximum file size, and 1 hour per day.
When does Camtasia noise removal sound robotic?
That risk tends to rise when the source recording problem is more severe than simple steady background noise, or when you expect a noise tool to fix a fundamentally weak voice recording.
Can I use both Camtasia and Adobe Podcast on the same project?
Yes. A common practical workflow is to edit and do light cleanup in Camtasia, then use Adobe Podcast on the exported narration or final file if the voice still needs stronger polish.
Sources
- Adobe Podcast plans
- What is Enhance Speech? | Adobe Podcast
- Adobe Podcast FAQ
- Remove Background Noise from Video - Camtasia | TechSmith
- How to Remove Background Noise in Camtasia Editor(Video) – TechSmith Support
- Noise Removal Best Practices – TechSmith Support
- Camtasia Windows 2025 Version History – TechSmith Support
- Third-Party AI Technology Used in TechSmith Products